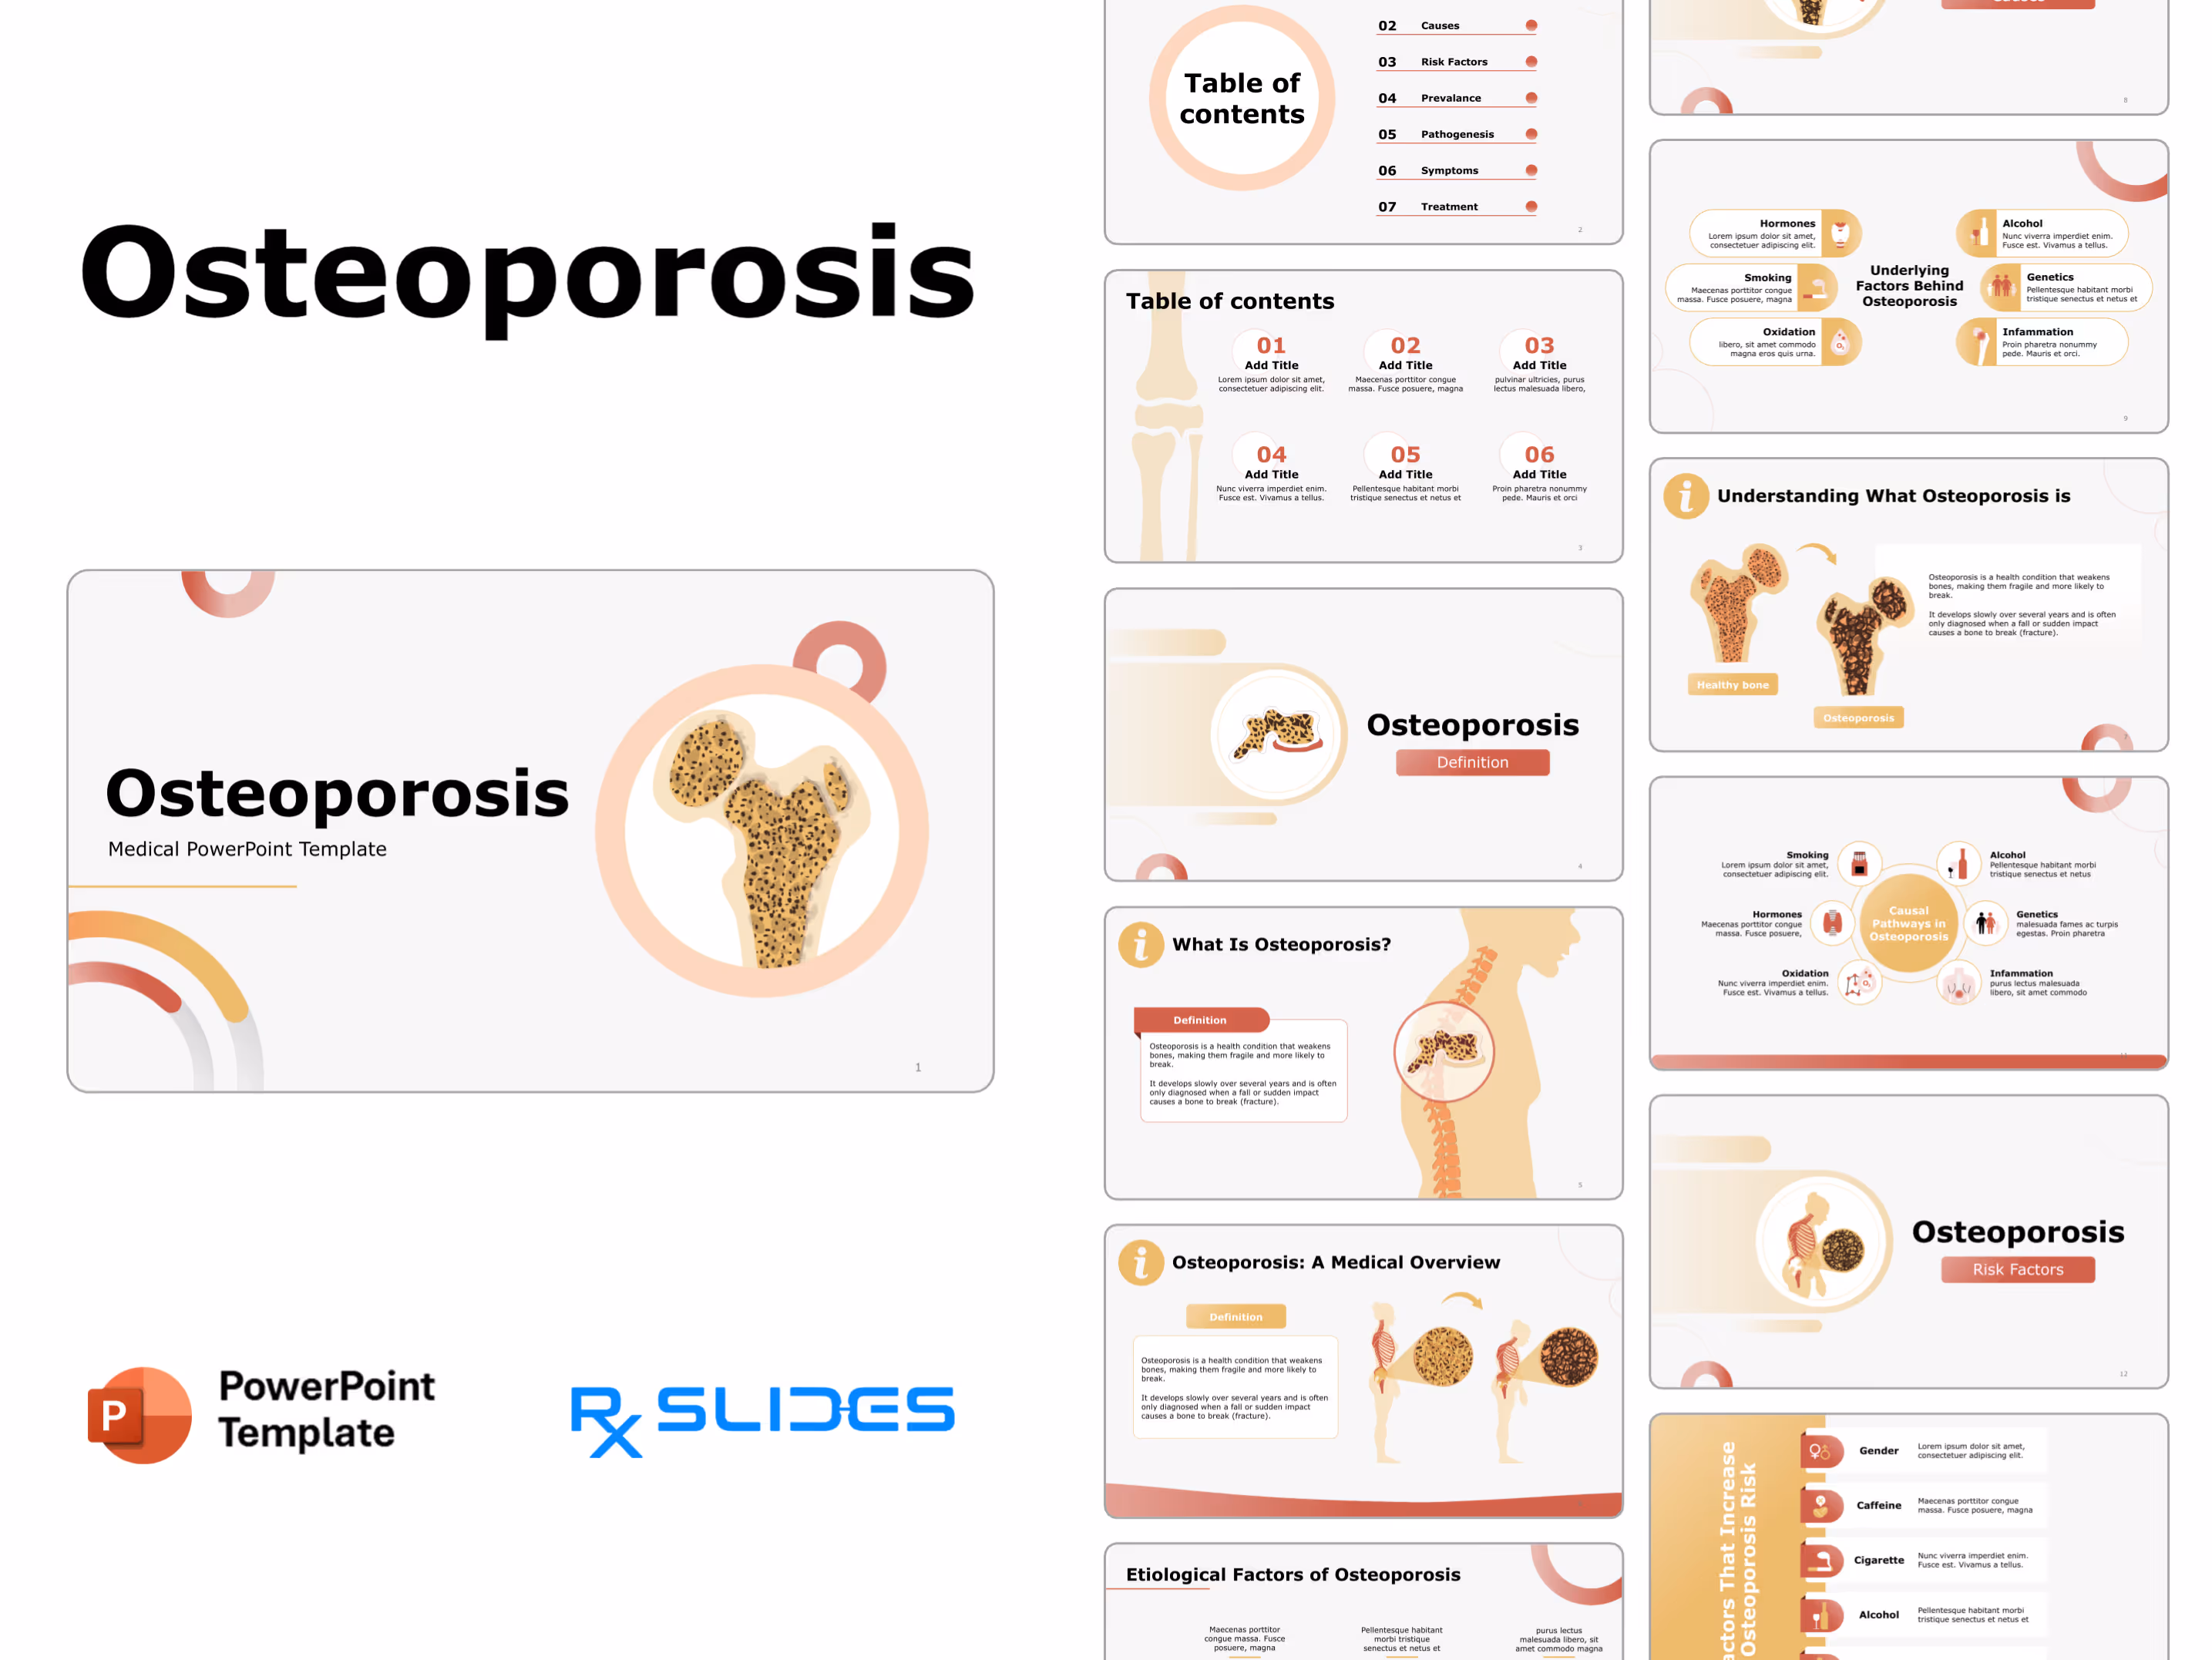
Scoliosis PowerPoint Template
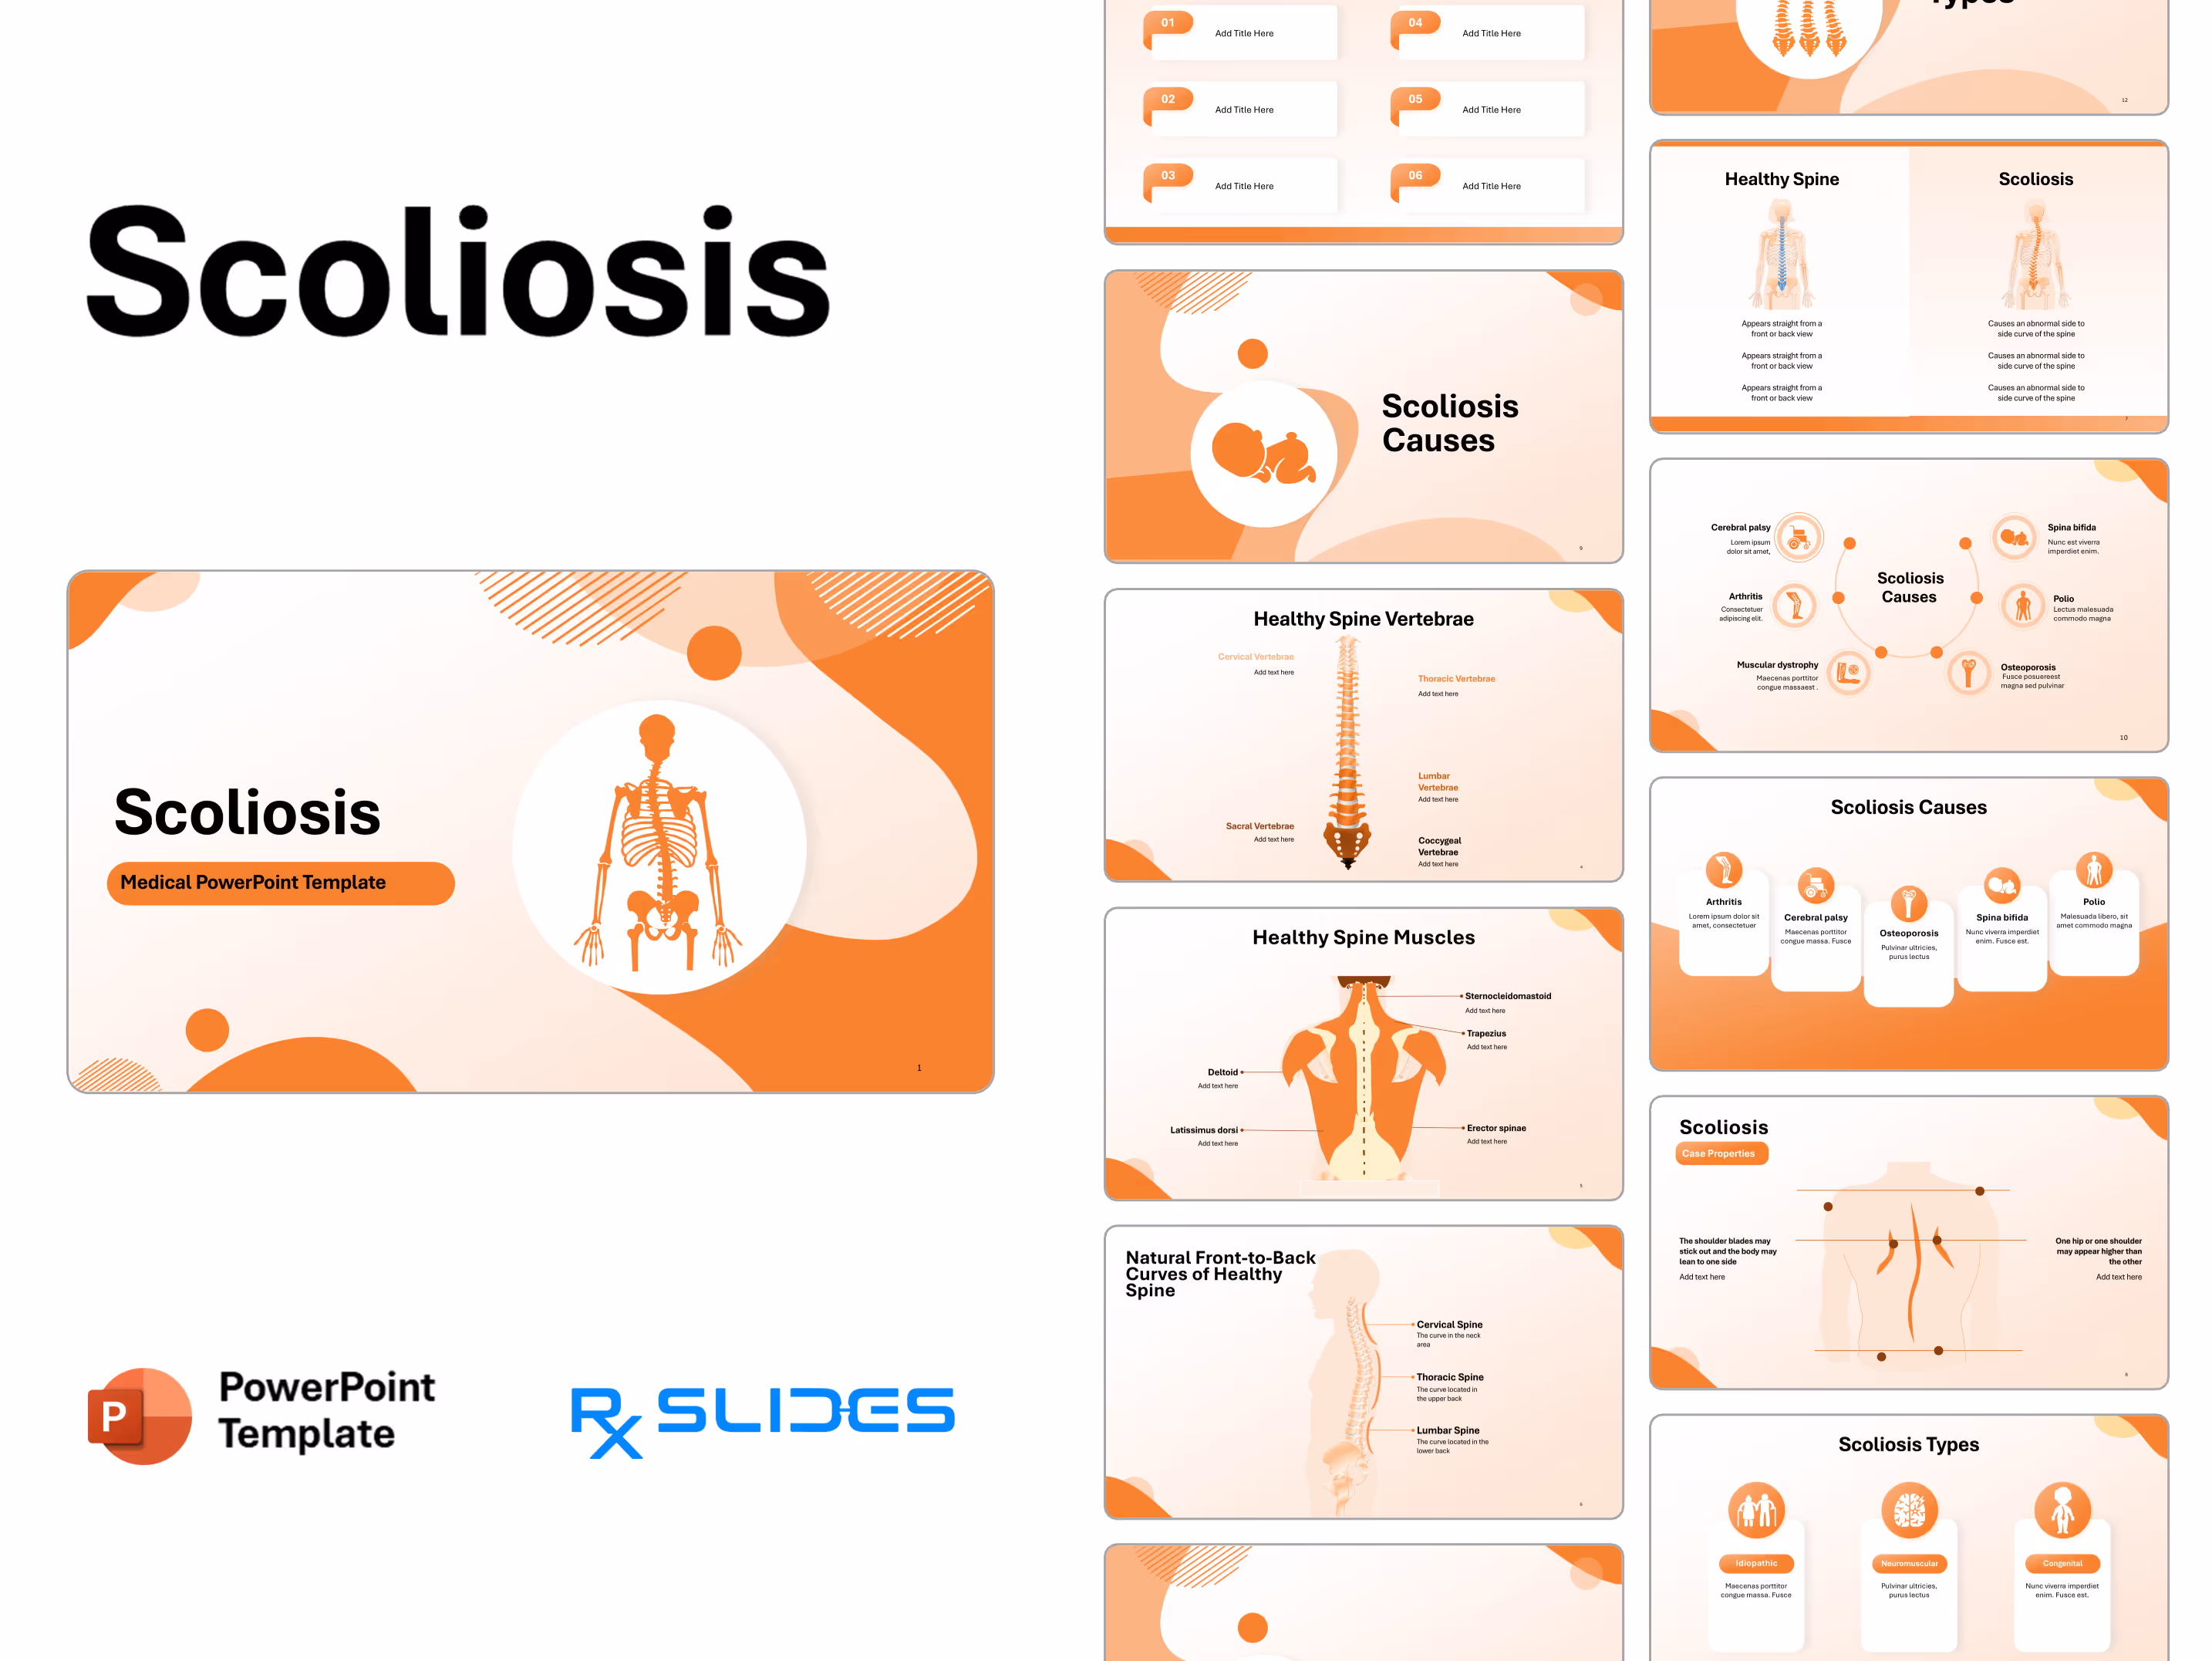

Scoliosis: Medical PowerPoint Template
- The Scoliosis PPT template is an animated medical PowerPoint template that will help you realize the full potential of your presentation.
- This template is one of RxSlides library of musculoskeletal PowerPoint templates includes other medical animations and infographics that will attract your audience.
- You can take advantage of our demonstrated infographics to provide your audience with a dynamic and appealing scoliosis presentation.
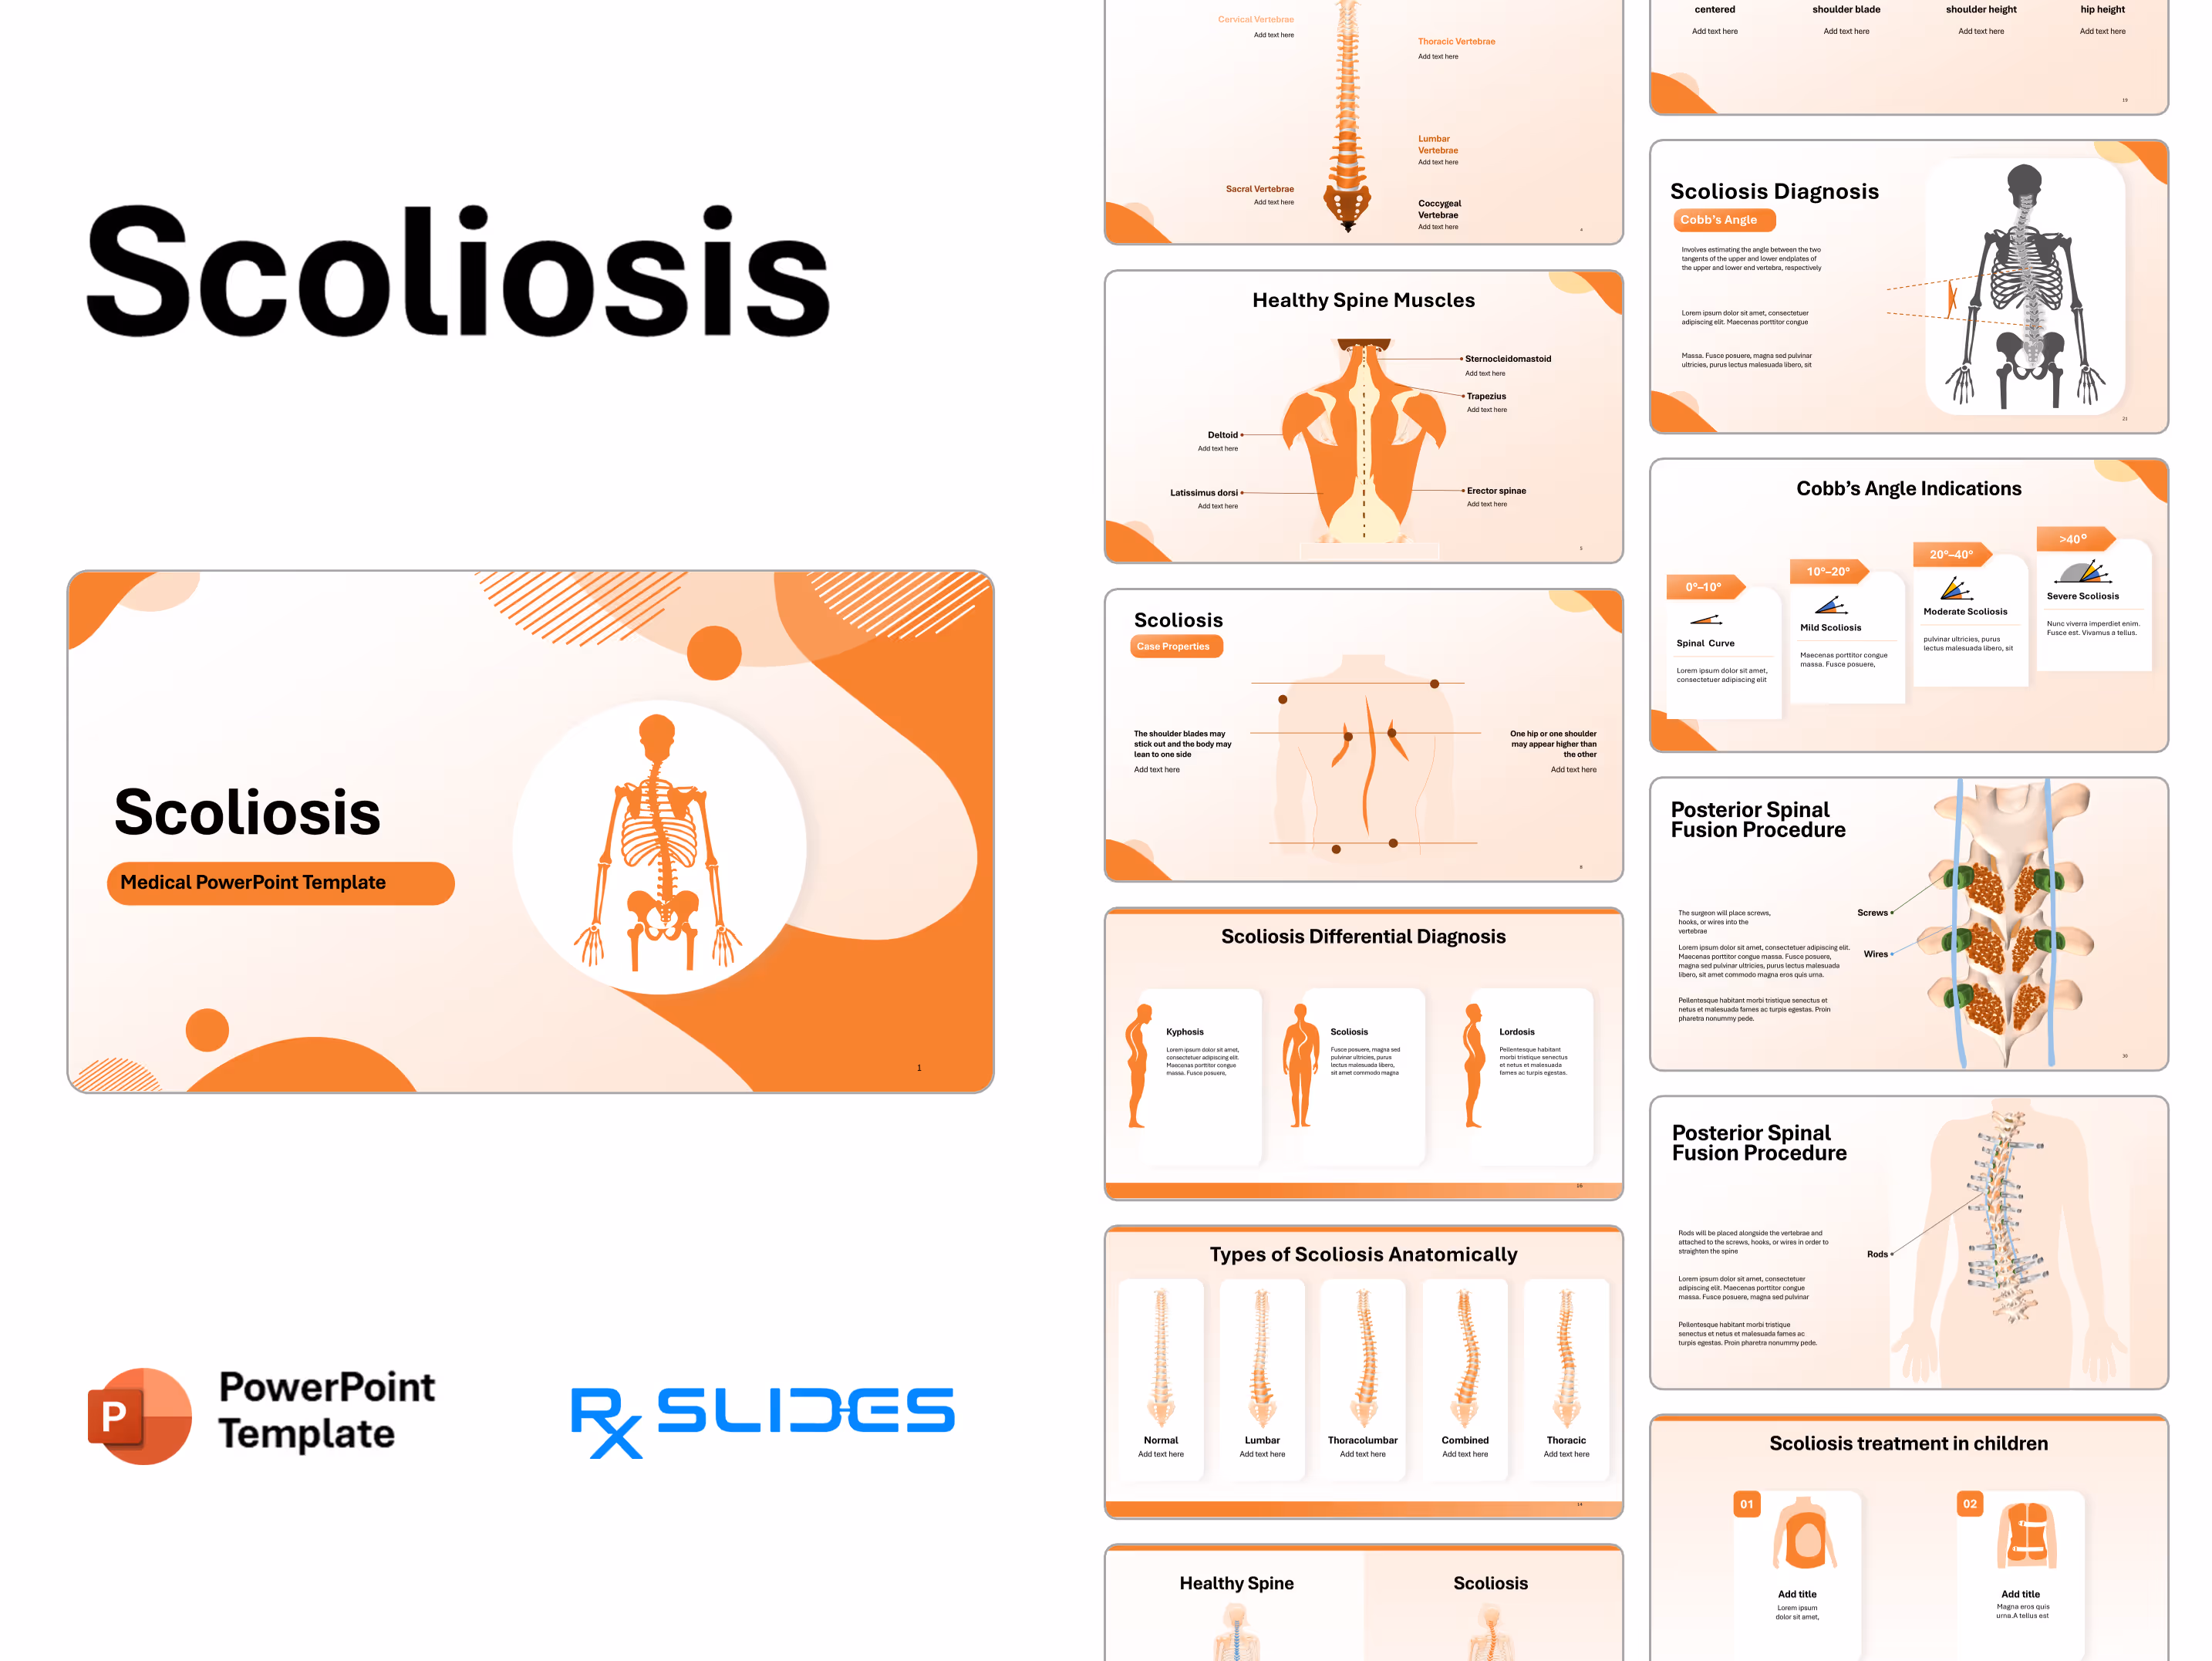
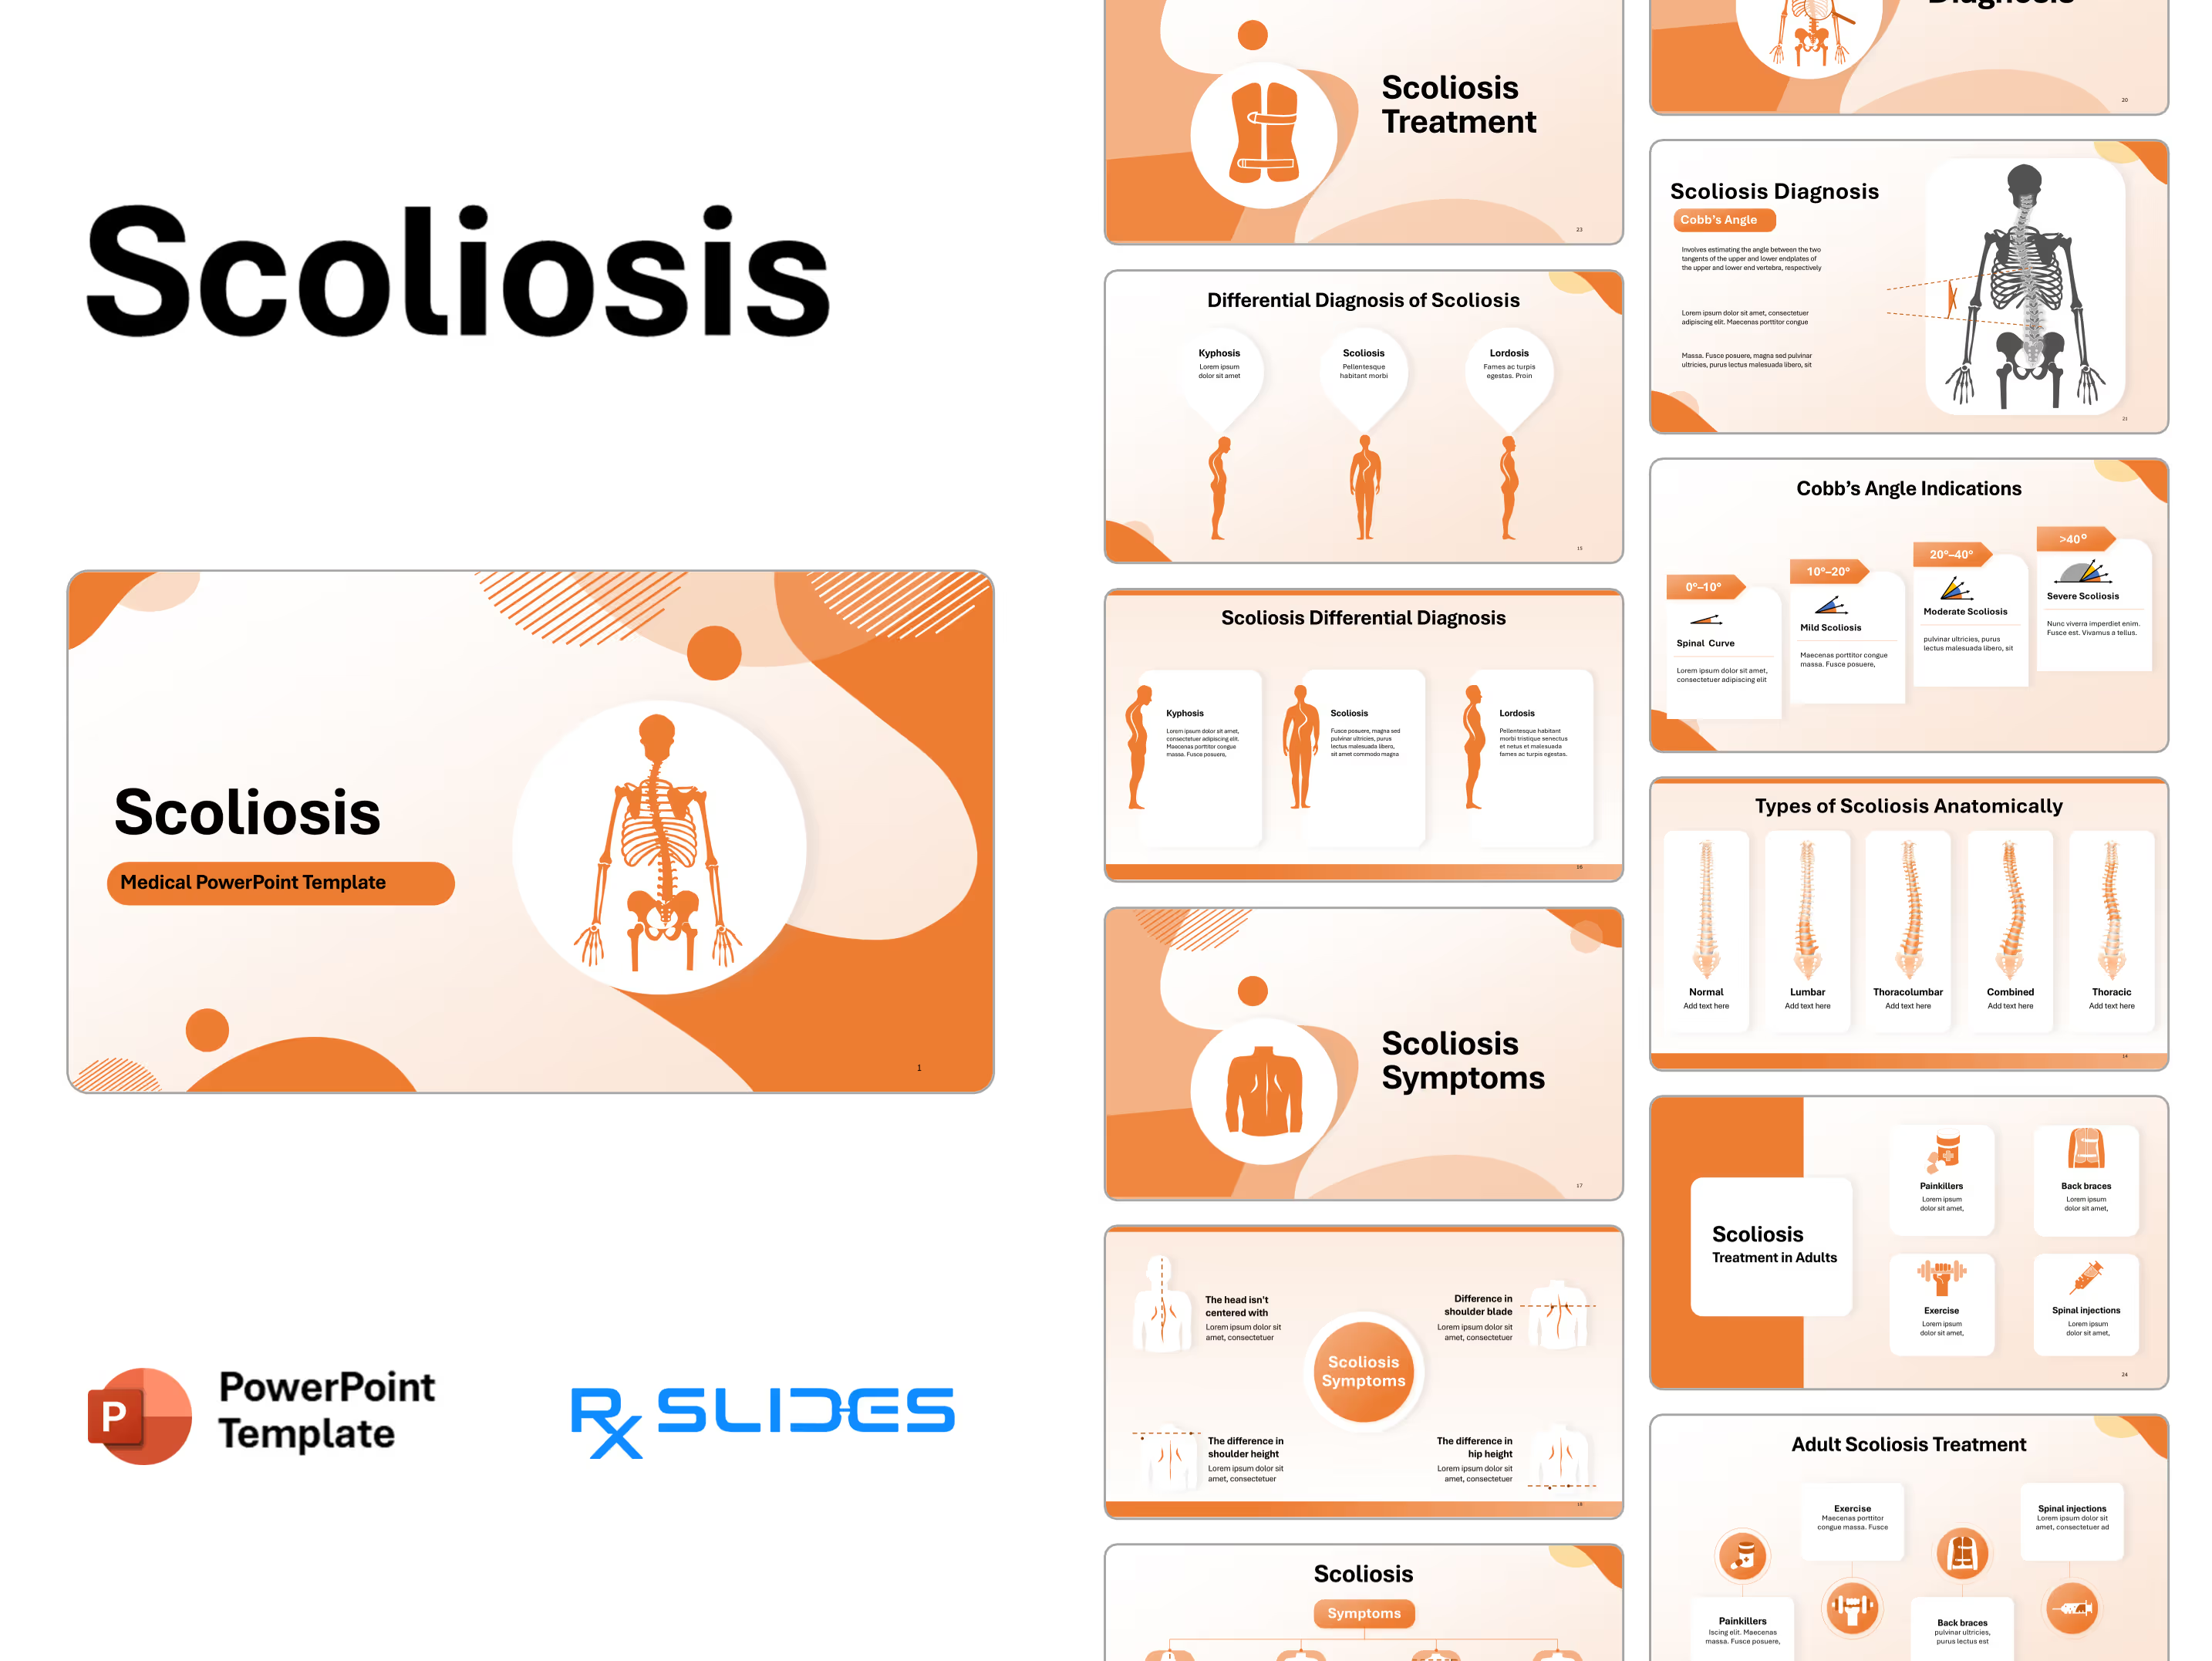
Scoliosis PowerPoint Template Preview
Scoliosis PowerPoint Template Content
Slide 1 - Scoliosis Title Slide
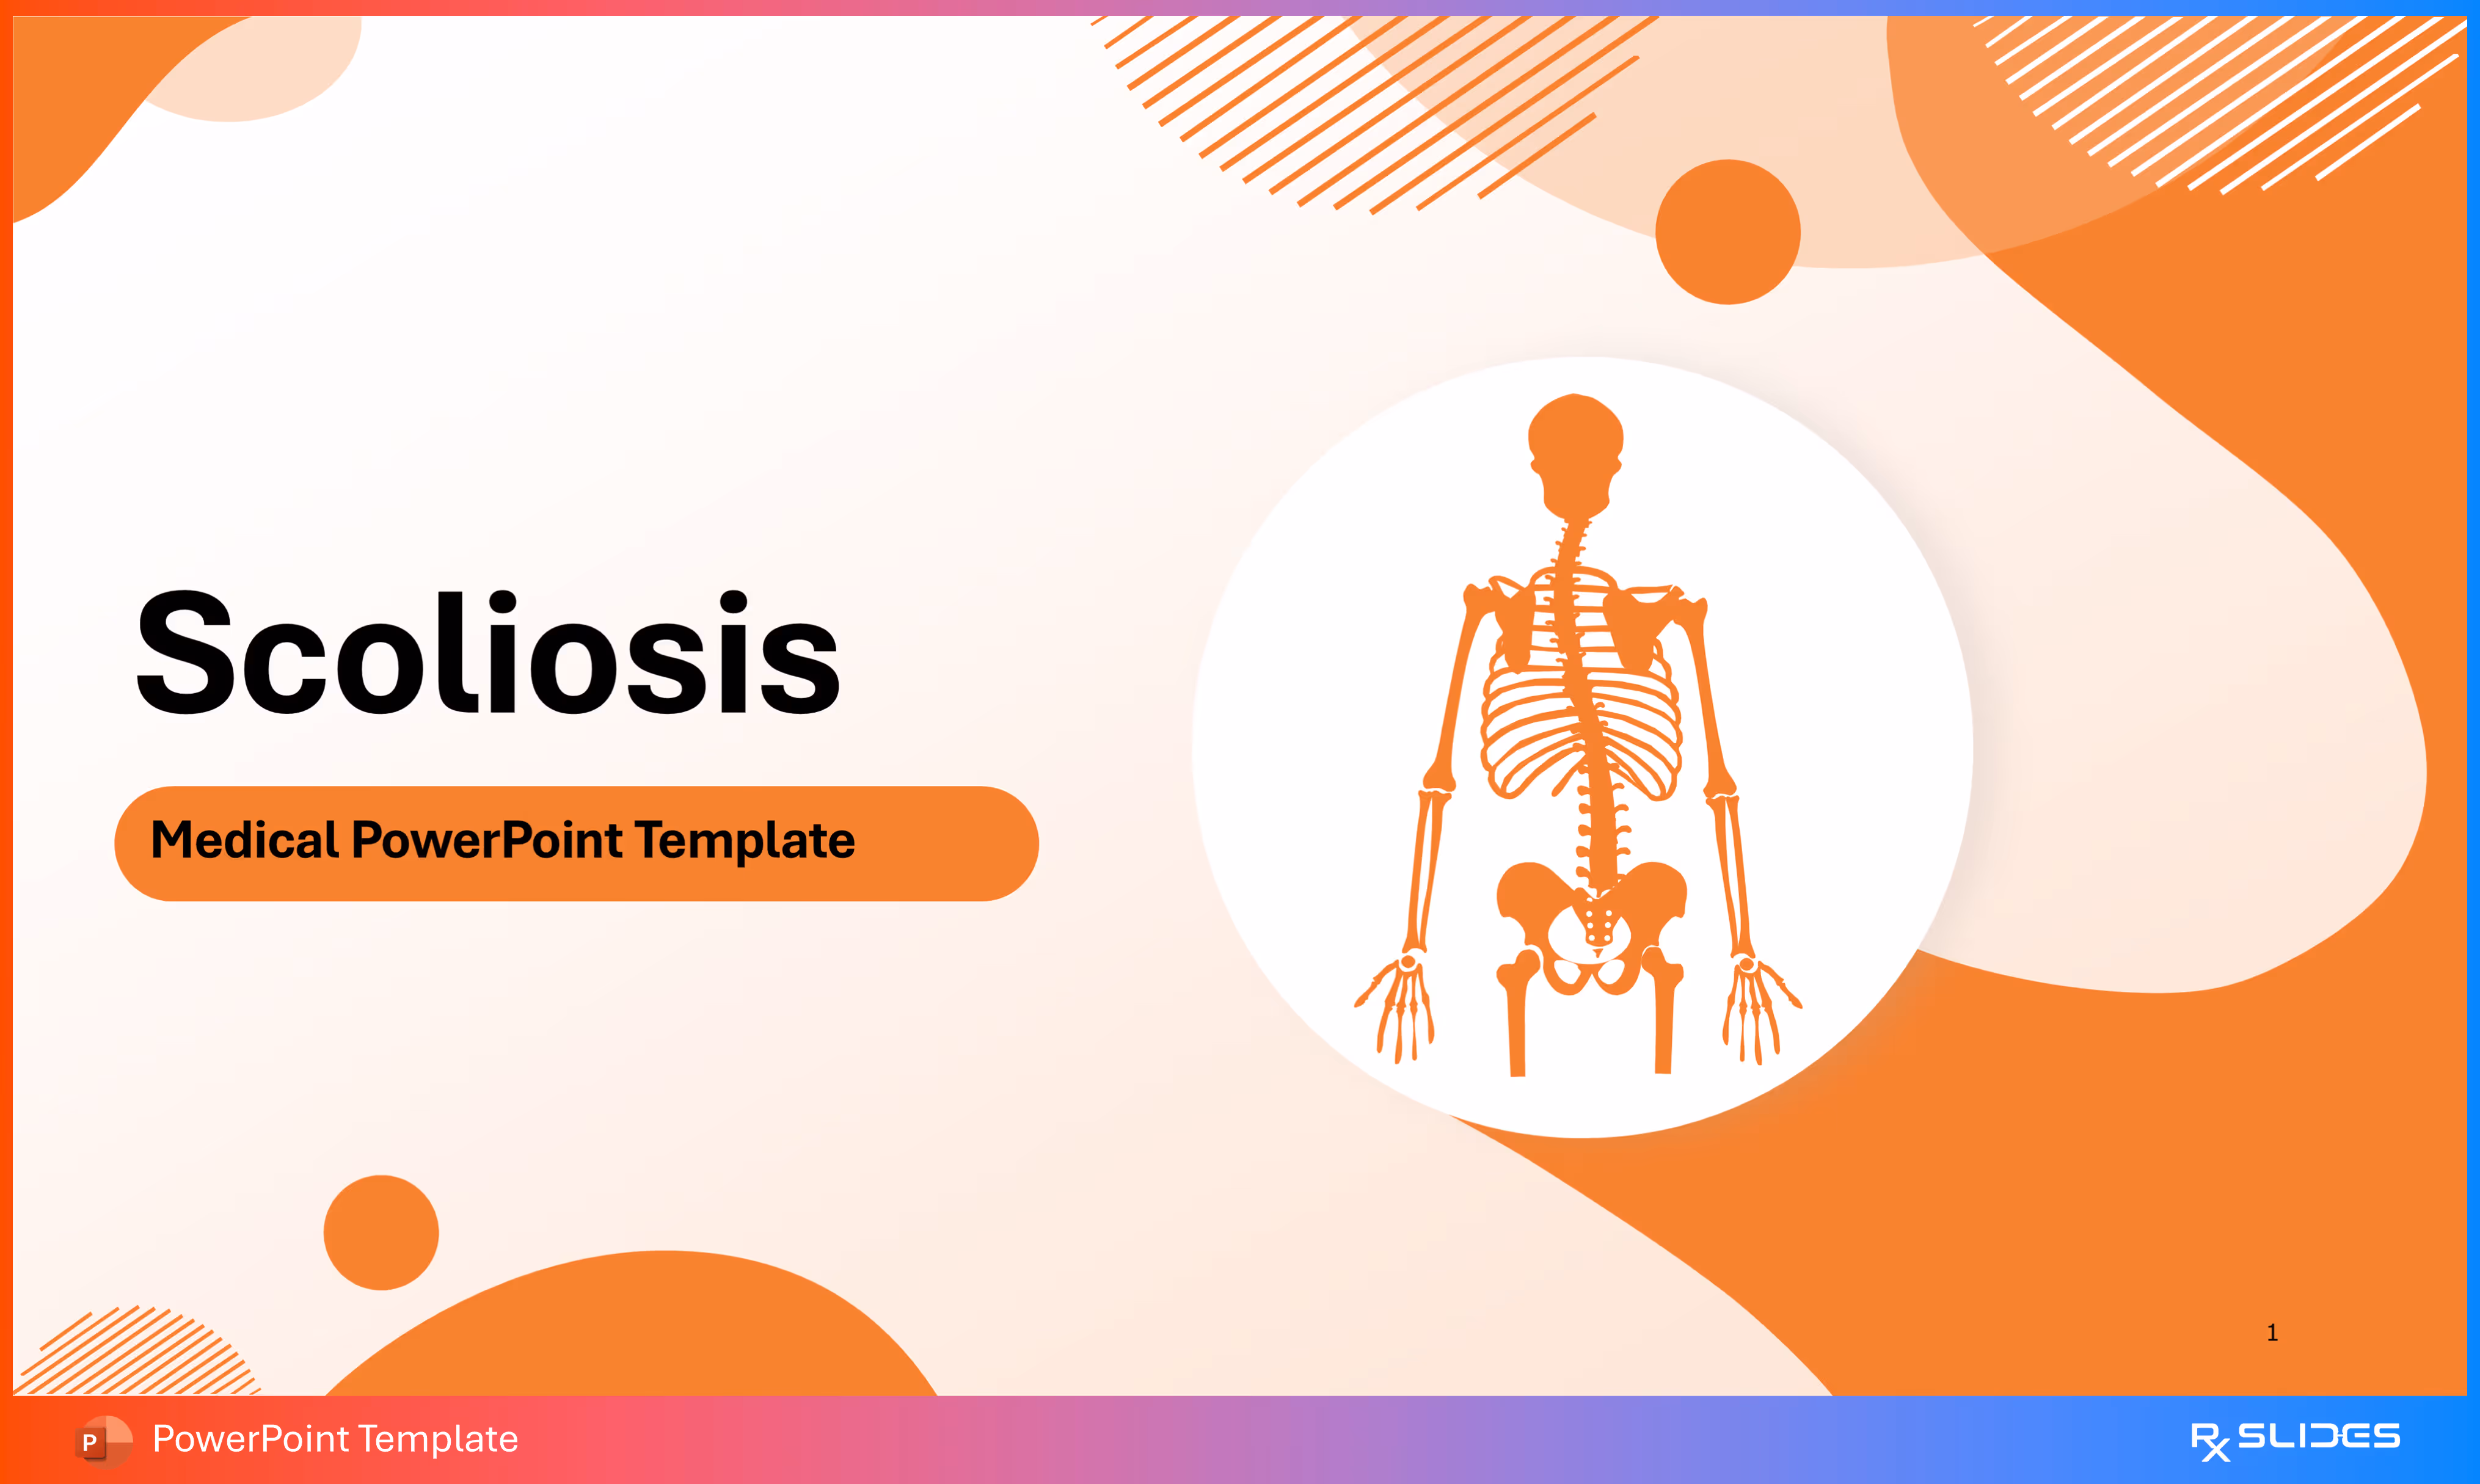
This serves as the main title slide for the presentation on Scoliosis, featuring a bold, professional design to immediately capture the audience's attention.
- The dominant graphic is a stylized orange silhouette of a human skeleton (rib cage, spine, and pelvis) centered within a white circle, visually representing the musculoskeletal focus of the topic.
- The slide uses a high-contrast white and orange/red color scheme with abstract diagonal line patterns in the corners, providing a modern, dynamic look.
Slide 2 - Scoliosis Agenda
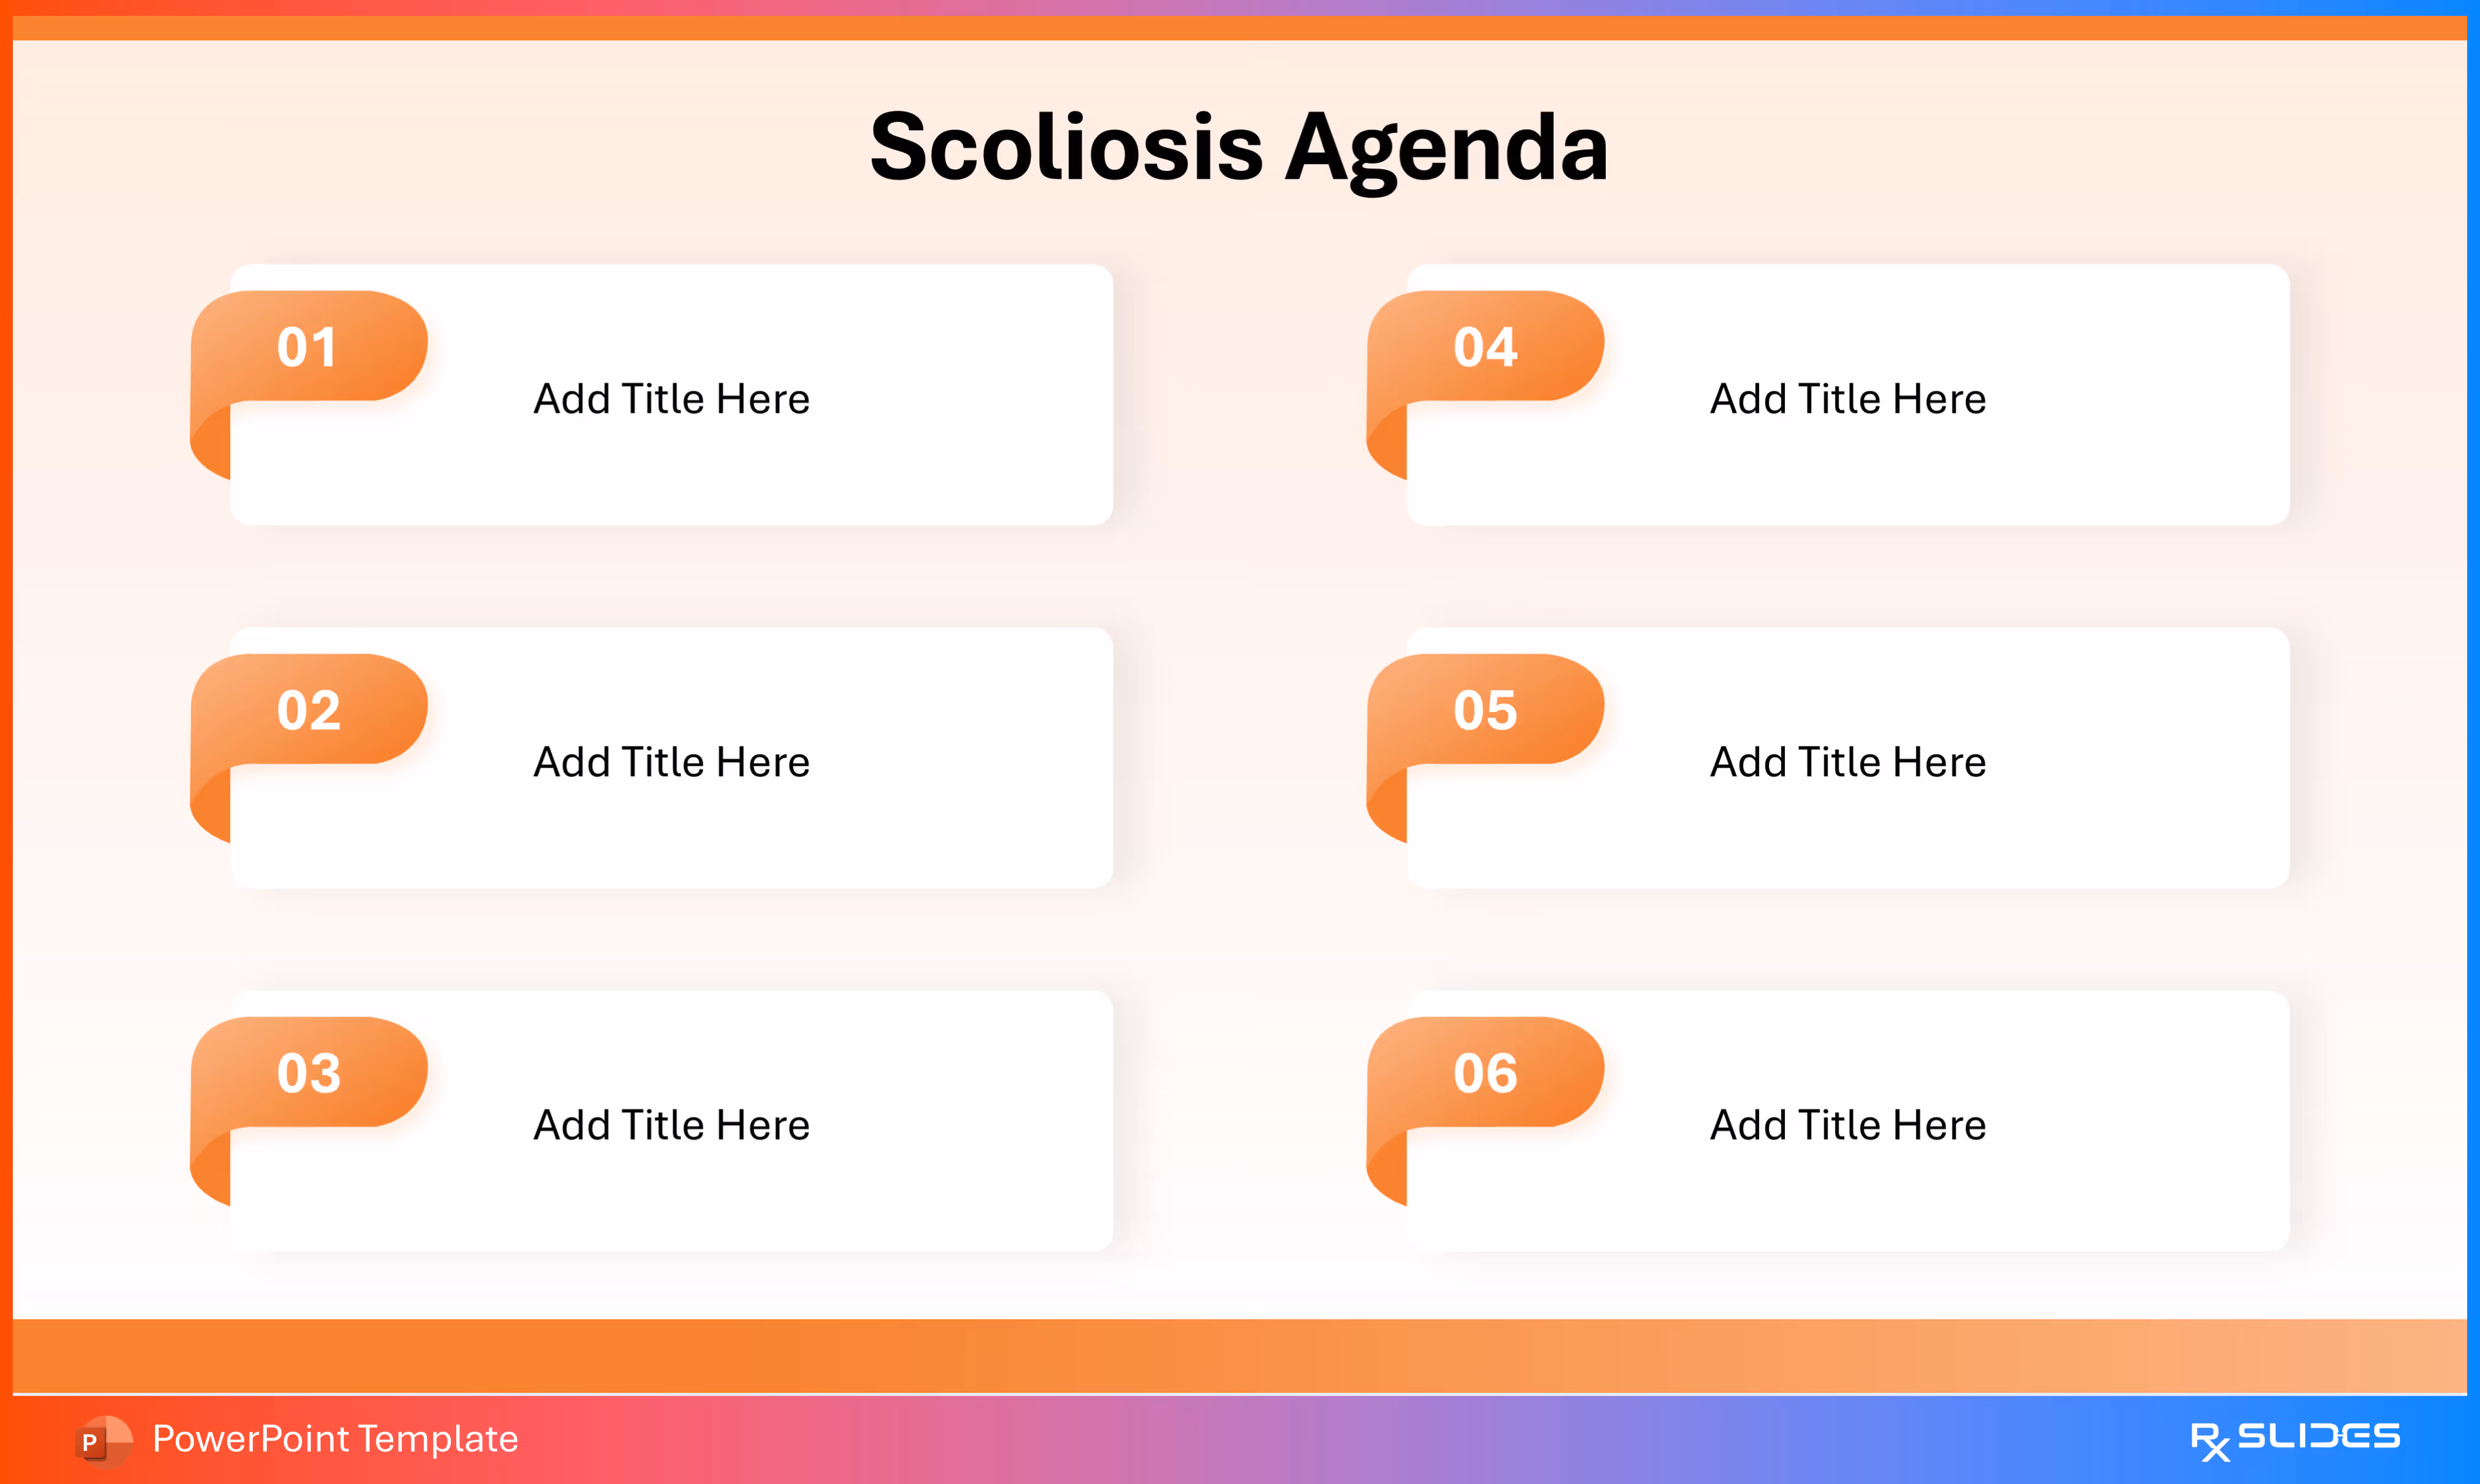
This slide acts as the table of contents or roadmap for your presentation, giving your audience a clear structure of what to expect.
- It uses a clean, six-point grid layout designed for maximum clarity and retention.
- There are six numbered placeholder boxes (01 through 06) with "Add Title Here" text, ready for you to quickly insert your key presentation topics (e.g., Definition, Causes, Symptoms, Diagnosis, Treatment, Prevention).
- Each point is marked by a numbered, orange tag that folds over the corner of the title box, maintaining the vibrant, professional look of the template.
Slide 3 - Scoliosis Introduction
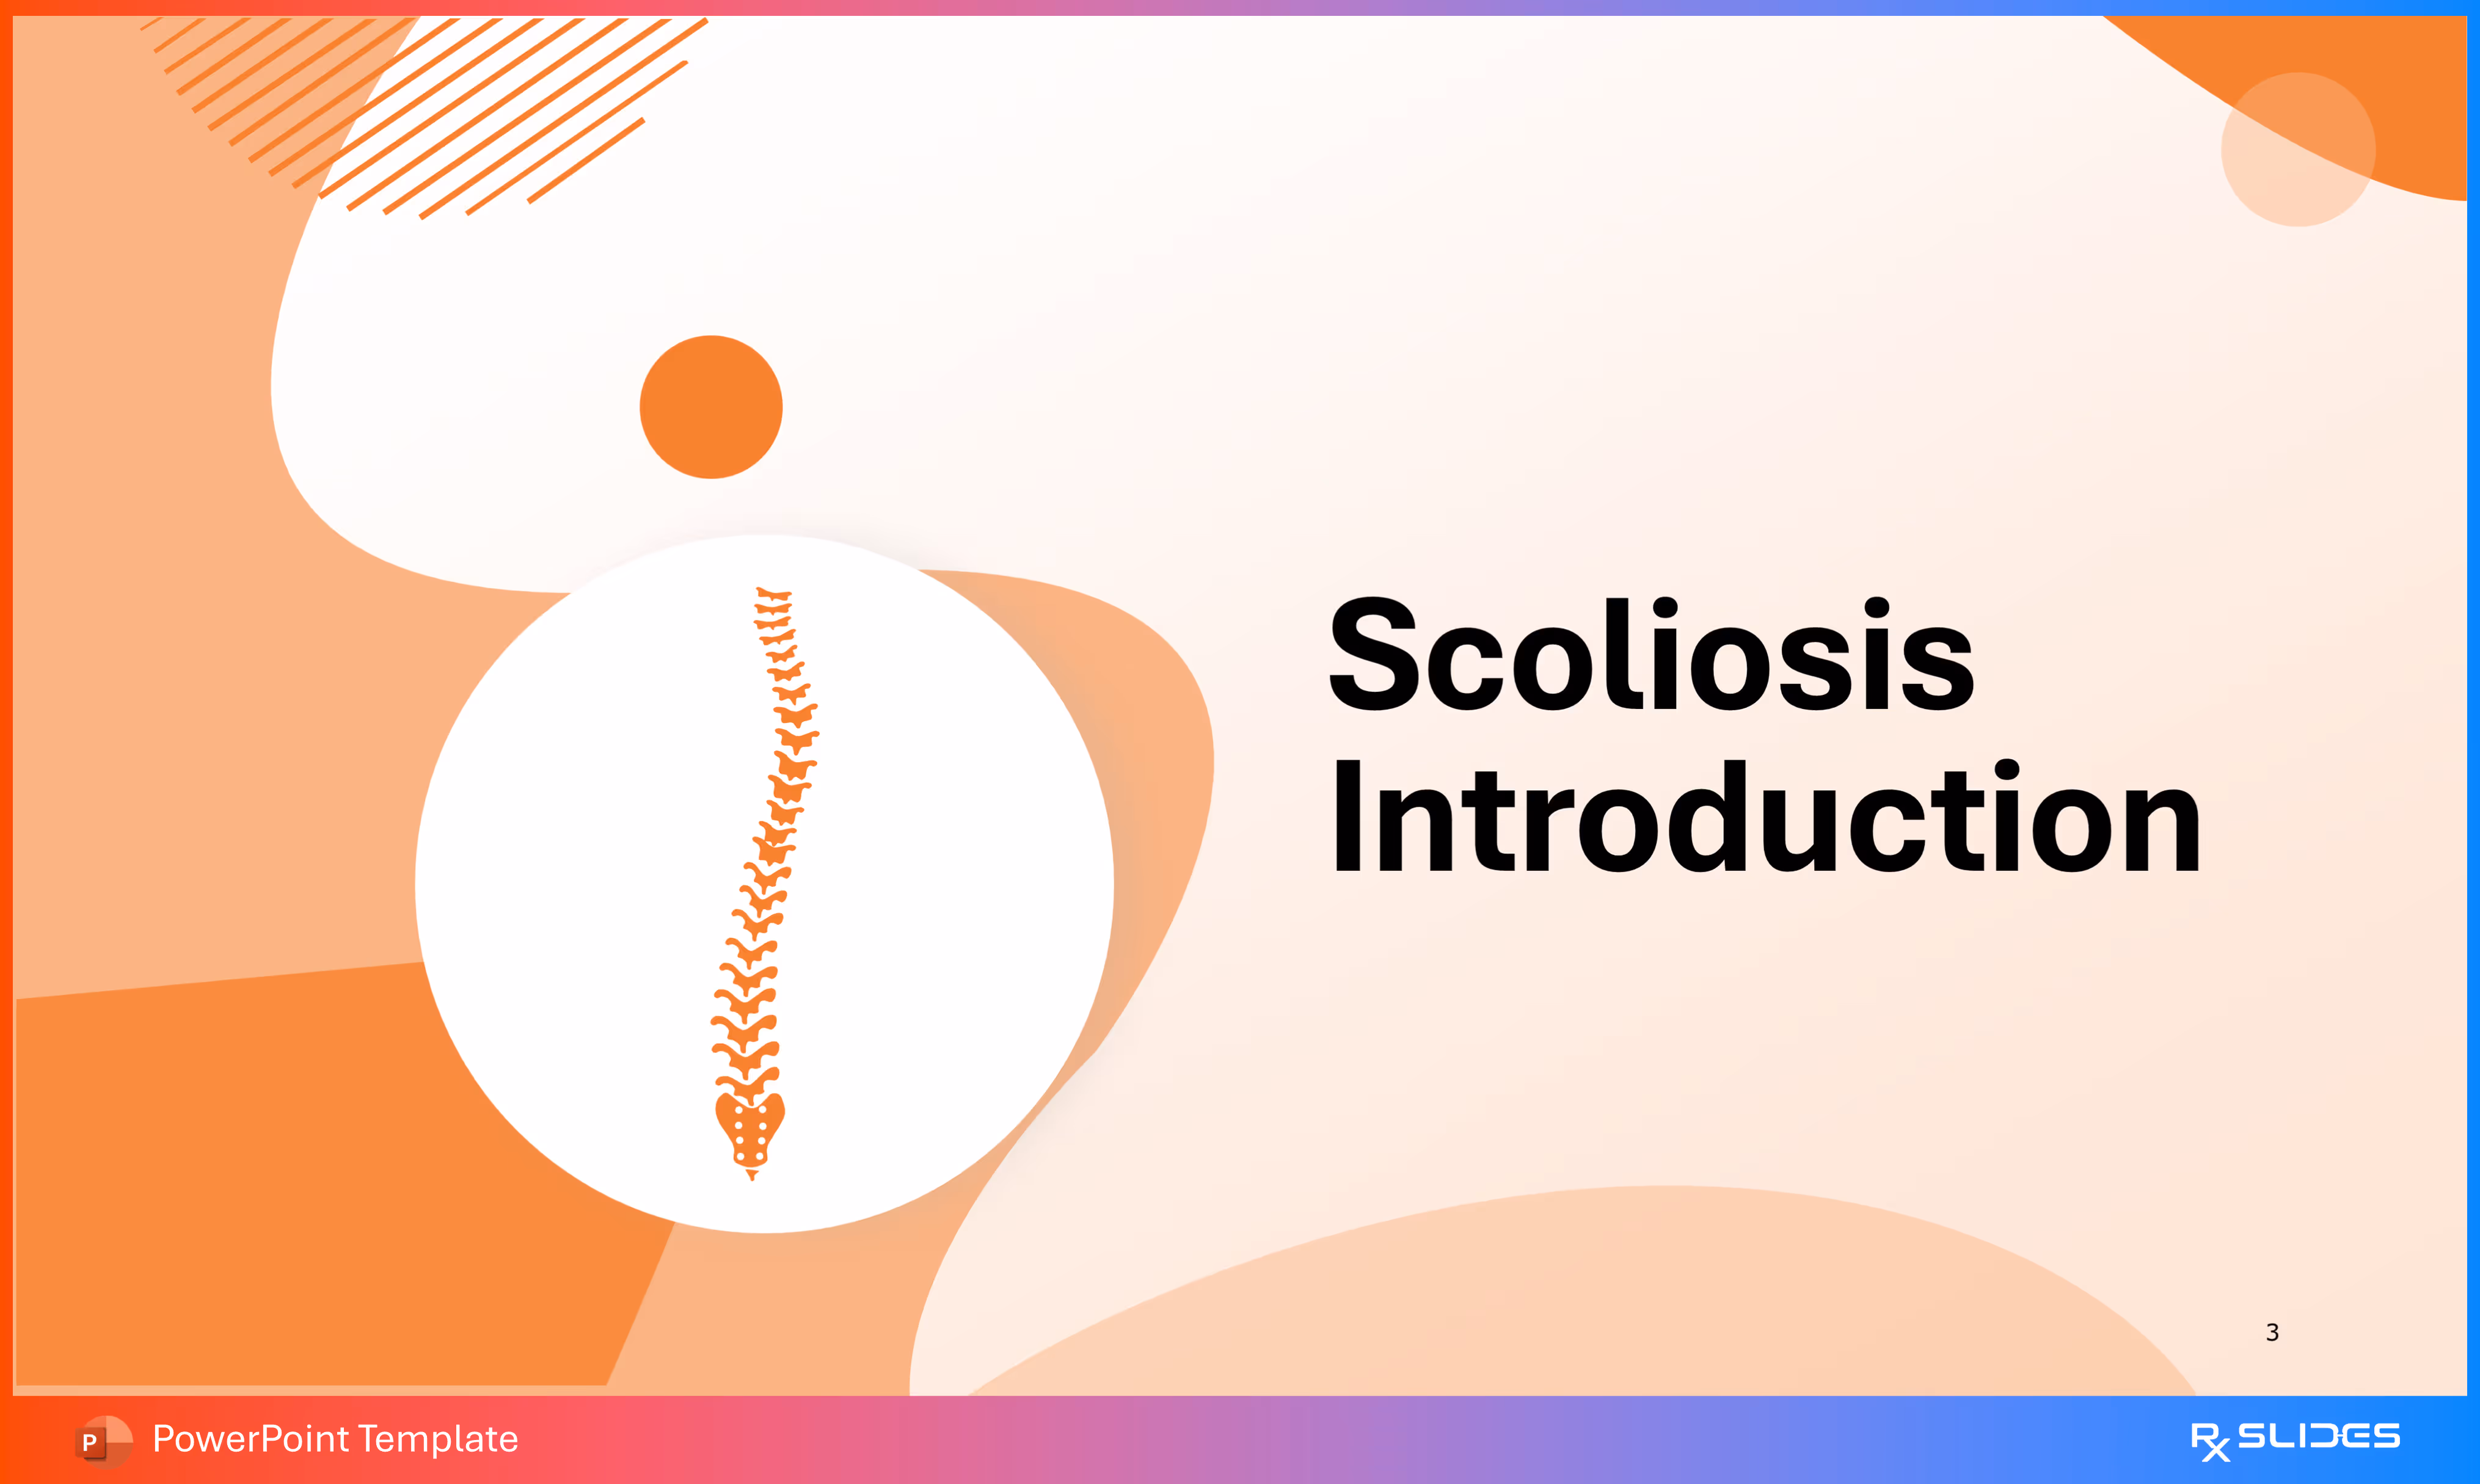
This slide acts as a striking section divider, using powerful imagery to transition into the main content about the condition.
- The key visual is a large, stylized orange illustration of a spine with a clear S-shaped curve, prominently displayed within a white circle. This graphic immediately establishes the topic of spinal curvature for the audience.
- The layout follows the template's orange and white color scheme, utilizing abstract shapes and diagonal lines in the background for a modern, clinical feel.
Slide 4 - Healthy Spine Vertebrae
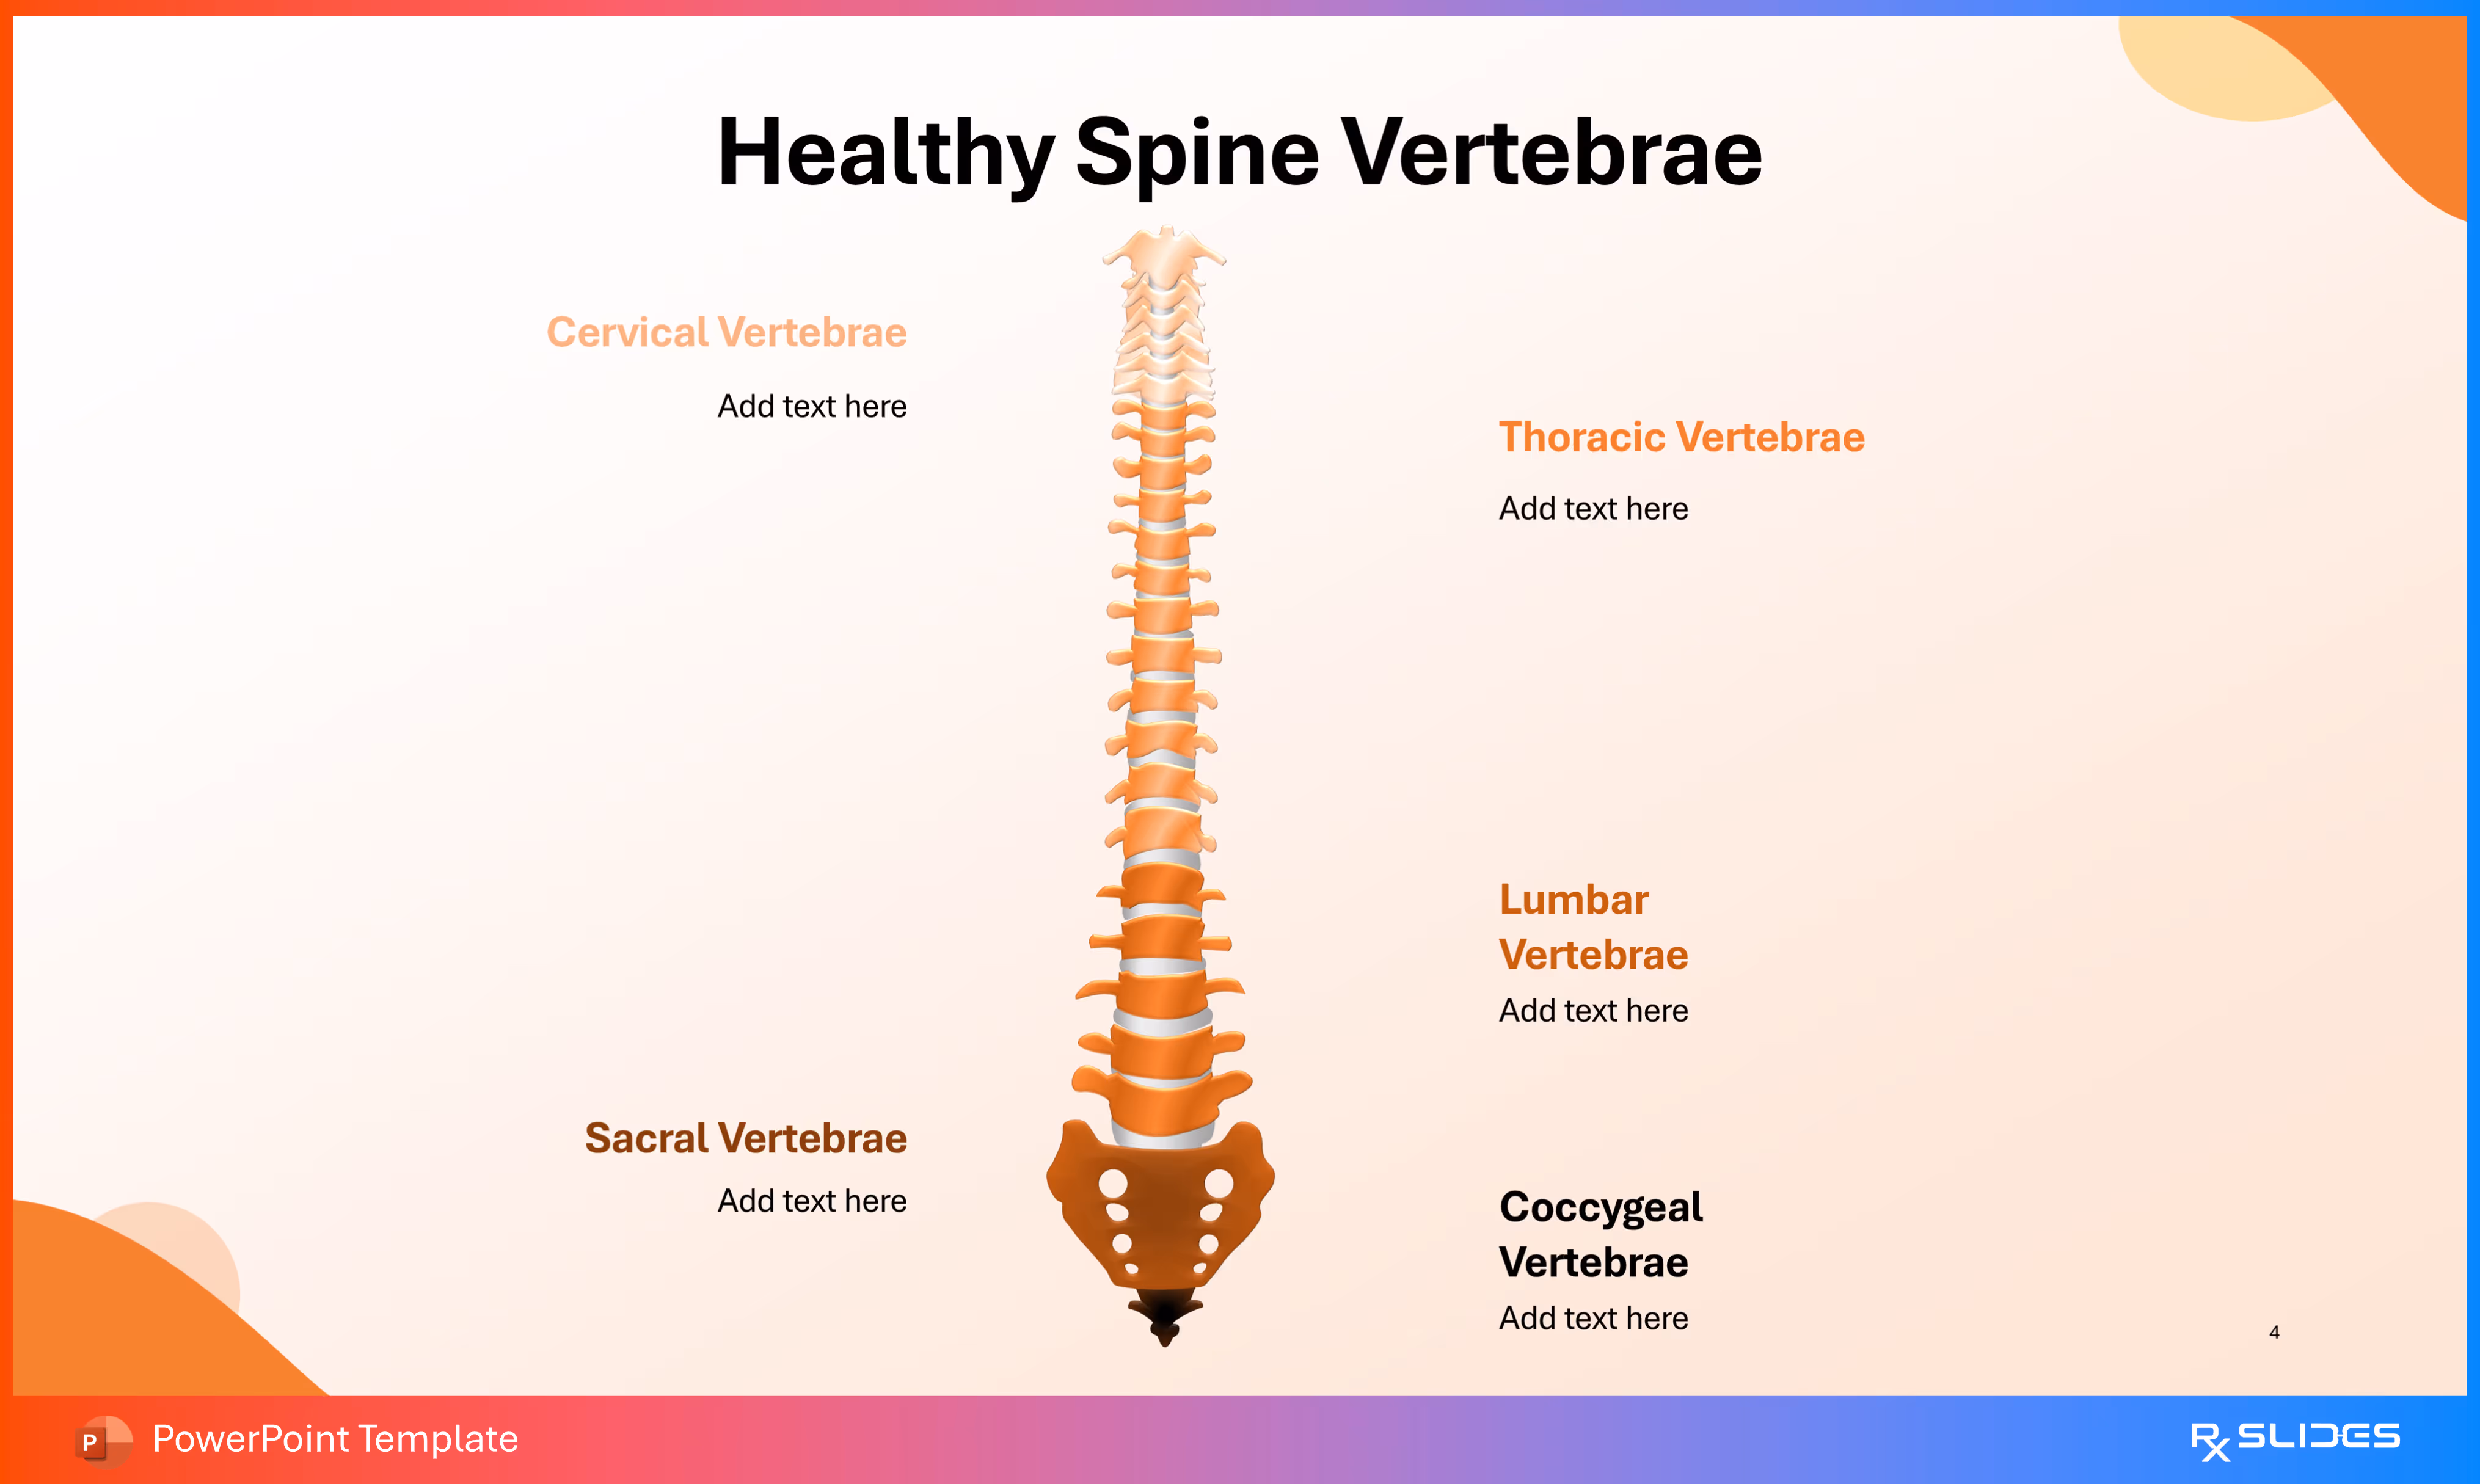
This slide provides essential anatomical background, clearly labeling the different regions of a healthy spine to serve as a baseline for understanding scoliotic curvature.
- It uses five distinct labels to identify the major spinal regions, each with "Add text here" placeholders:
- Cervical Vertebrae.
- Thoracic Vertebrae.
- Lumbar Vertebrae.
- Sacral Vertebrae.
- Coccygeal Vertebrae.
Slide 5 - Healthy Spine Muscles
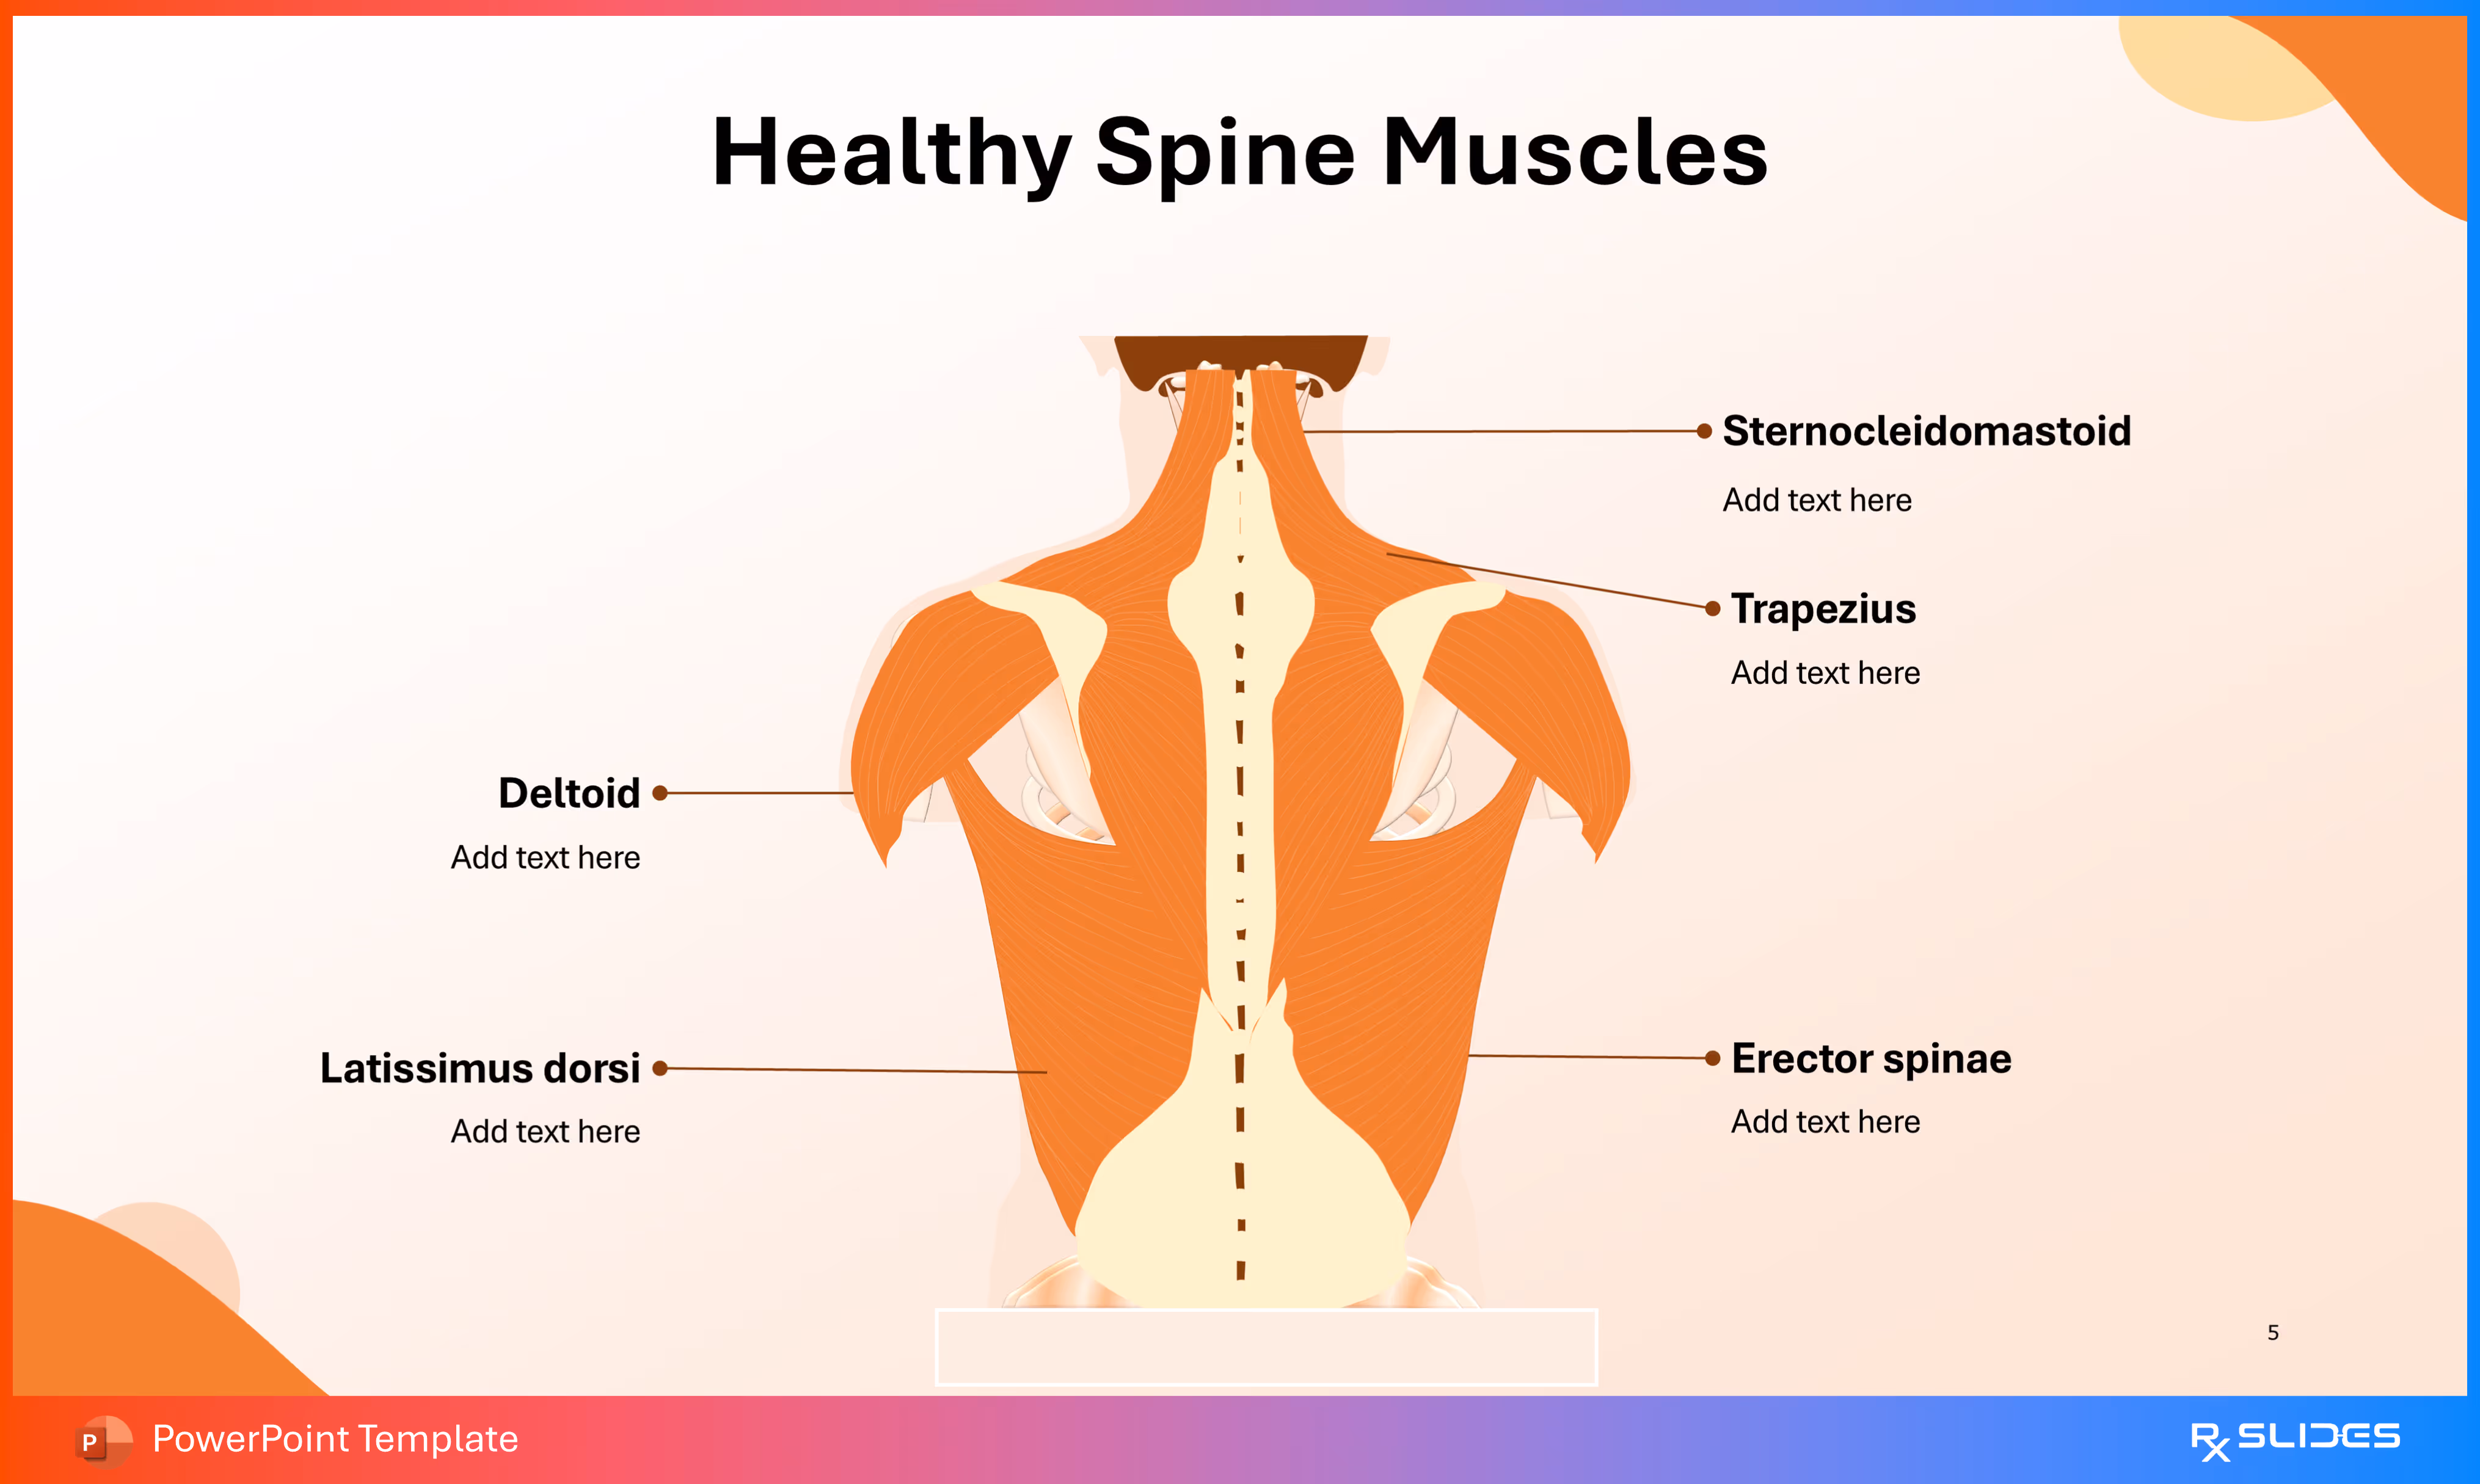
This slide visually supports your content by mapping key muscle groups of the upper back and neck, which are crucial for spinal stability and are often affected by scoliosis.
- The diagram is labeled with five key muscles/muscle groups, each with a placeholder text box for your descriptions:
- Sternocleidomastoid.
- Trapezius.
- Erector spinae.
- Latissimus dorsi.
- Deltoid.
Slide 6 - Natural Front-to-Back Curves of Healthy Spine
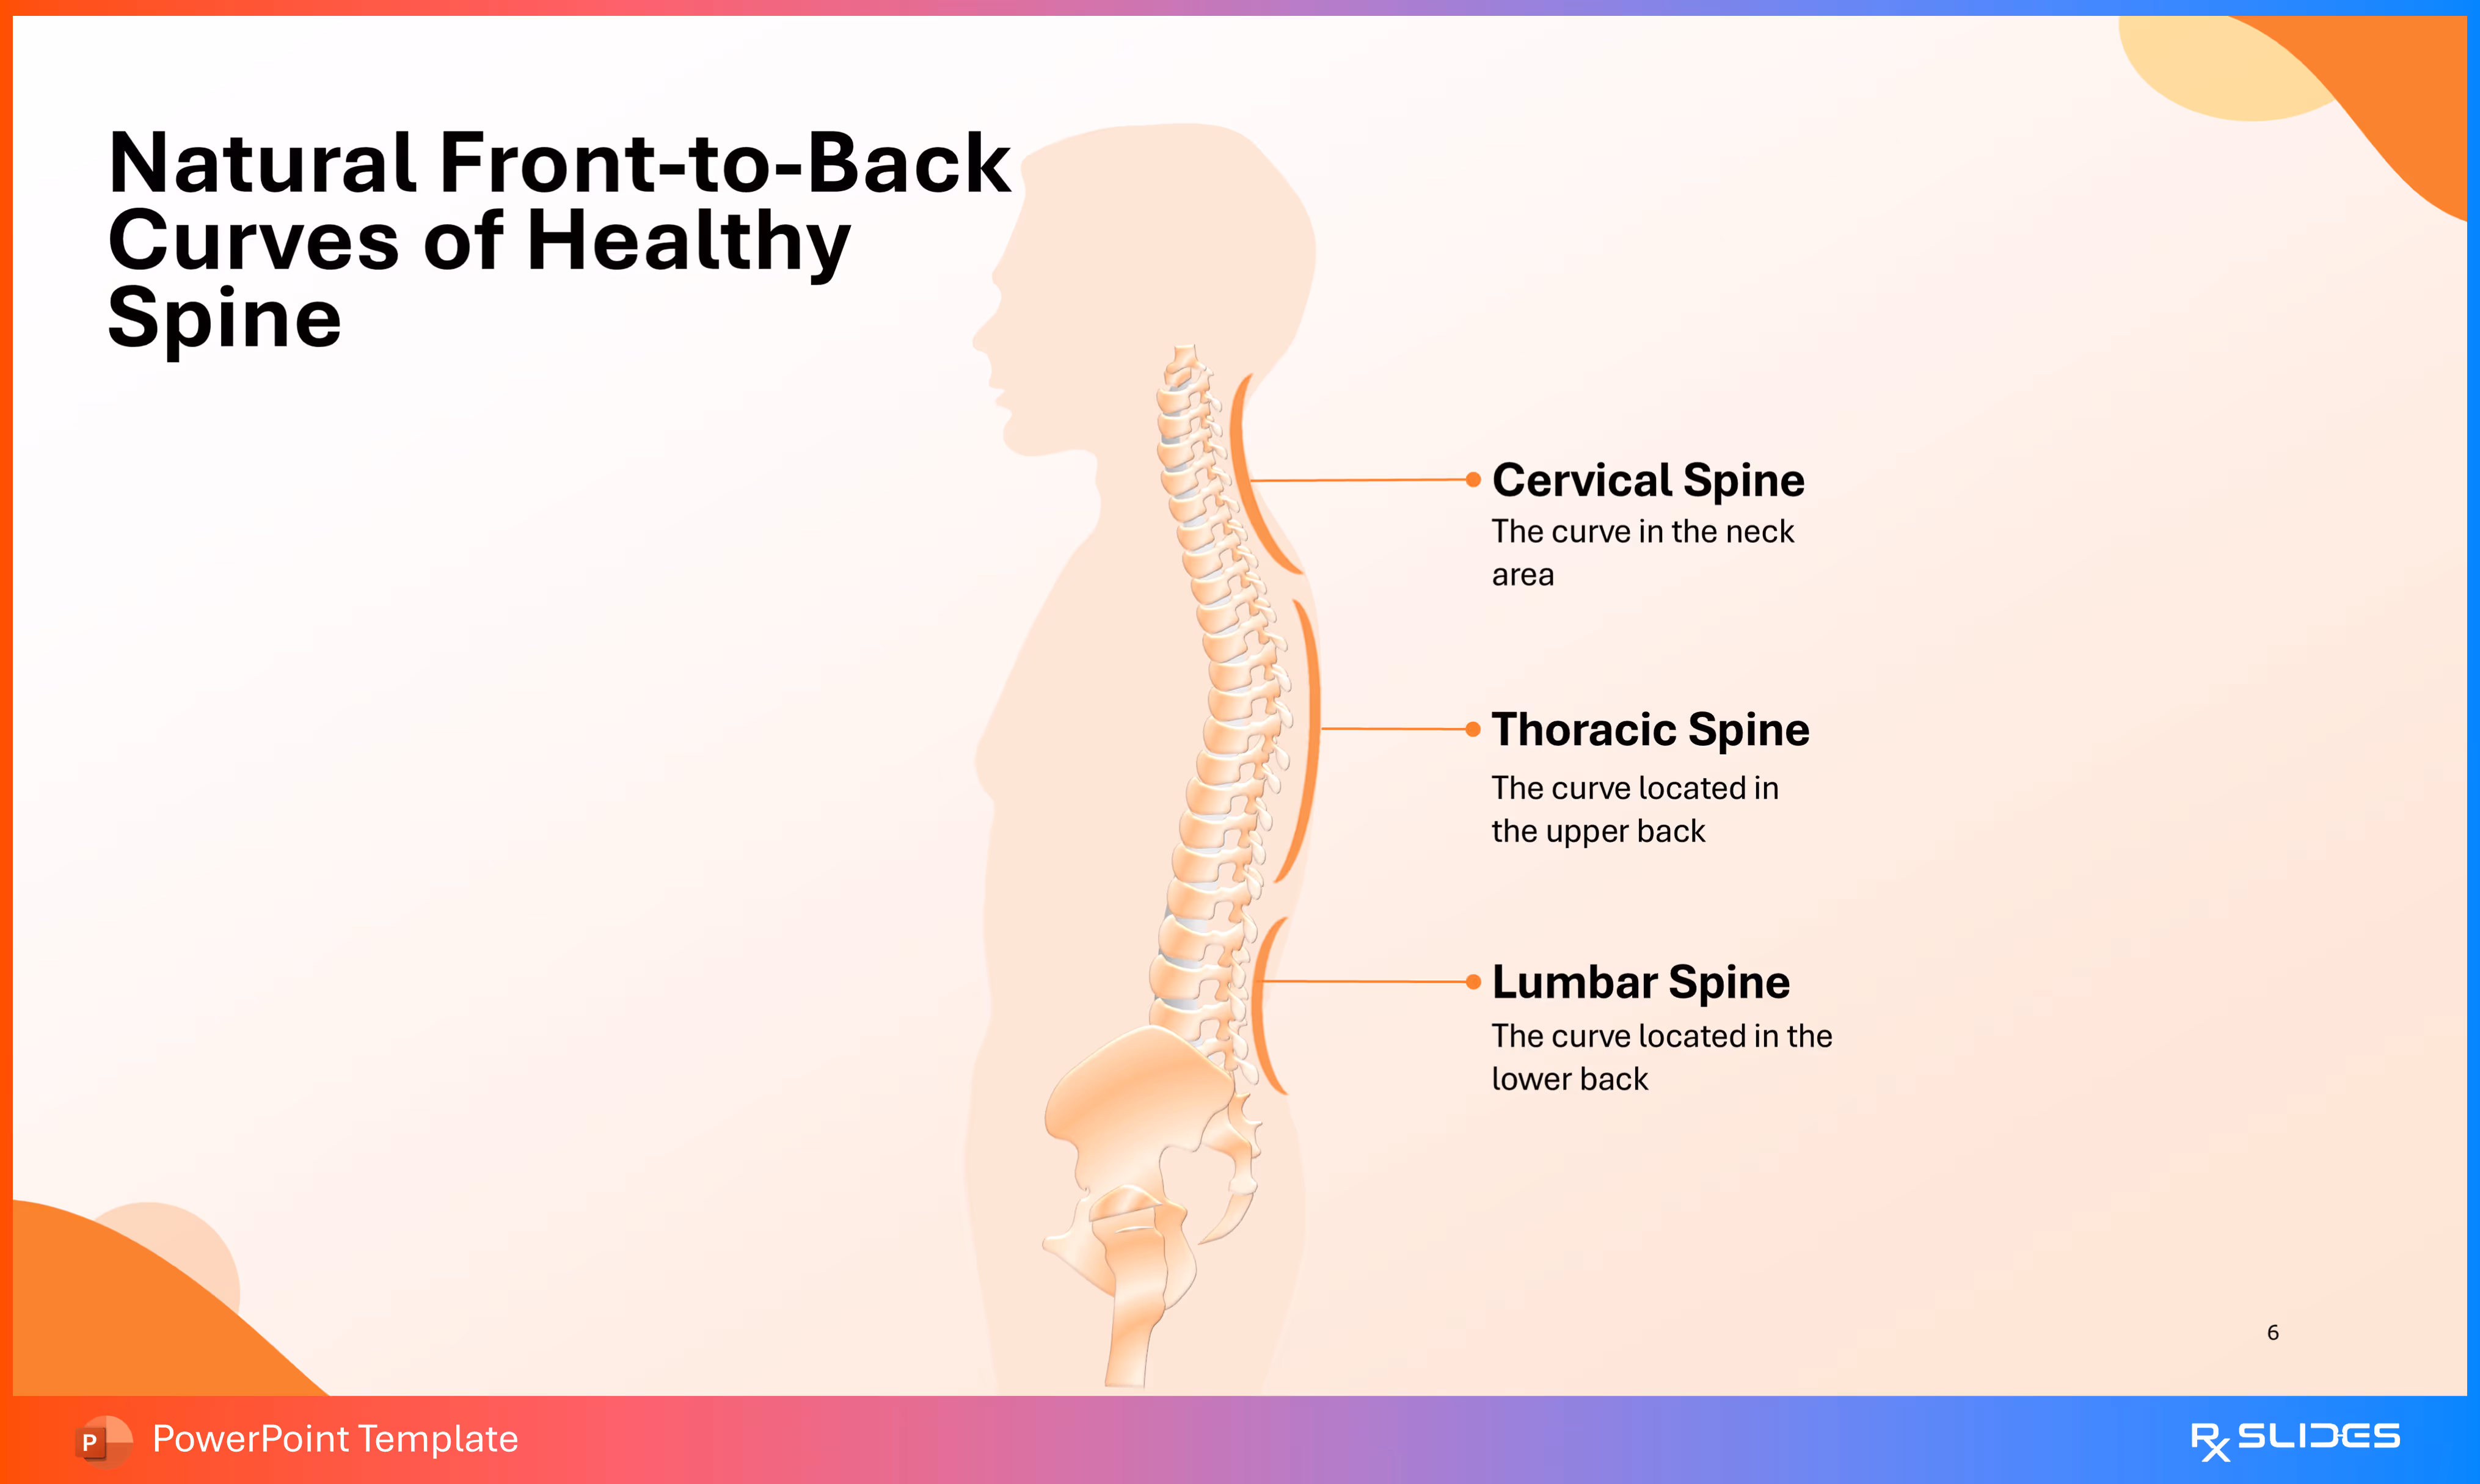
This slide complements the previous anatomical slides by illustrating the natural sagittal curves of a healthy spine, which is crucial for defining the lateral curvature seen in scoliosis.
- The main graphic is a full-length, profile view of the human spine and head. The illustration clearly shows the normal lordotic (inward) and kyphotic (outward) curves.
- It labels and describes the three primary regions of curvature:
- Cervical Spine: The curve in the neck area.
- Thoracic Spine: The curve located in the upper back.
- Lumbar Spine: The curve located in the lower back.
Slide 7 - Healthy Spine vs. Scoliosis

This slide uses a direct comparison to visually define scoliosis by contrasting a healthy spine with one affected by lateral curvature.
- Side-by-side headings: "Healthy Spine" and "Scoliosis".
- Visual Elements:
- Healthy Spine: Features a detailed illustration of a human skeletal structure with a straight spine (highlighted in blue), indicating a normal frontal/rear view.
- Scoliosis: Features a detailed illustration of a human skeletal structure with a clear lateral S-curve in the spine (highlighted in orange).
- Descriptive text emphasizes the difference:
- The Healthy Spine "Appears straight from a front or back view".
- Scoliosis "Causes an abnormal side to side curve of the spine".
Slide 8 - Scoliosis Case Properties (Signs/Symptoms)
.avif)
This slide visually highlights the common asymmetrical physical signs of scoliosis that are typically observed during a physical examination or screening.
- The slide features a simplified diagram of a human torso from the back, with an orange line drawing of the spine showing a lateral curve. Horizontal lines and dots emphasize the unevenness across the shoulders, shoulder blades, and hips.
- Content Sections (Signs):
- The shoulder blades may stick out and the body may lean to one side.
- One hip or one shoulder may appear higher than the other.
- Both text descriptions include an "Add text here" placeholder beneath them for further detail.
Slide 9 - Scoliosis Causes Section Slide

This slide functions as a high-impact section divider, introducing the topic of the causes and types of scoliosis with a focus on potential congenital factors.
- The central graphic is an orange silhouette of a fetus in the fetal position inside a large white circle. This visual strongly suggests congenital scoliosis (caused by a defect during development) will be a key discussion point.
- The slide continues the consistent modern orange and white color scheme and abstract design elements.
Slide 10 - Scoliosis Causes
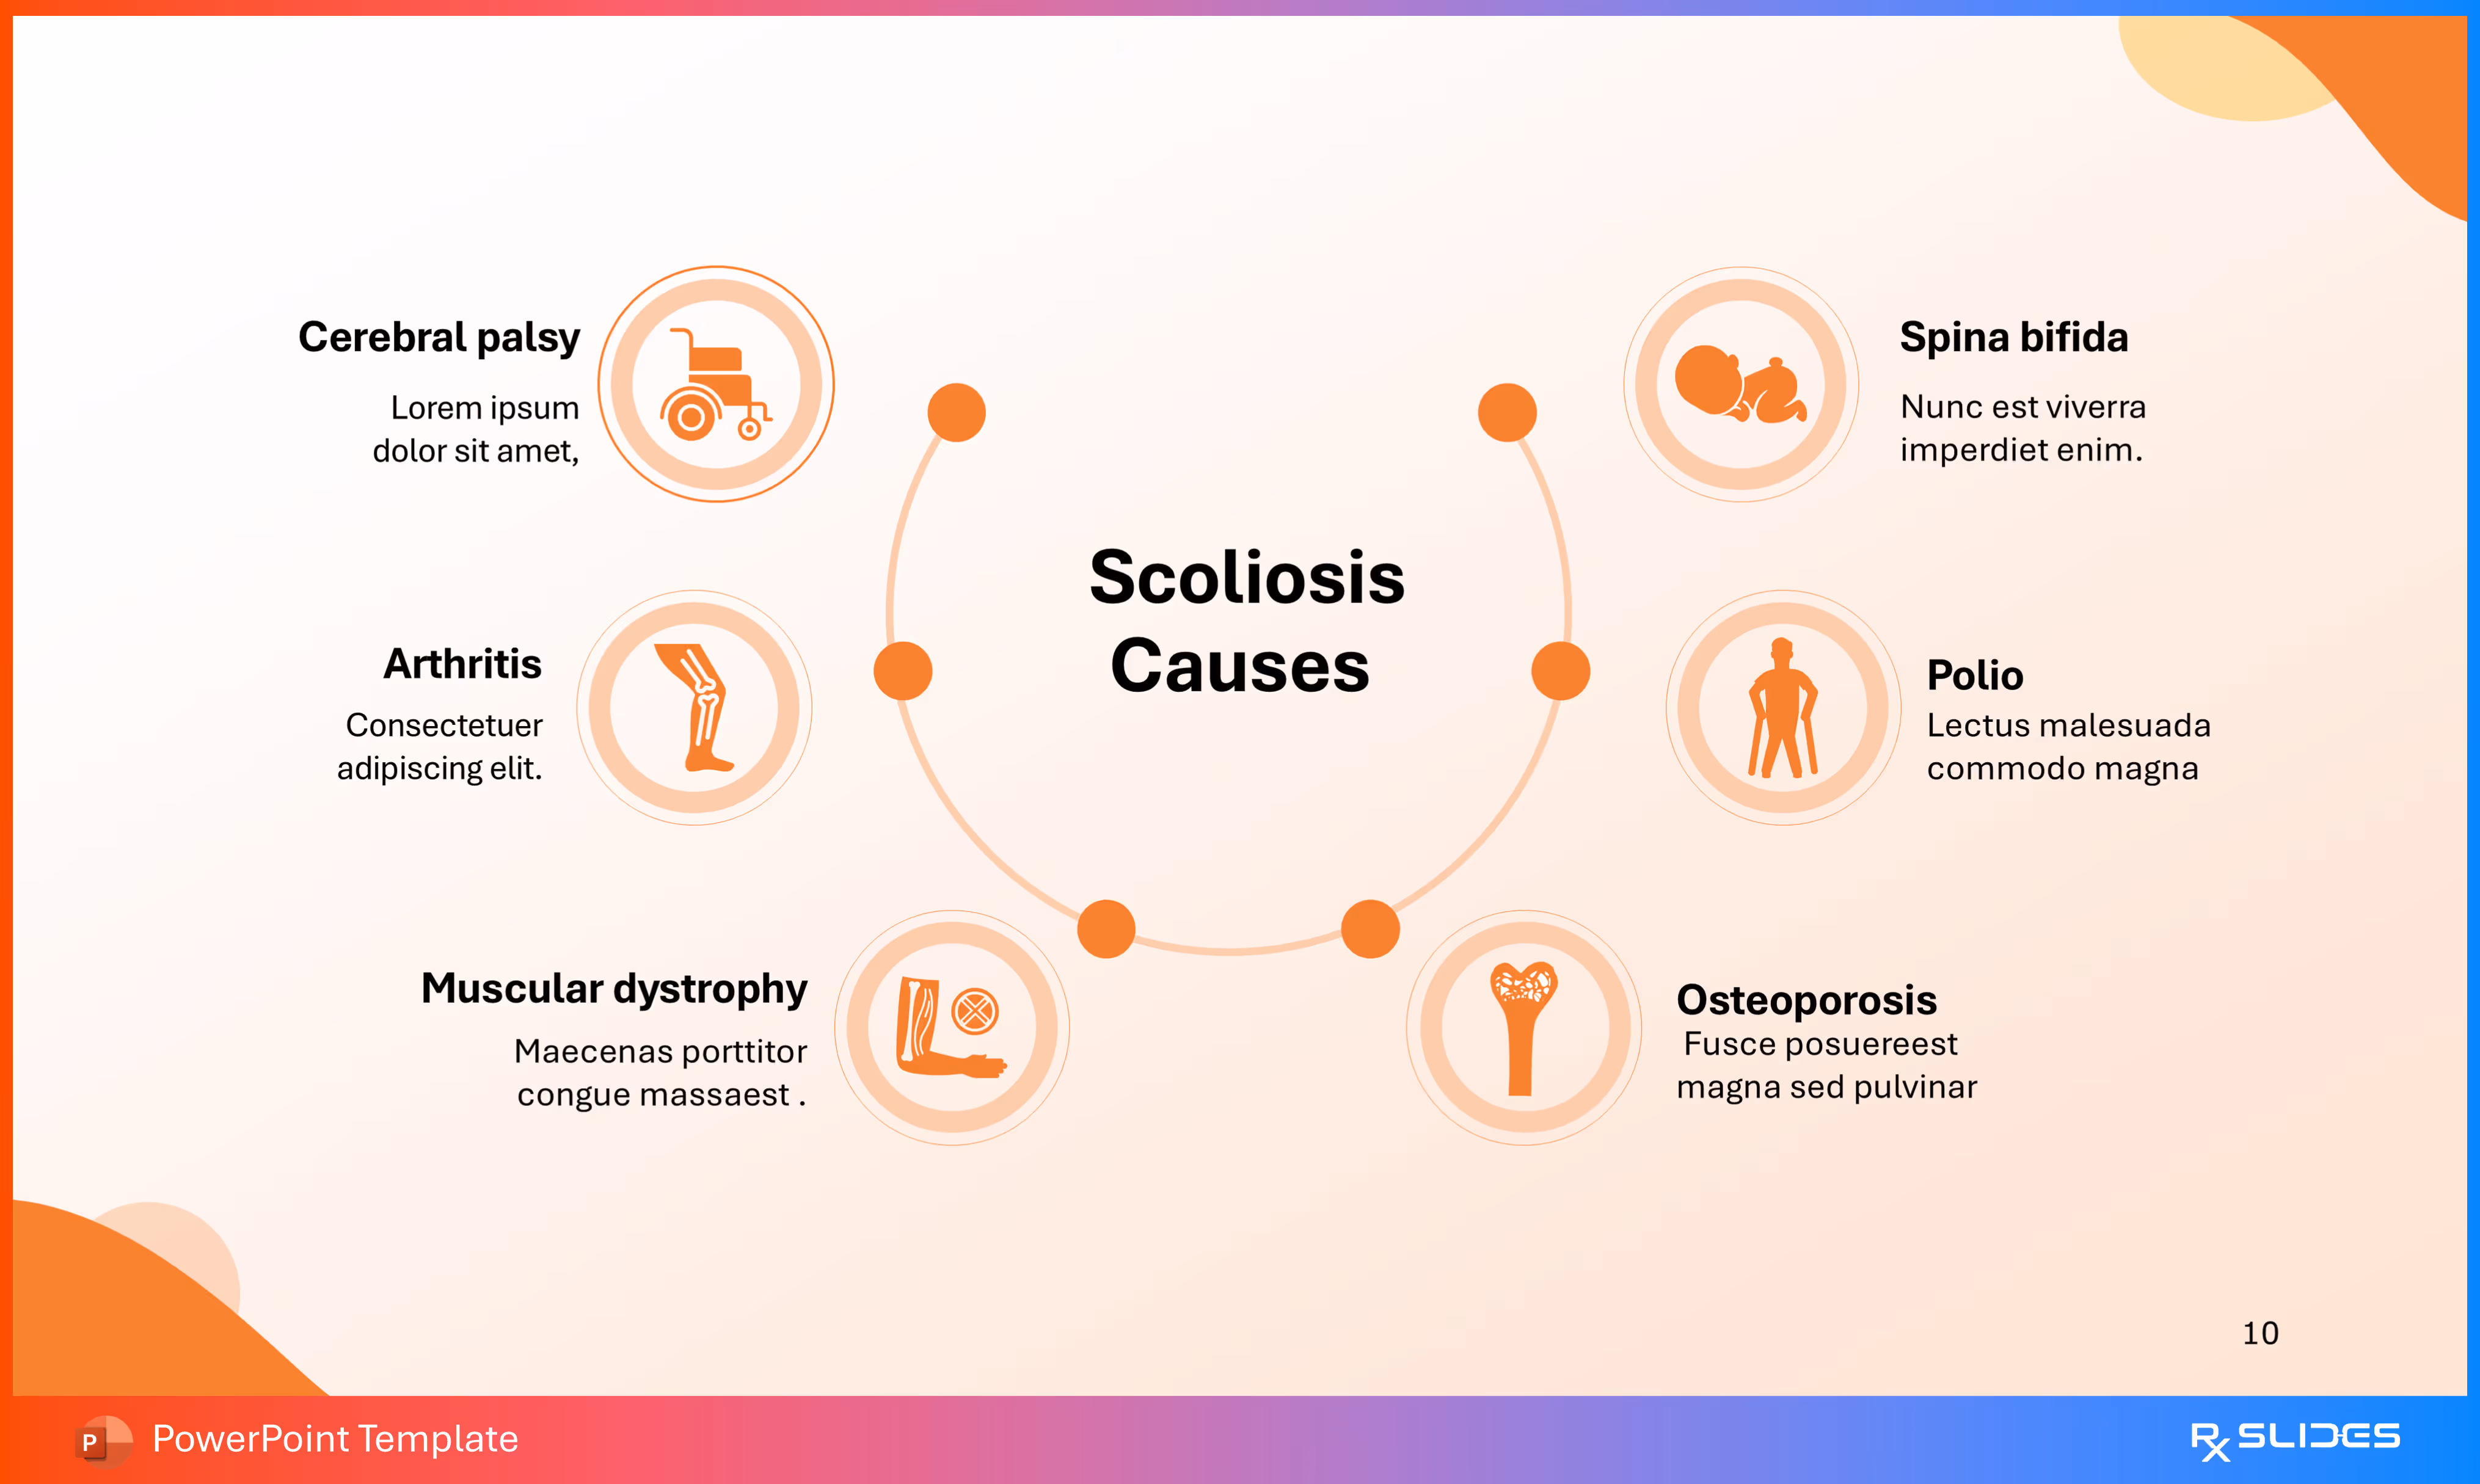
This slide presents a comprehensive, visually-driven overview of six major diseases and disorders that can result in secondary scoliosis (known as non-idiopathic causes).
- The layout uses a circular diagram connecting the central topic to six surrounding condition boxes. Each condition is represented by a unique icon and placeholder text.
- Content Sections (Causes):
- Cerebral palsy (Icon: Wheelchair).
- Spina bifida (Icon: Baby).
- Arthritis (Icon: Bent leg/joint).
- Polio (Icon: Person with a cane/walking aid).
- Muscular dystrophy (Icon: Muscled arm/leg).
- Osteoporosis (Icon: Bone with defects).
Slide 11 - Scoliosis Causes Alternative
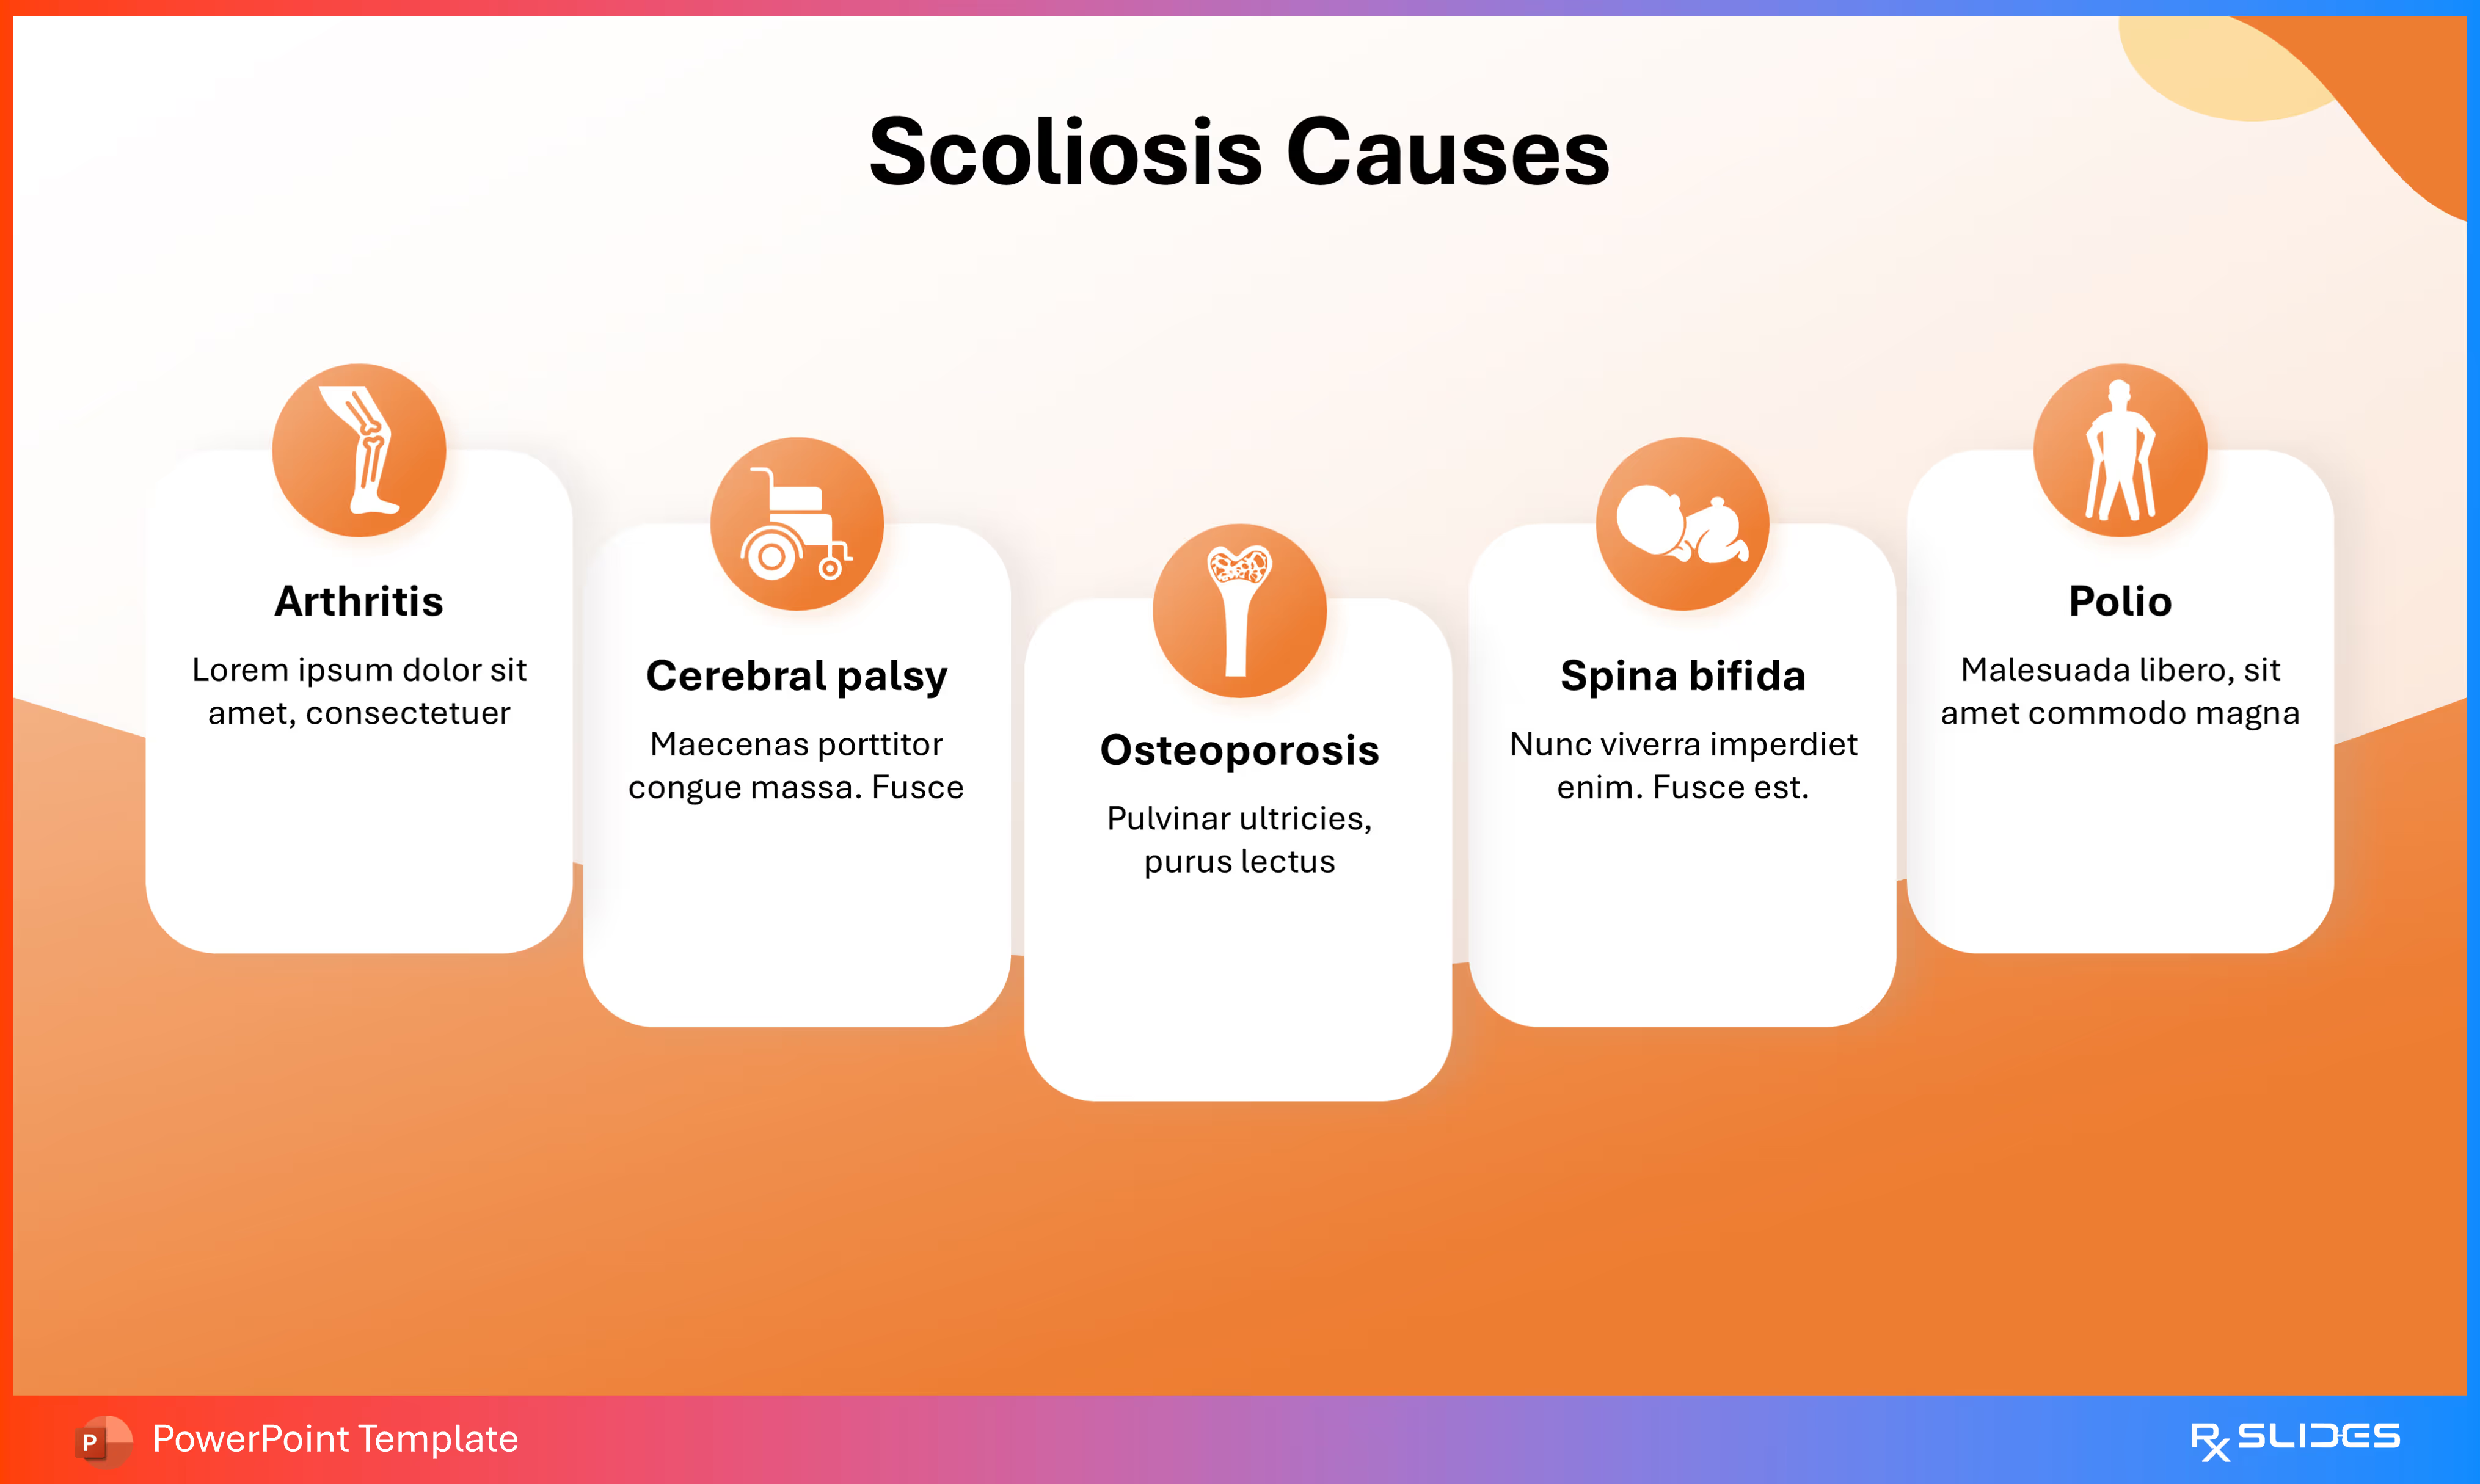
This slide offers a modular, horizontal layout for detailing five major conditions that can cause secondary scoliosis, presenting an alternative to the circular layout of the previous slide.
- The slide uses five prominent vertical cards arranged horizontally, each featuring a condition, an icon, and a text placeholder.
- The visual flow is dynamic, with the orange icons slightly elevated above the white content cards, maintaining the template's professional and energetic orange color scheme.
Slide 12 - Scoliosis Types Section Slide
This slide functions as a strong section divider, transitioning the presentation from the causes of scoliosis to the different types or classifications of the condition.
- The dominant graphic is an orange illustration showing three stylized spines inside a white circle, visually suggesting the various different forms or types of spinal curvature.
- The slide continues the vibrant orange and white theme with abstract background shapes, maintaining the consistent, professional template design.
Slide 13 - Scoliosis Types
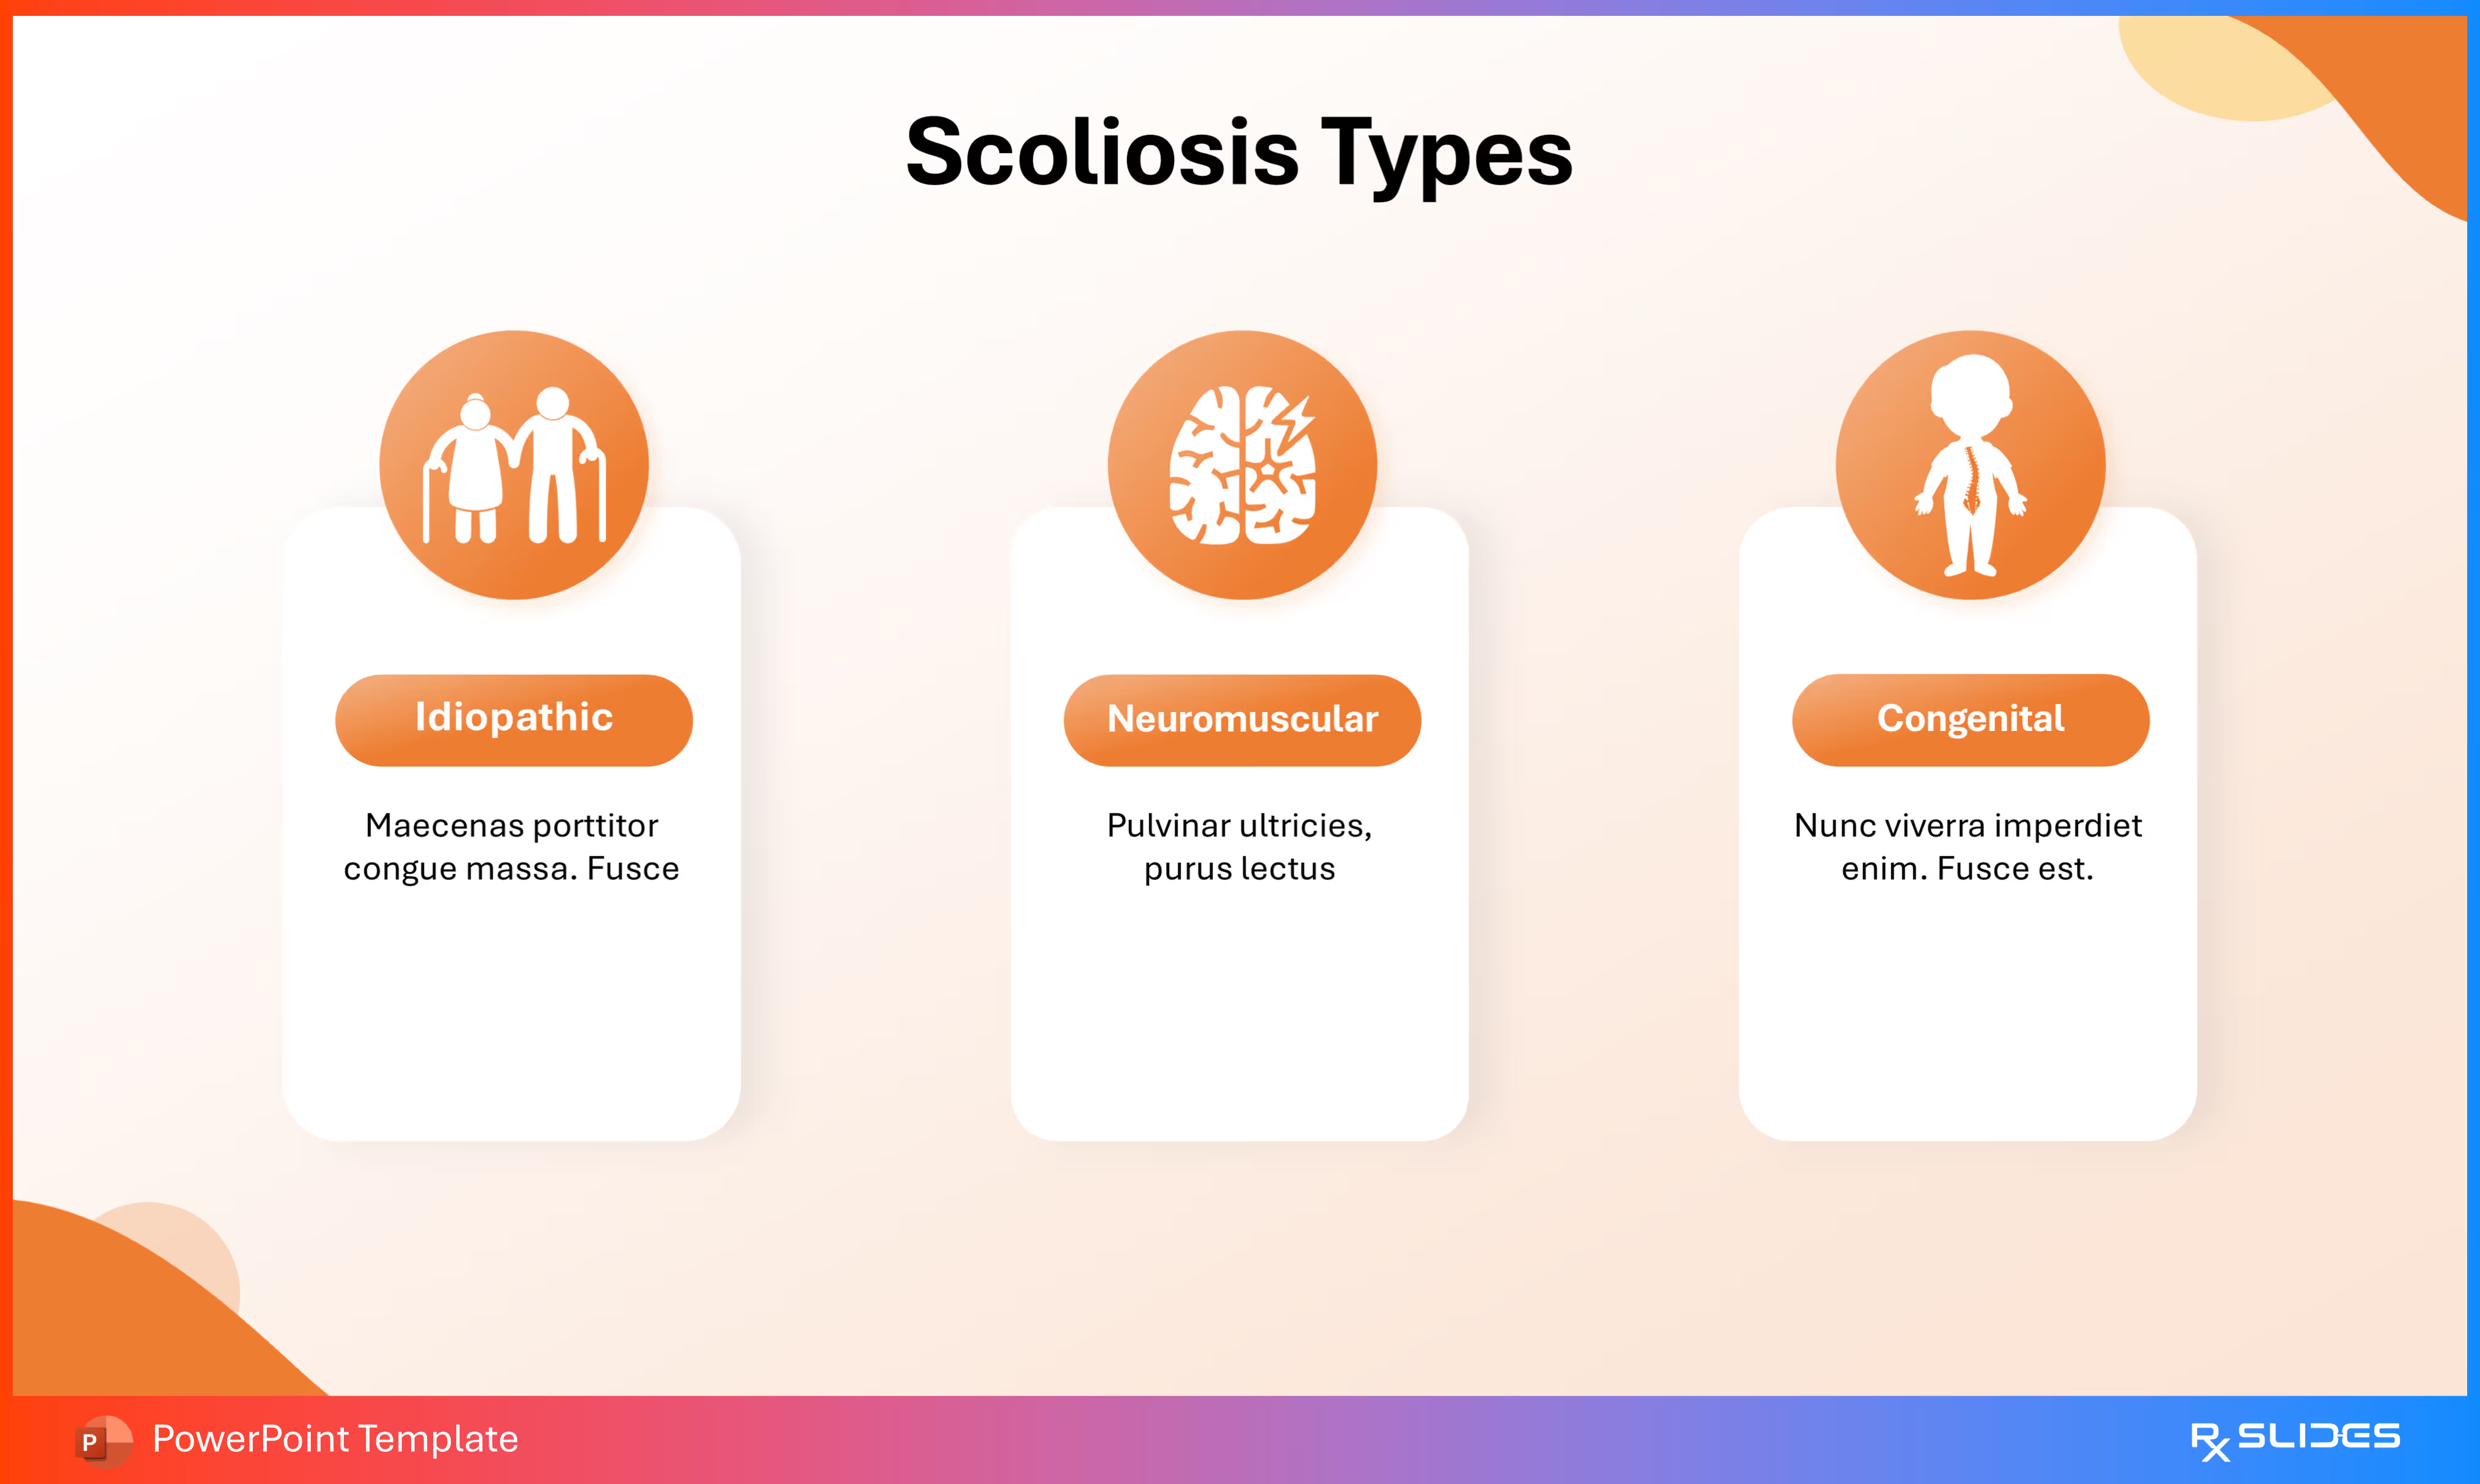
This slide visually outlines the three main classifications of scoliosis, providing a clear framework for discussing the condition's varying etiologies.
- The slide uses a clean, three-column layout with vertical cards to present each type.
- Content Sections (Types):
- Idiopathic (Icon: Two older people with canes). This is the most common type, where the cause is unknown [based on common medical knowledge].
- Neuromuscular (Icon: Human brain). This type is linked to nerve or muscle disorders [based on common medical knowledge].
- Congenital (Icon: Human silhouette, perhaps representing a child or younger person). This type results from spinal deformities present at birth [based on common medical knowledge].
- The presentation is professional and easy to follow, using the template's consistent orange/white color scheme.
Slide 14 - Types of Scoliosis Anatomically
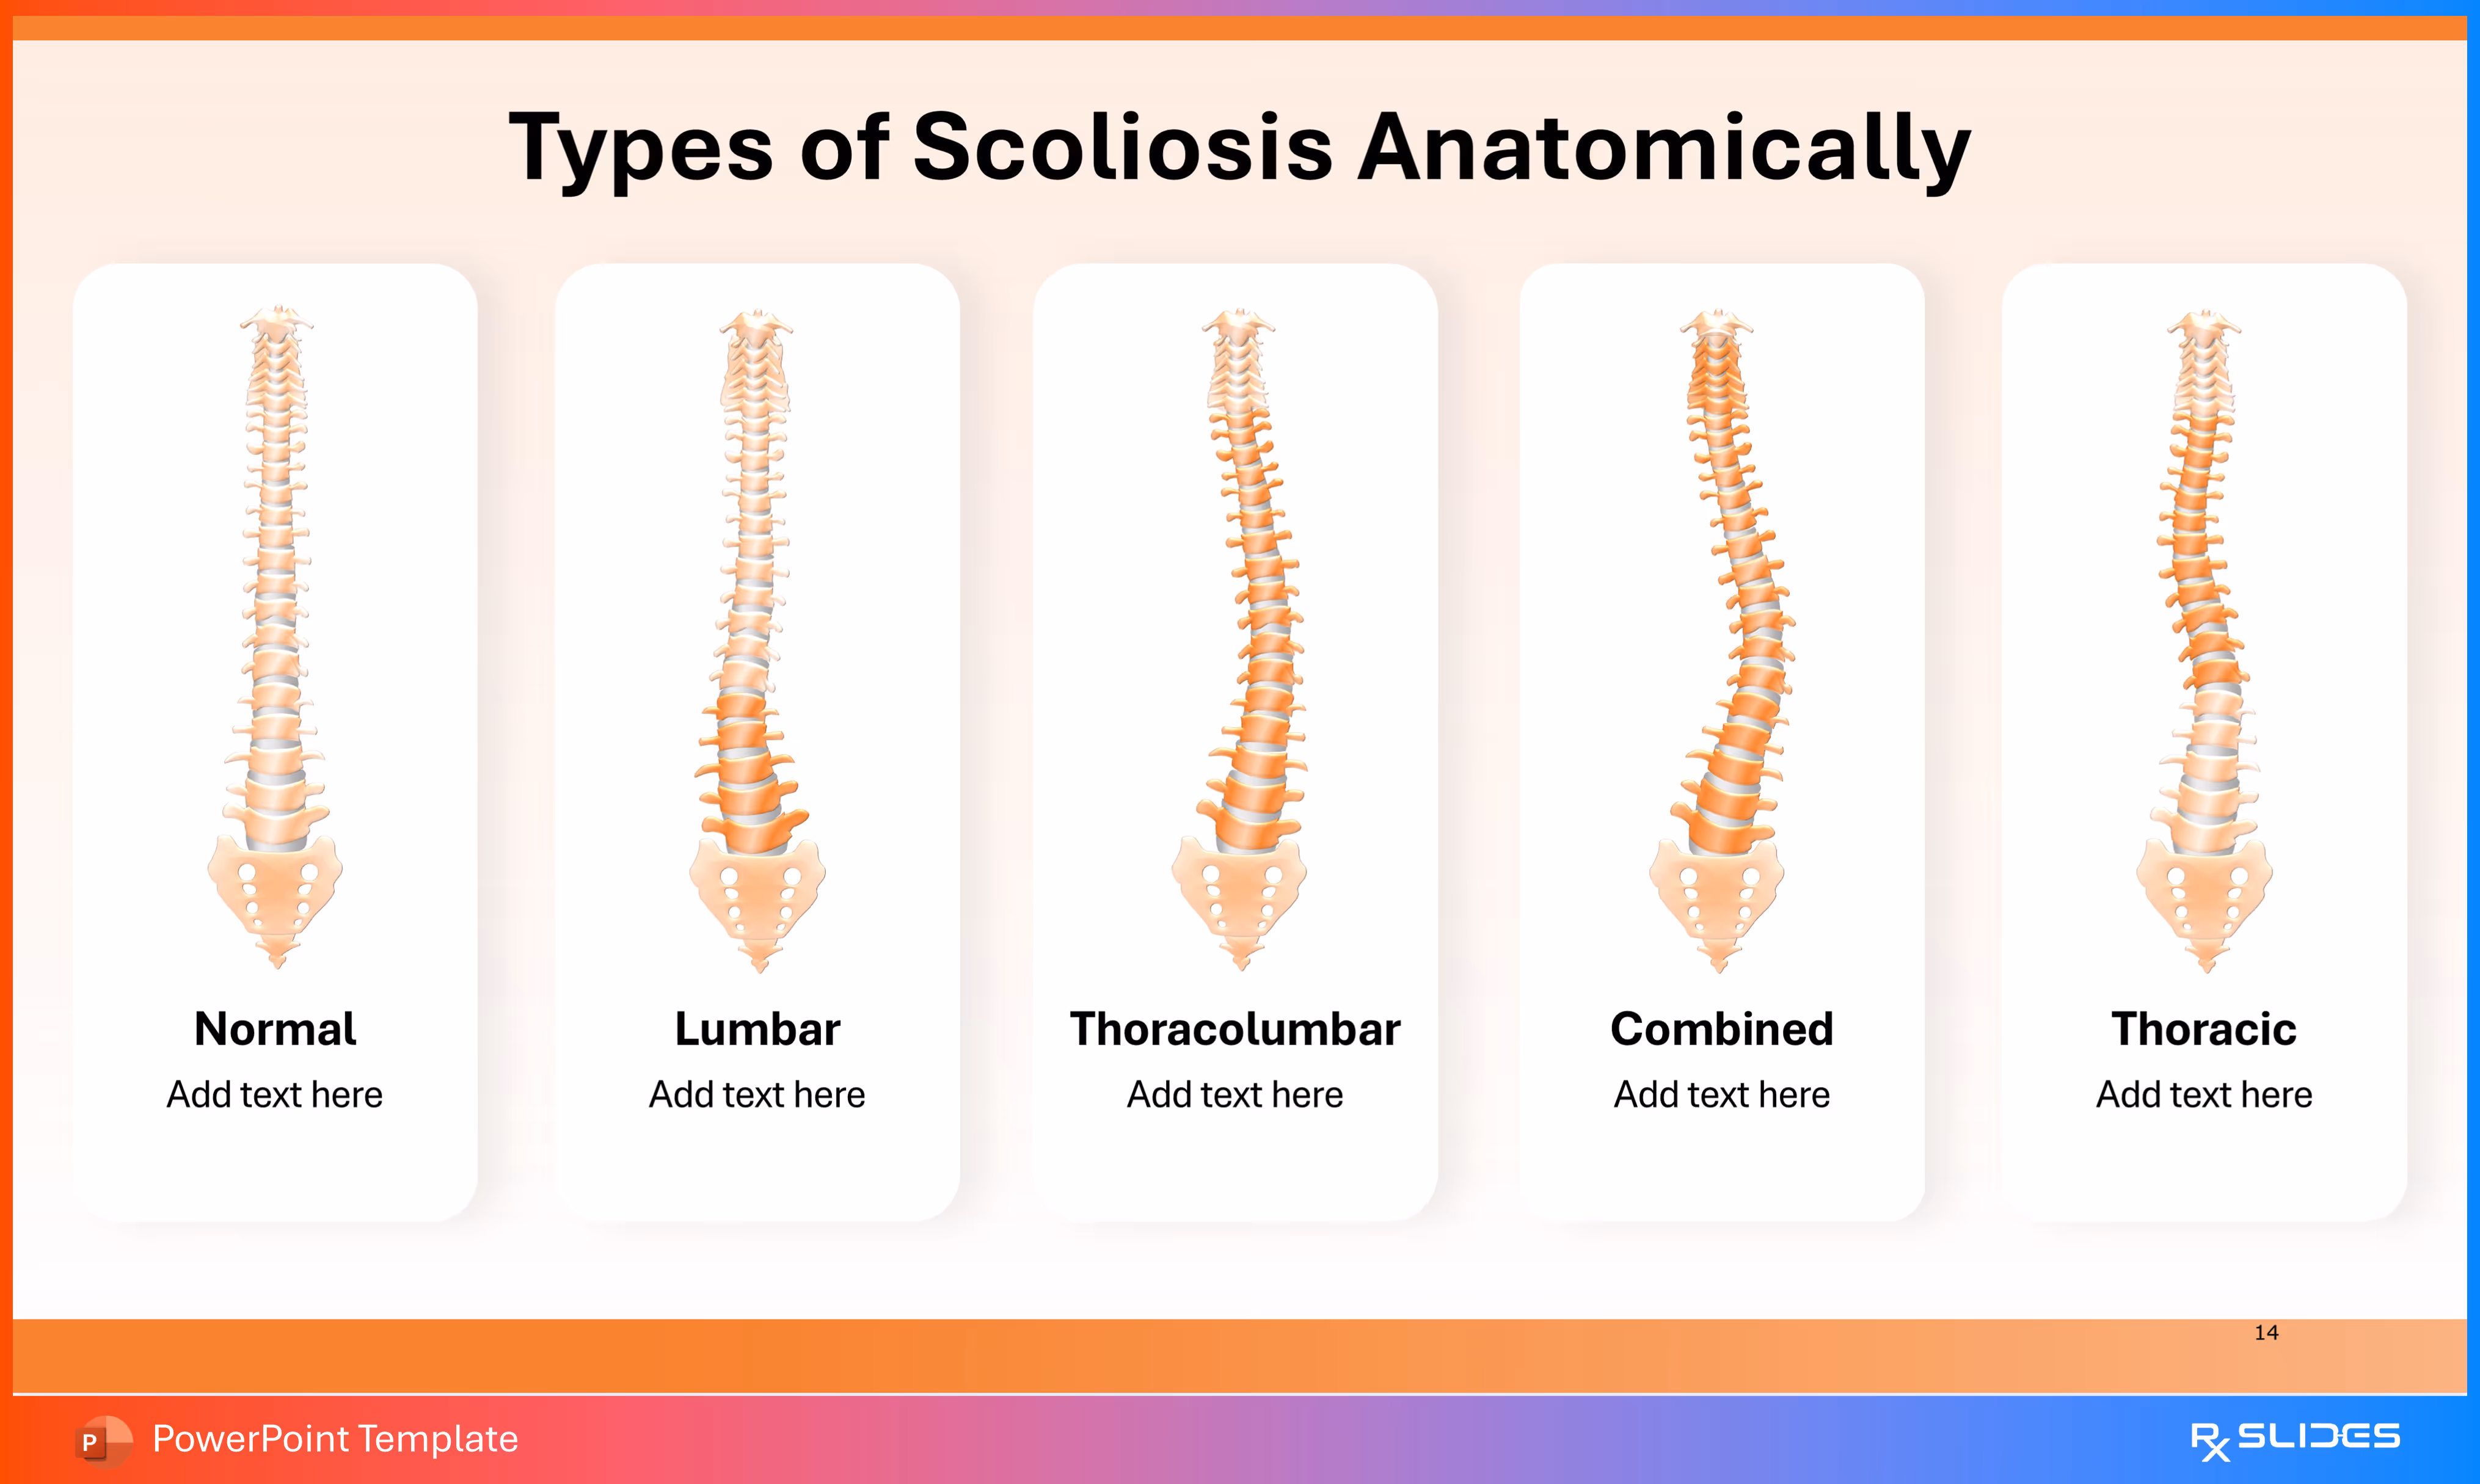
This slide visually classifies the different anatomical locations of scoliotic curves, using a comparative layout to show the difference between a normal spine and the various common curve patterns.
- The slide features five vertical cards arranged side-by-side, each displaying a stylized illustration of a spinal column.
- Each card represents a different type of spinal alignment, with a placeholder for detailed text:
- Normal: Features a straight, healthy spine.
- Lumbar: Shows a curve primarily in the lower back (lumbar region).
- Thoracolumbar: Displays a curve spanning the mid-back and lower back regions.
- Combined: Illustrates an S-shaped curve (likely thoracic and lumbar curves).
- Thoracic: Shows a curve located predominantly in the upper back (thoracic region).
Slide 15 - Differential Diagnosis of Scoliosis

This slide uses a clear, side-profile illustration to differentiate scoliosis from other common spinal alignment disorders, namely kyphosis and lordosis.
- The slide presents three distinct human profile silhouettes, each demonstrating a different spinal posture, with a call-out bubble above each figure for a title and descriptive text.
- Content Sections (Spinal Disorders):
- Kyphosis: The silhouette shows an exaggerated rounding of the upper back (hunchback), typically in the thoracic region.
- Scoliosis: The central silhouette is a frontal/rear view with a lateral (side-to-side) curve clearly visible on the torso.
- Lordosis: The silhouette displays an exaggerated inward curve of the lower back (swayback), typically in the lumbar region.
Slide 16 - Scoliosis Differential Diagnosis
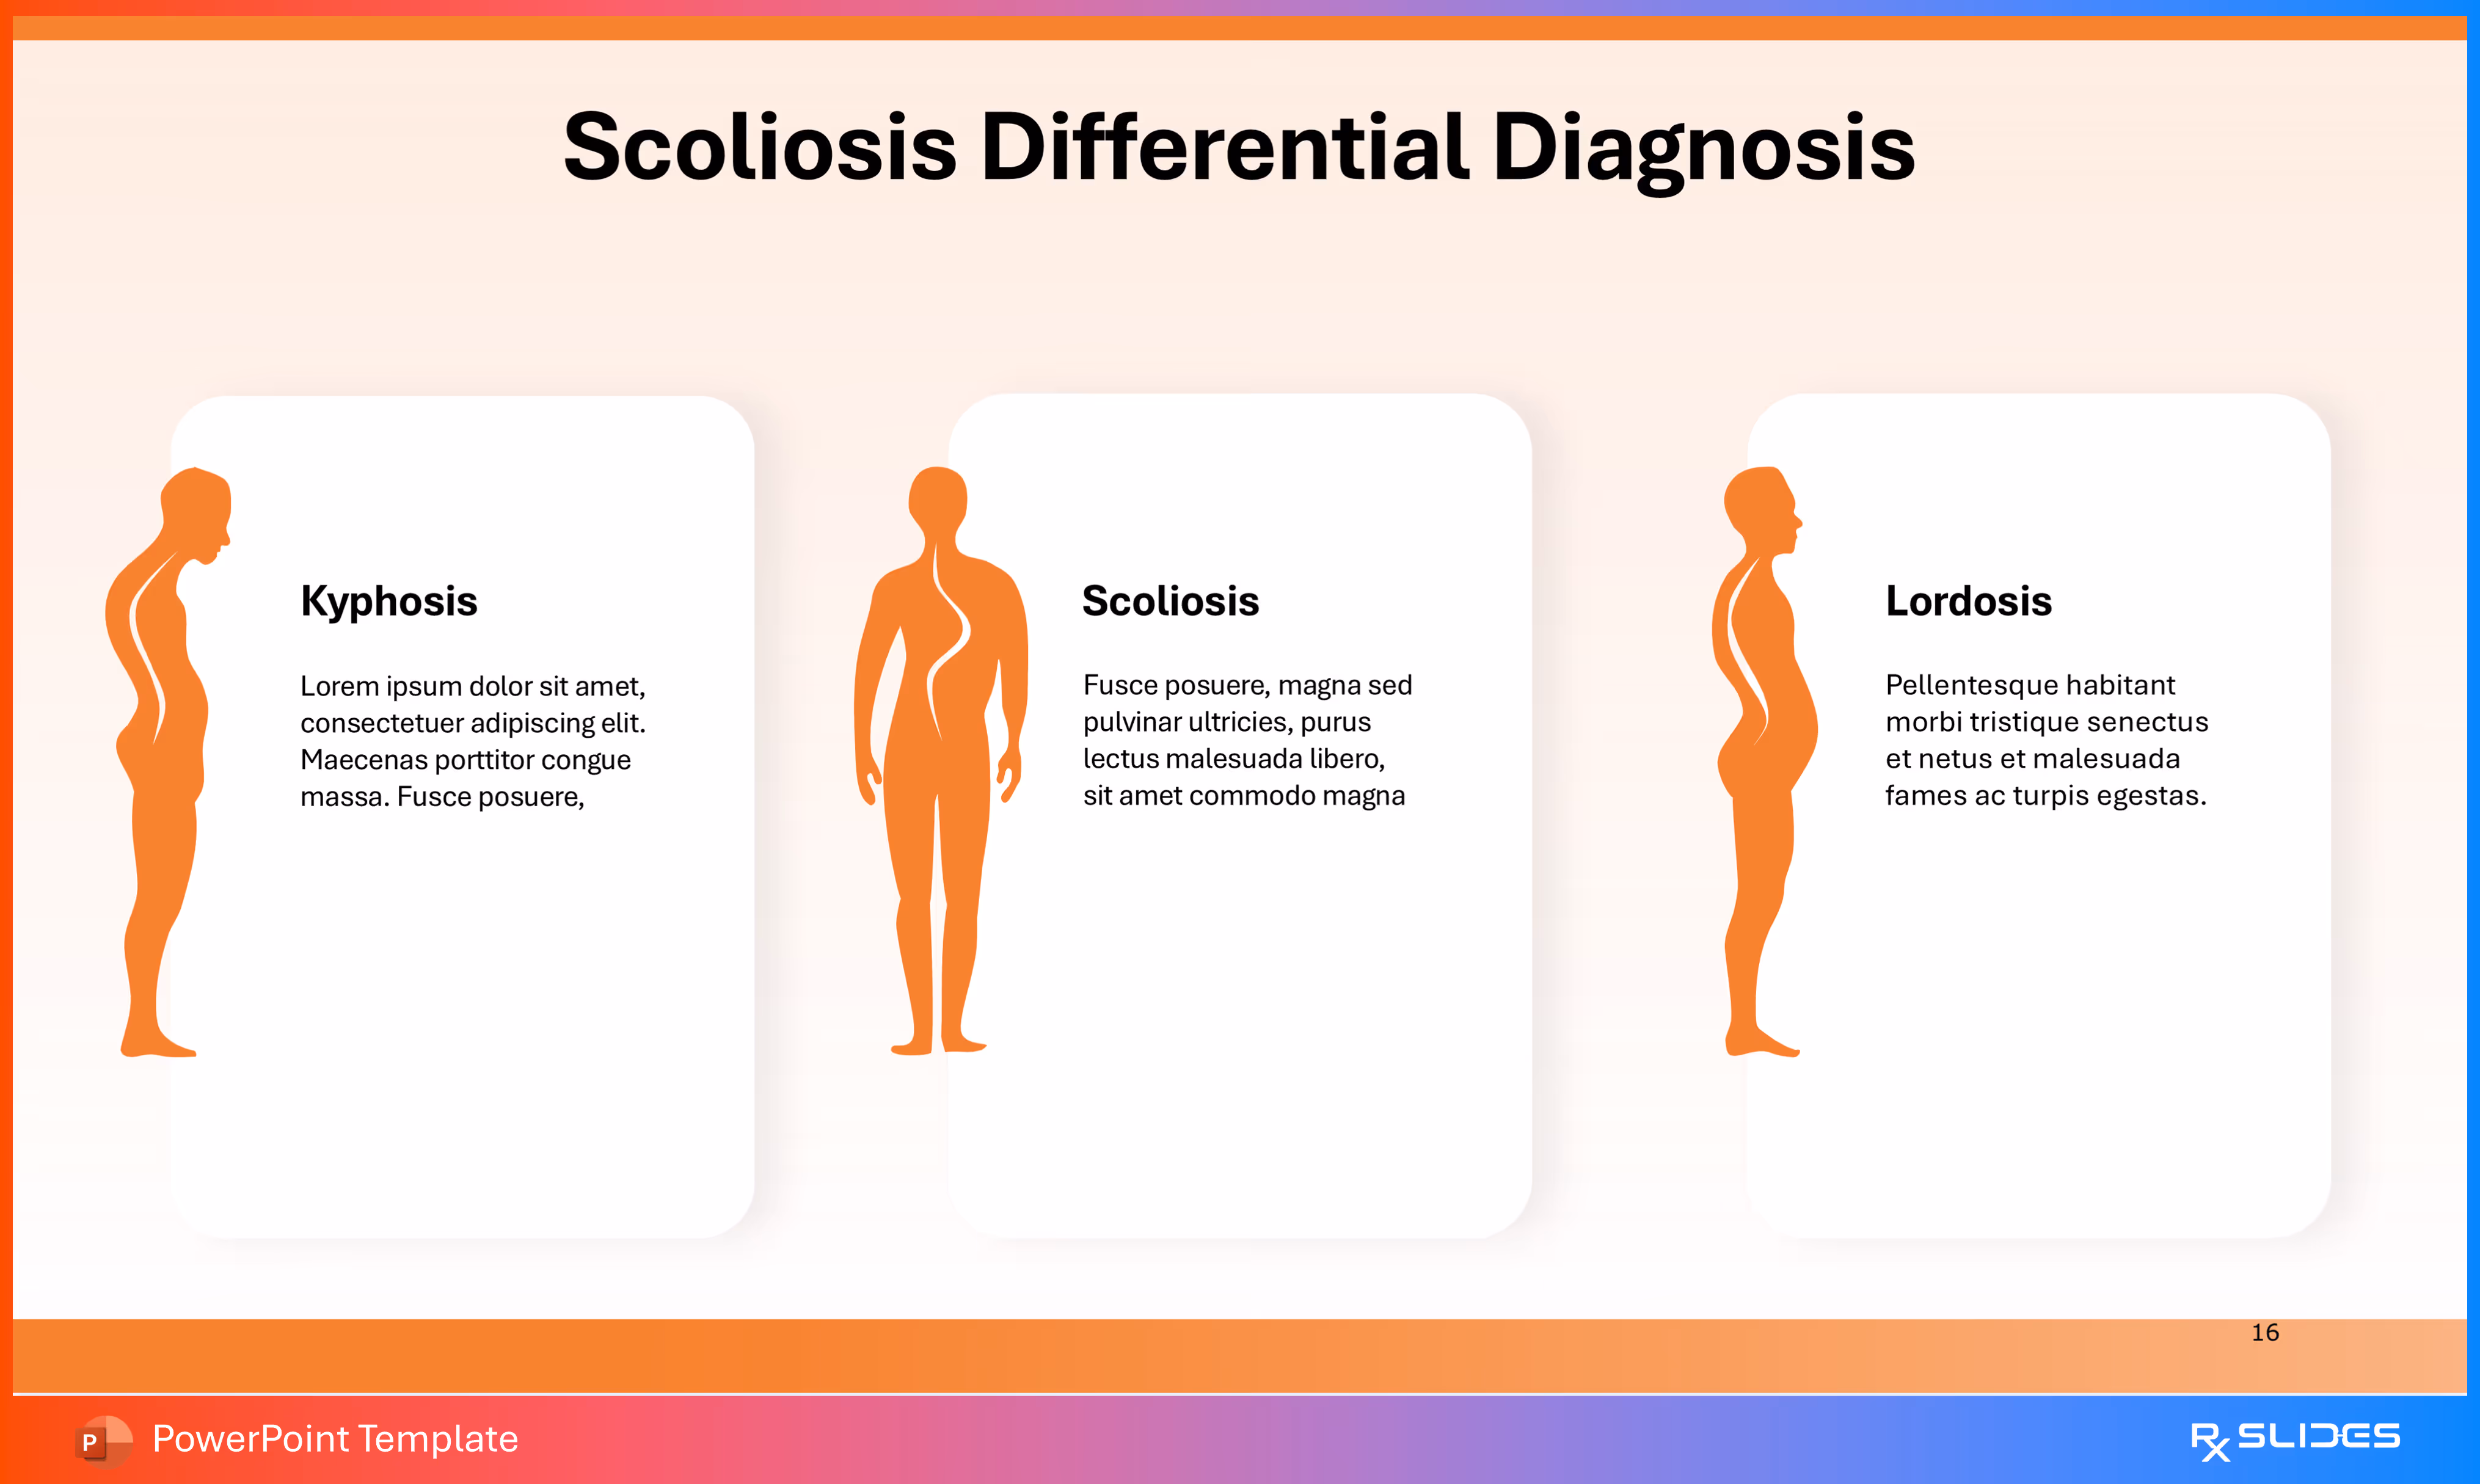
This slide provides an alternative, three-column layout to clearly differentiate scoliosis from other common spinal disorders (kyphosis and lordosis), using large content boxes for detailed text.
- It features three prominent, rounded white cards, each associated with a stylized orange silhouette illustrating the specific spinal curvature.
- Content Sections (Spinal Disorders):
- Kyphosis: Features a silhouette showing an exaggerated forward curve in the upper back. The accompanying card includes multiple lines of placeholder text for a comprehensive definition.
- Scoliosis: Features a frontal silhouette with a visible lateral S-curve.
- Lordosis: Features a silhouette with an exaggerated inward curve in the lower back.
Slide 17 - Scoliosis Symptoms Section Slide
This slide acts as a clear section break, introducing the topic of clinical signs and symptoms using a powerful, relevant visual.
- The central image is a stylized, orange silhouette of a human torso from the back inside a large white circle.
- The silhouette clearly shows the asymmetrical appearance of the back muscles and spine, which is a key symptom of scoliosis.
- The slide maintains the professional and energetic orange and white color scheme with abstract shapes in the background.
Slide 18 - Scoliosis Symptoms
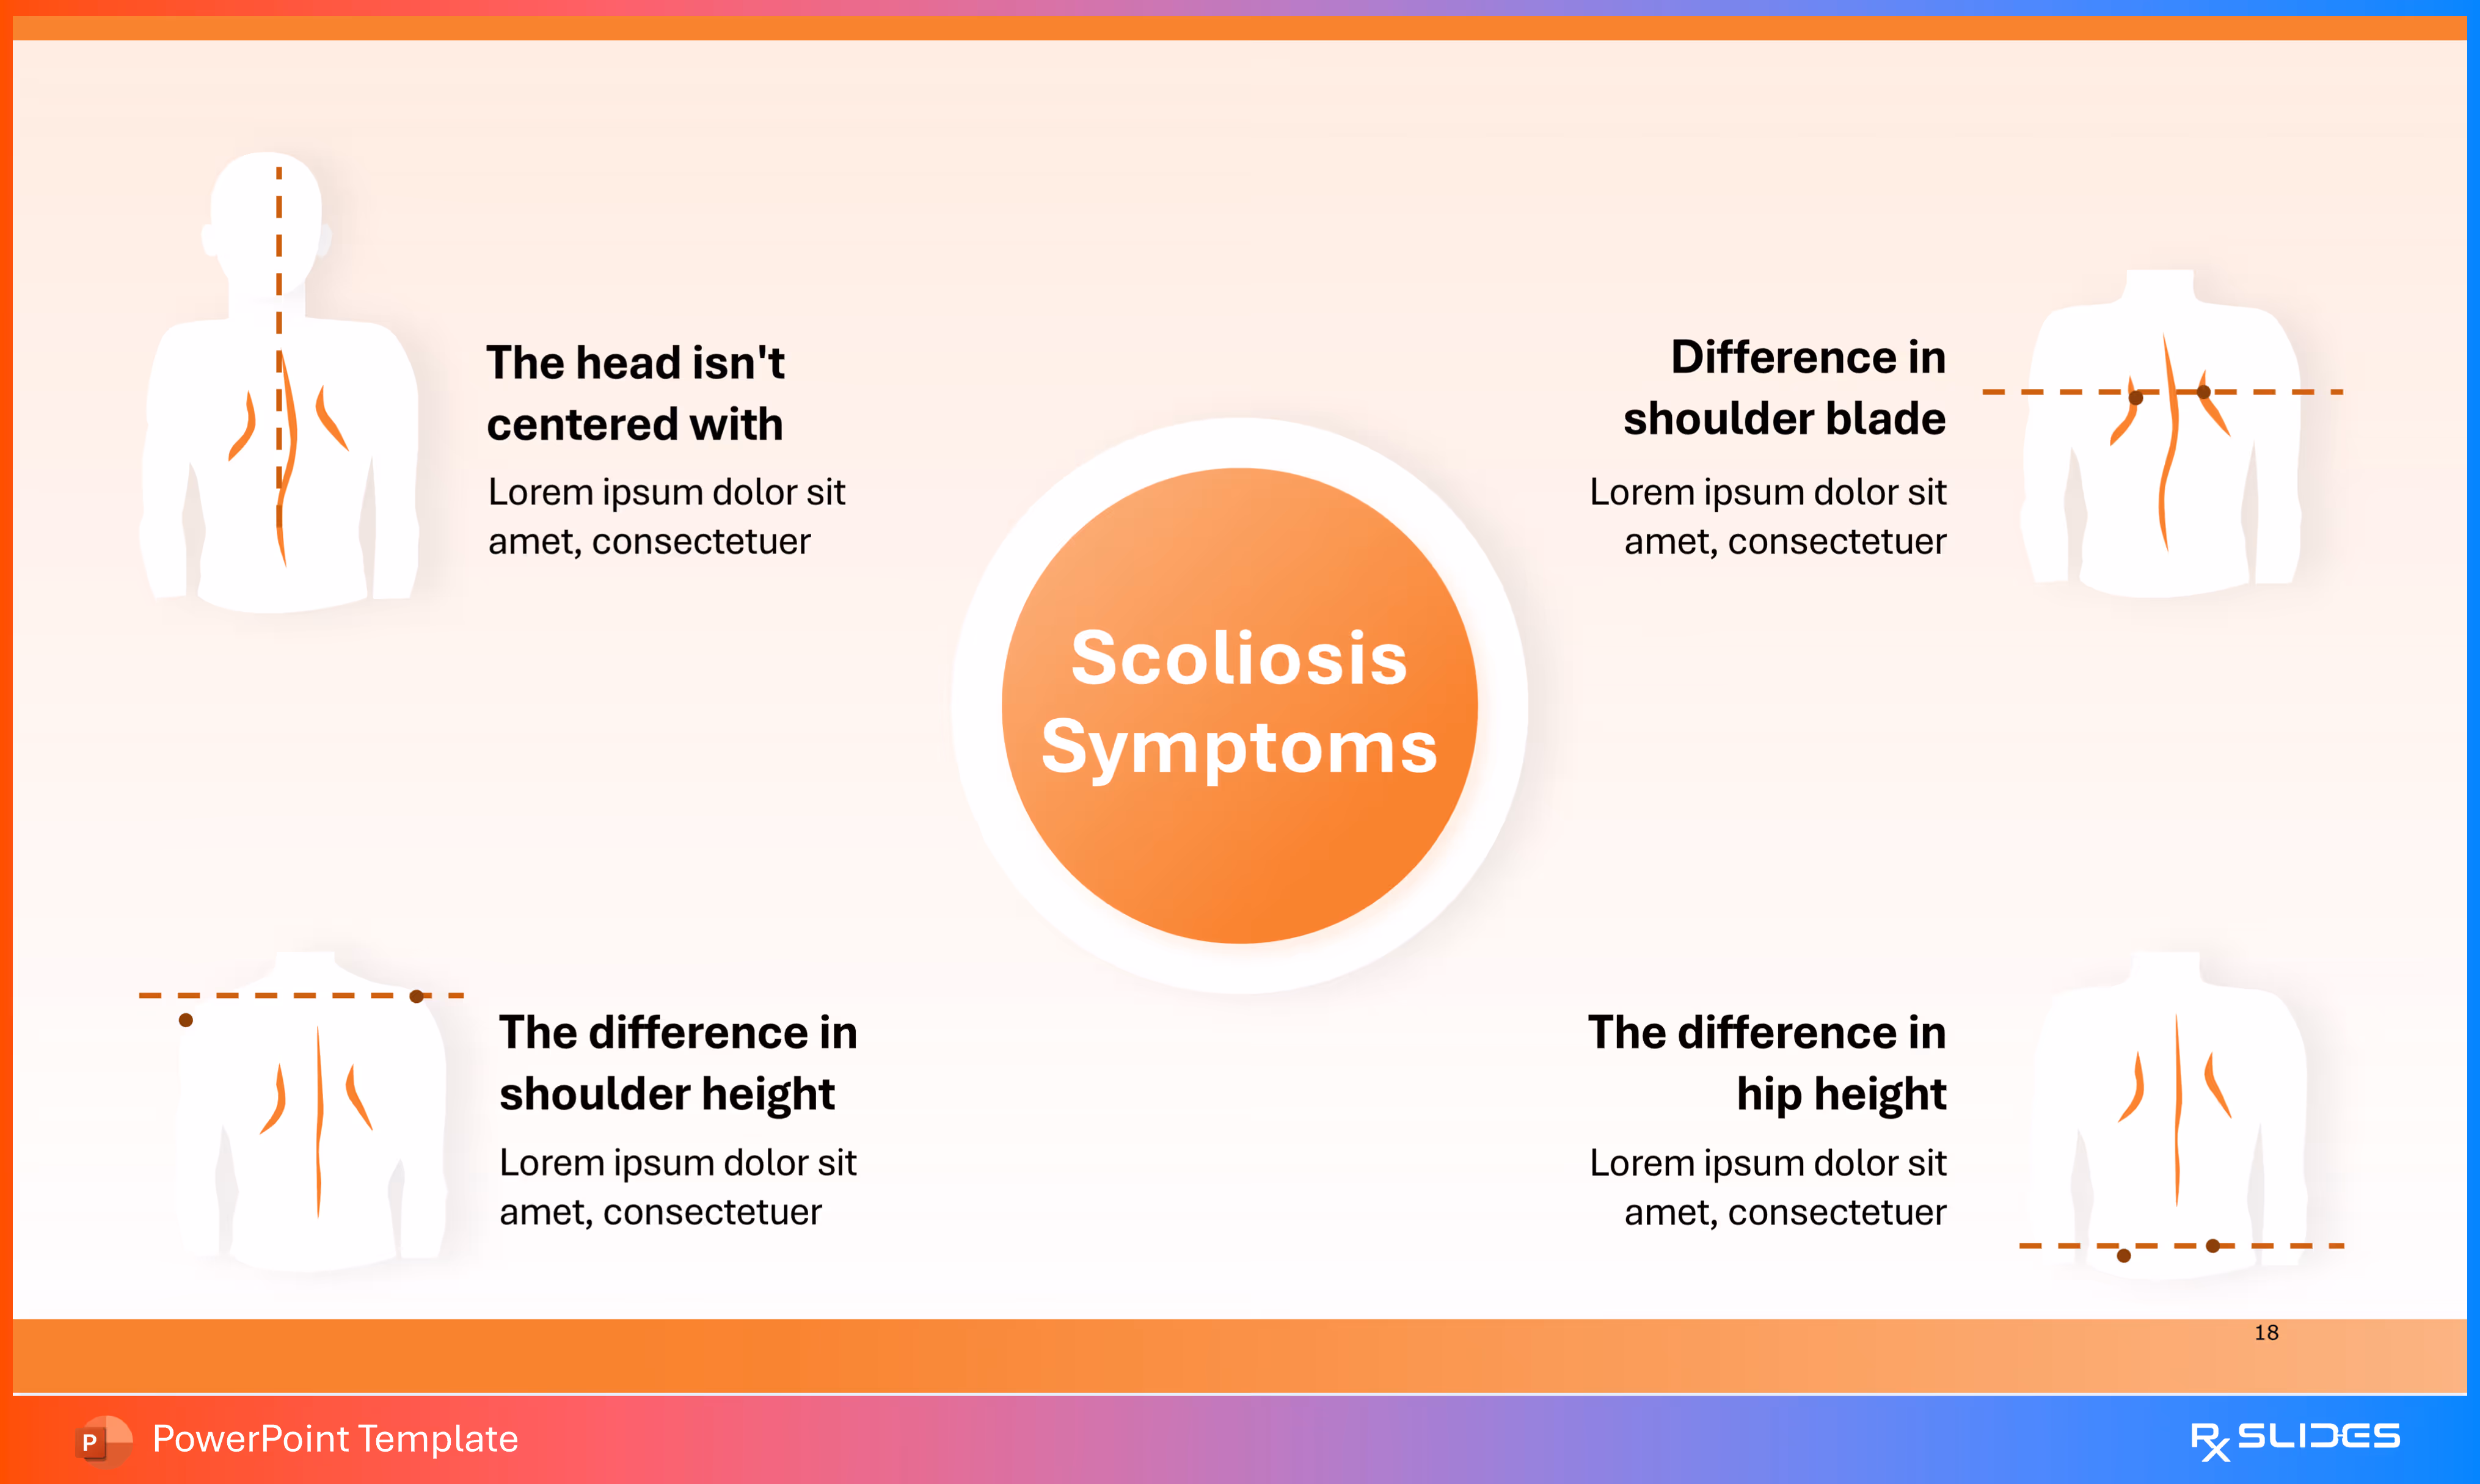
This visual diagram focuses on four key physical asymmetries seen in a person with scoliosis, providing a clear visual guide for diagnosis or understanding of the condition.
- The layout features four stylized silhouettes of a torso, each illustrating one of the four key asymmetrical symptoms.
- Content Sections (Symptoms):
- The head isn't centered with [the body].
- Difference in shoulder blade [prominence].
- The difference in shoulder height.
- The difference in hip height.
- Each symptom includes placeholder text for further elaboration.
Slide 19 - Scoliosis Symptoms (Flow Chart)
.avif)
This slide details the four major physical asymmetries associated with scoliosis using a clean, connected diagram, giving you a more hierarchical way to present the information compared to the previous slide.
- A central Symptoms banner connects via vertical lines to four distinct symptom cards below.
- Each of the four cards features a white outline of a torso with an internal line drawing of the spine and a dotted line to highlight the asymmetry.
- Content Sections (Symptoms):
- The head isn't centered.
- The difference in shoulder blade [prominence].
- The difference in shoulder height.
- The difference in hip height.
Slide 20 - Scoliosis Diagnosis

This slide acts as a powerful, topic-specific section divider, moving the audience from the symptoms of scoliosis to the methods used for its clinical detection.
- The centerpiece is a stylized, orange skeletal silhouette of a human torso inside a large white circle. The inclusion of a large magnifying glass over the spine area visually symbolizes the process of examination and diagnosis.
- Aesthetics: The design maintains the template's consistent professional aesthetic with the orange and white color scheme and abstract shapes.
Slide 21 - Scoliosis Diagnosis: Cobb's Angle

This slide introduces the most important radiological measurement for scoliosis—the Cobb's Angle—using a powerful visual demonstration.
- The slide provides a text description of the angle calculation: "Involves estimating the angle between the two tangents of the upper and lower endplates of the upper and lower end vertebra, respectively".
- Visual Elements: A stylized, gray skeletal figure with a scoliotic spine is featured prominently. Dotted lines extend outward from the spine's upper and lower end vertebrae, illustrating the method of calculating the angle (represented by an orange 'X' marker).
Slide 22 - Cobb's Angle Indications
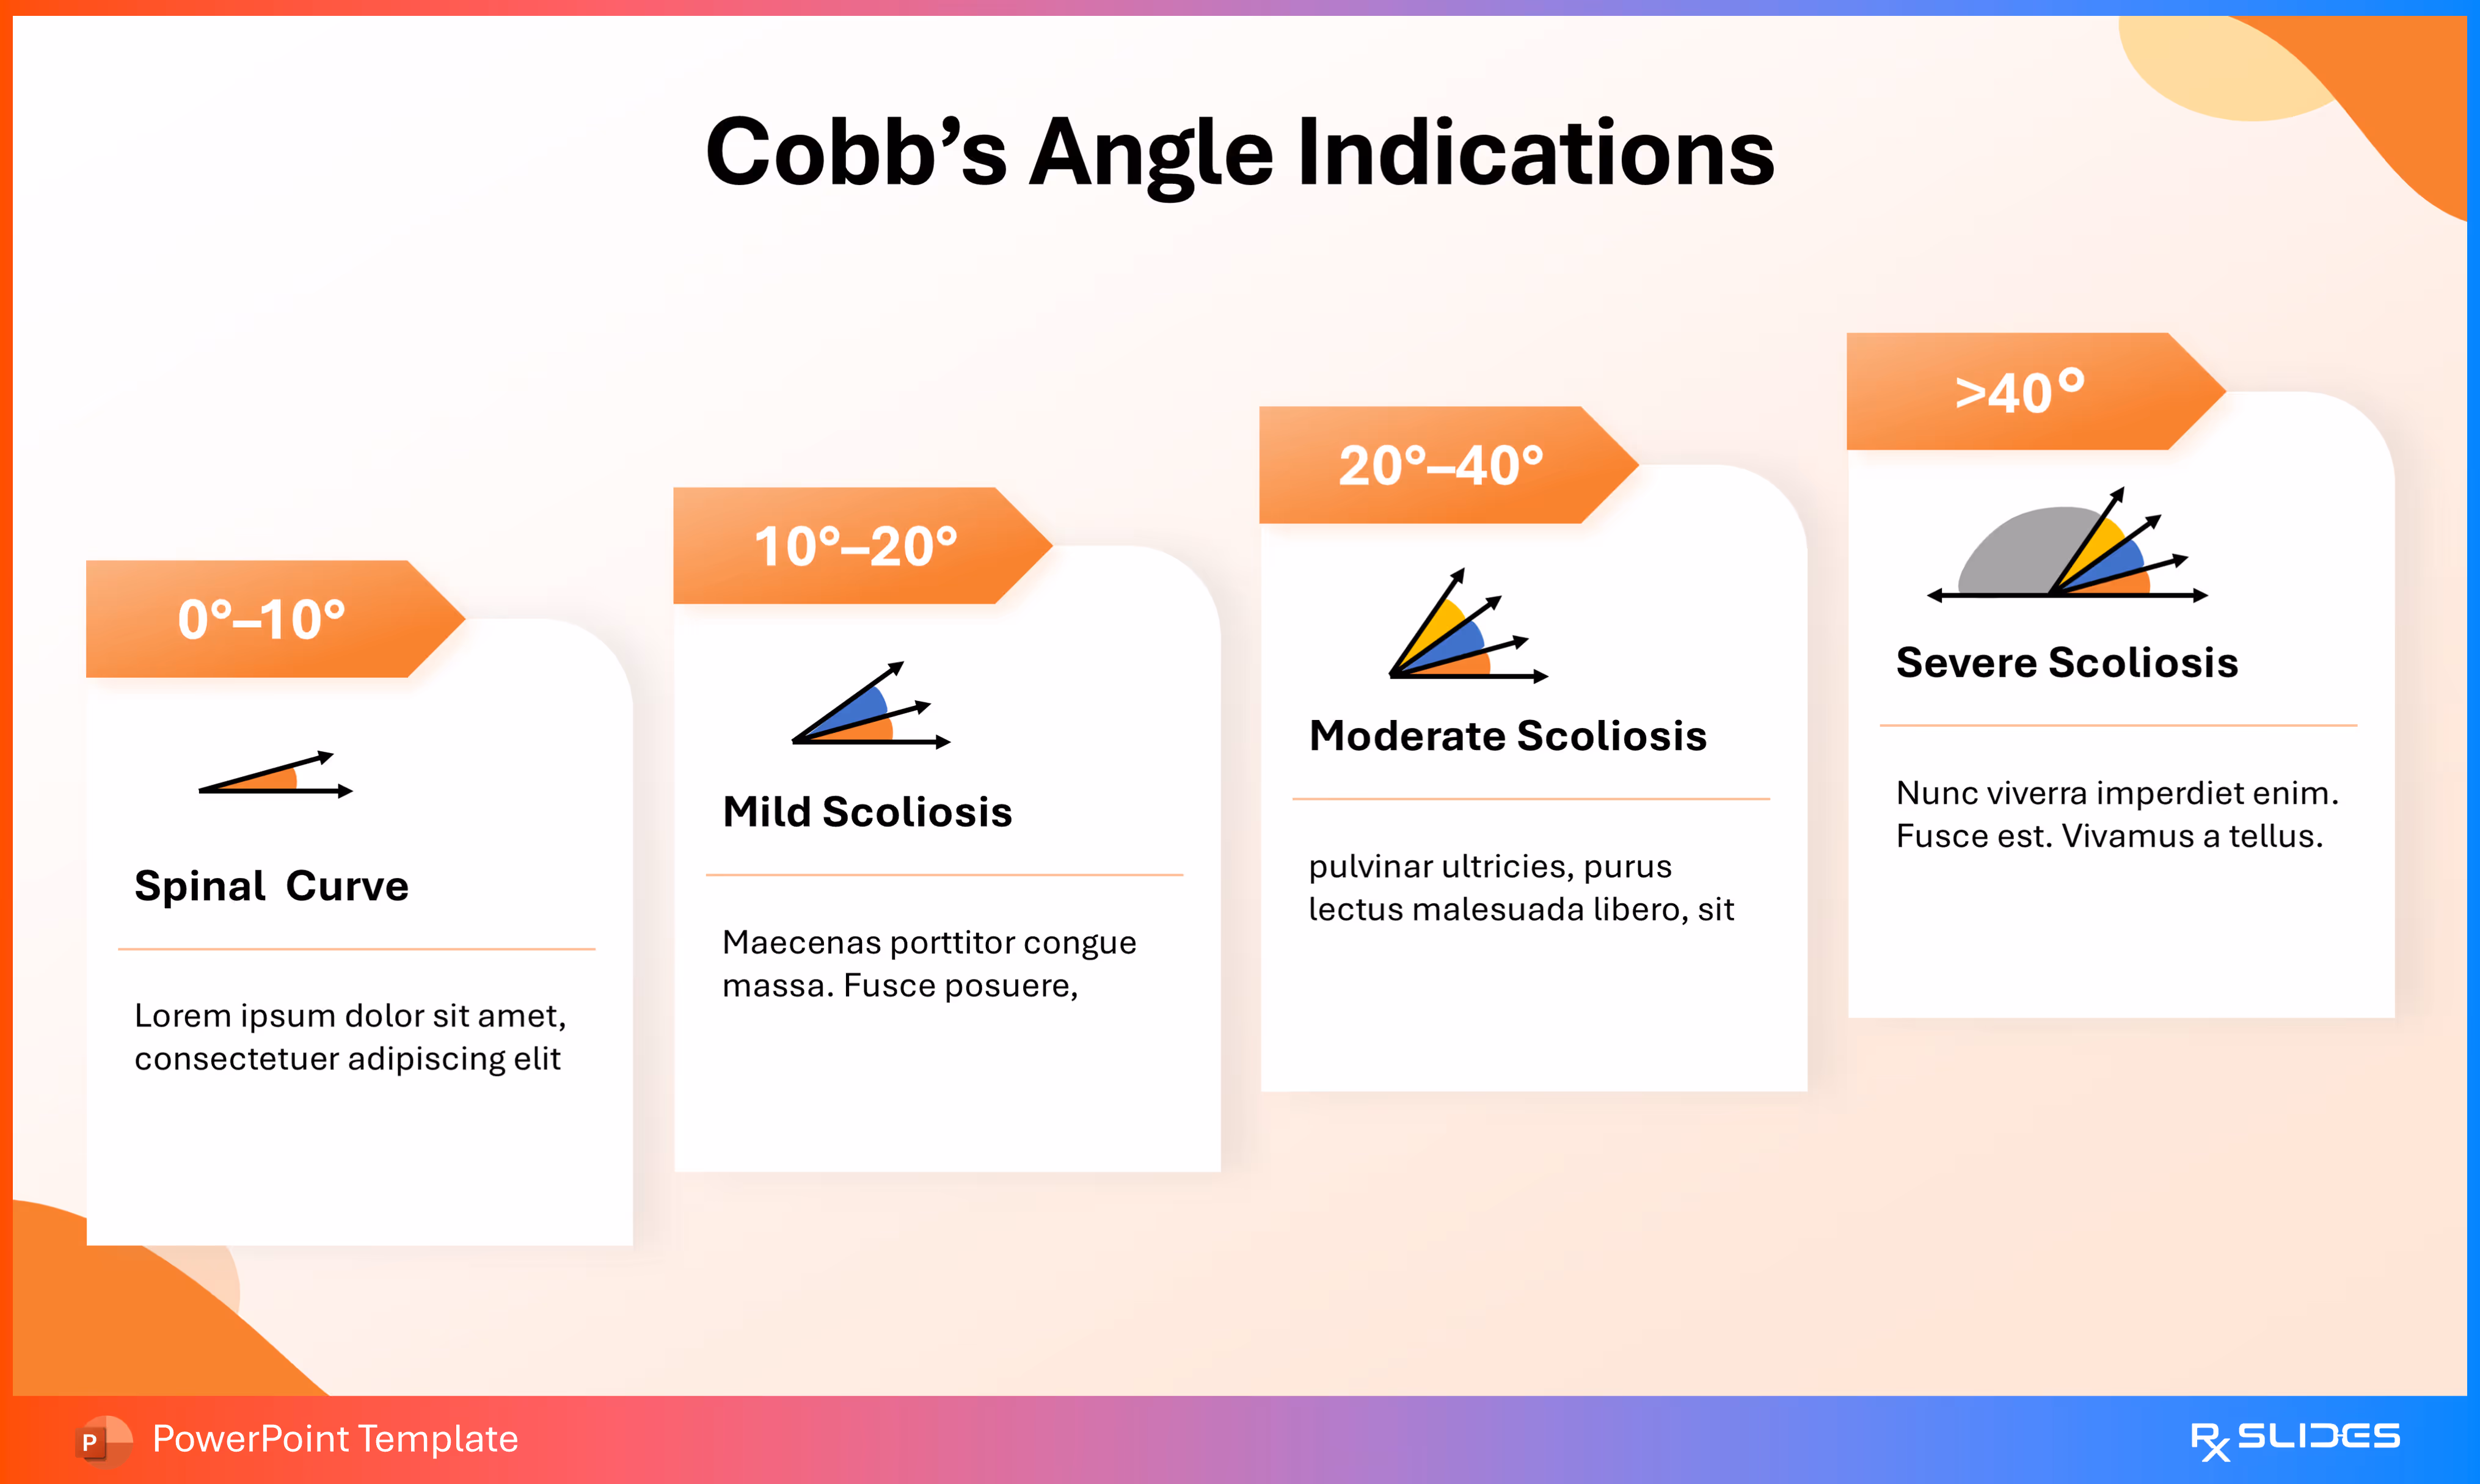
This slide visually connects the severity of the spinal curve (measured by Cobb's Angle) to the corresponding clinical classification, guiding treatment decisions.
- The slide uses four distinct vertical cards, each representing a range of Cobb's angles and the resulting clinical diagnosis. Each card has an orange banner with the angle range and a visual representation of the angle measurement.
- Content Sections (Severity Classifications):
- 0∘–10∘ (Spinal Curve): Represents minimal or normal spinal deviation.
- 10∘–20∘ (Mild Scoliosis): Typically requires monitoring.
- 20∘–40∘ (Moderate Scoliosis): Often the range where bracing or other non-surgical intervention may be considered.
- > 40∘ (Severe Scoliosis): Generally indicates a need for surgical evaluation or more aggressive treatment.
Slide 23 - Scoliosis Treatment
This slide acts as a section divider, clearly introducing the portion of the presentation dedicated to the various methods of managing and treating scoliosis.
- The dominant graphic is an orange illustration of a thoracic spinal brace (or orthotic device) worn on a torso silhouette, placed inside a large white circle. This image immediately highlights non-surgical management as a key part of treatment.
- Aesthetics: The slide continues the professional orange and white color scheme and abstract design elements.
Slide 24 - Scoliosis Treatment in Adults

This slide presents four common non-surgical management options for scoliosis, specifically focusing on treatment approaches often utilized for adult patients.
- Each section includes a descriptive title, an icon, and a text placeholder.
- Painkillers (Icon: Medicine bottle and pills).
- Back braces (Icon: Spinal brace/vest).
- Exercise (Icon: Dumbbells/weights).
- Spinal injections (Icon: Syringe/injection).
Slide 25 - Adult Scoliosis Treatment (Flow Chart)
.avif)
This slide provides an alternative, linked flow-chart style layout to present the four common non-surgical treatment options for adult scoliosis.
- The slide uses four main treatment topics connected by lines, with the icons placed in orange circles and the descriptive text in large white cards, creating a visual flow.
- Content Sections (Treatments):
- Exercise (Icon: Dumbbells/weights).
- Spinal injections (Icon: Syringe/injection).
- Painkillers (Icon: Medicine bottle and pills).
- Back braces (Icon: Spinal brace/vest).
Slide 26 - Scoliosis Treatment in Children

This slide offers a modular, two-column approach to presenting treatment options for scoliosis, specifically tailored for children.
- The slide features two prominent white content cards with rounded corners, each numbered (01 and 02) and featuring a unique icon.
- Content Sections (Treatments):
- Card 01 (Icon: Torso silhouette): This likely represents observation or conservative management. It has placeholders for an added title and text.
- Card 02 (Icon: Spinal brace/vest): This clearly represents treatment with a back brace or orthotic device. It also has placeholders for an added title and text.
Slide 27 - Posterior Spinal Fusion Procedure
This slide acts as a section break or focus slide, dedicated to the surgical treatment of scoliosis—Posterior Spinal Fusion.
- The dominant graphic is a silhouette of a human torso from the back inside a large white circle. The spine in the silhouette shows surgical instrumentation (like rods and screws) used to correct the curve, symbolizing the fusion procedure.
- The design maintains the Scoliosis template's orange and white color scheme.
Slide 28 - Posterior Spinal Fusion Procedure
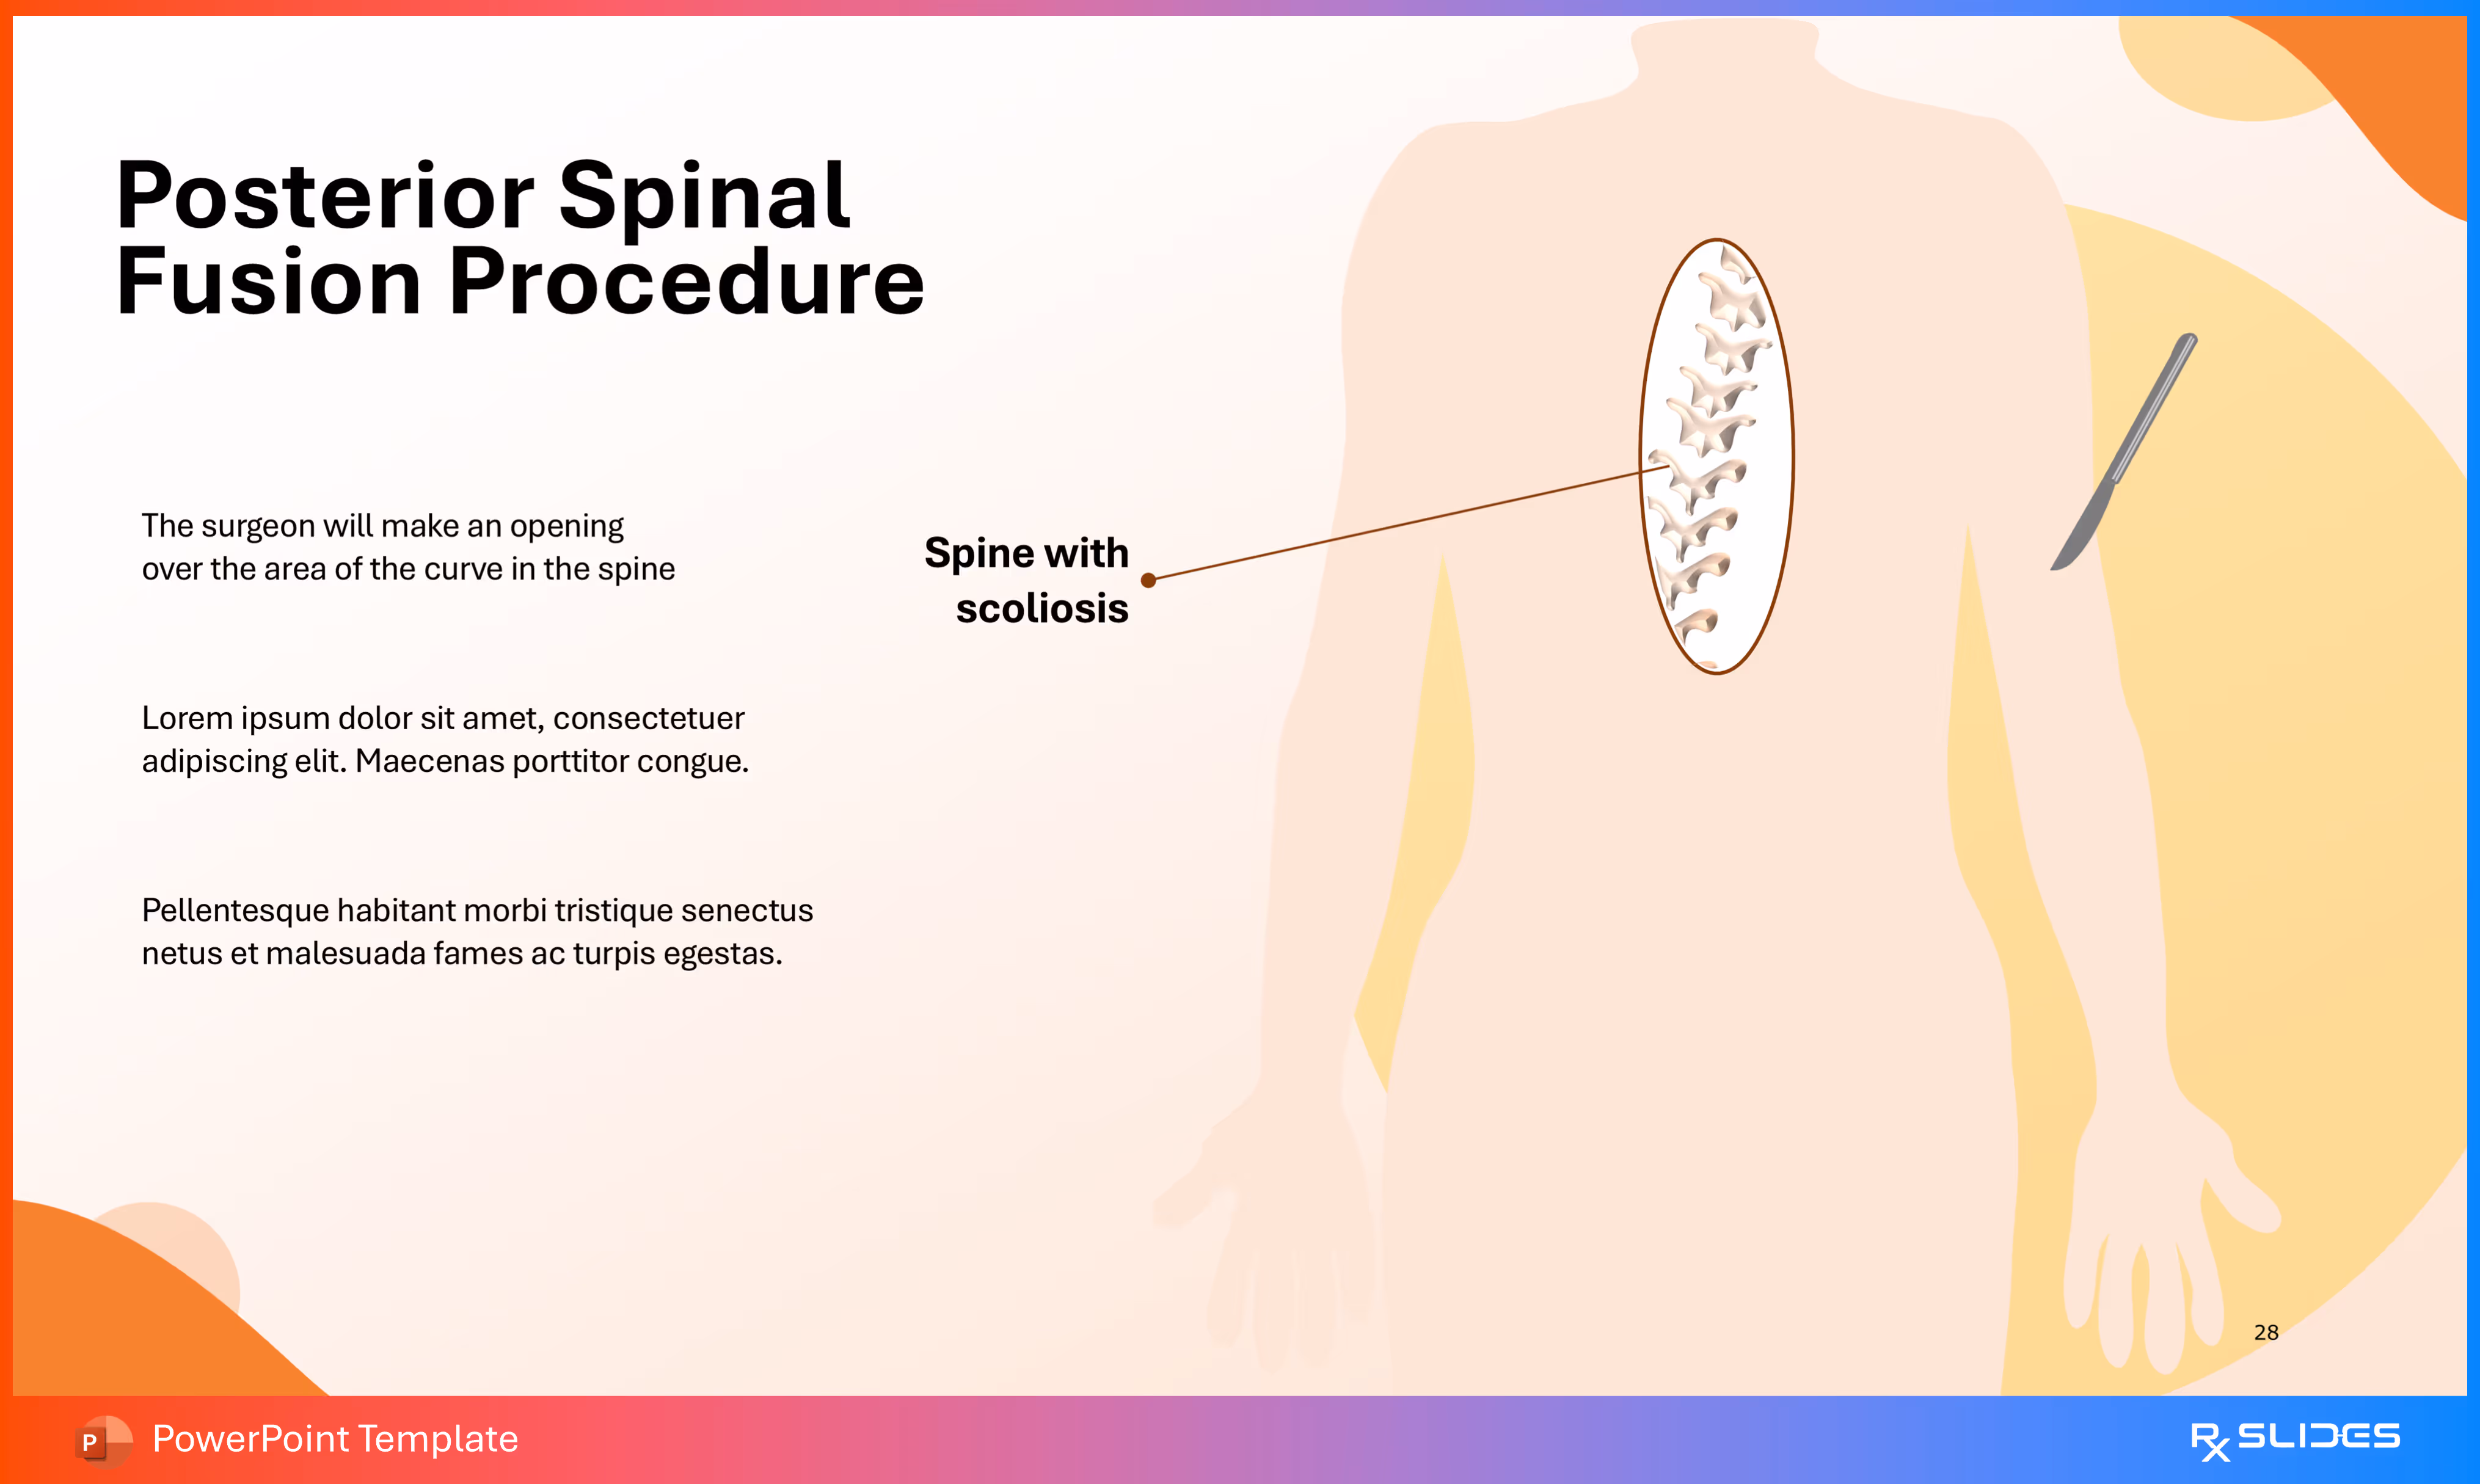
This slide offers details on the steps involved in a Posterior Spinal Fusion, illustrating the surgical approach for correcting severe scoliosis.
- The right side of the slide is dominated by a large diagram of a torso and spine. A close-up view shows the spine with scoliosis inside an oval cutout. An illustration of a scalpel is included, indicating the start of the surgical process.
- Content:
- One key step is described: "The surgeon will make an opening over the area of the curve in the spine".
- There is a label pointing to the scoliotic spine: "Spine with scoliosis".
- Additional text placeholders allow for a more detailed description of the procedure.
Slide 28 - Posterior Spinal Fusion Procedure
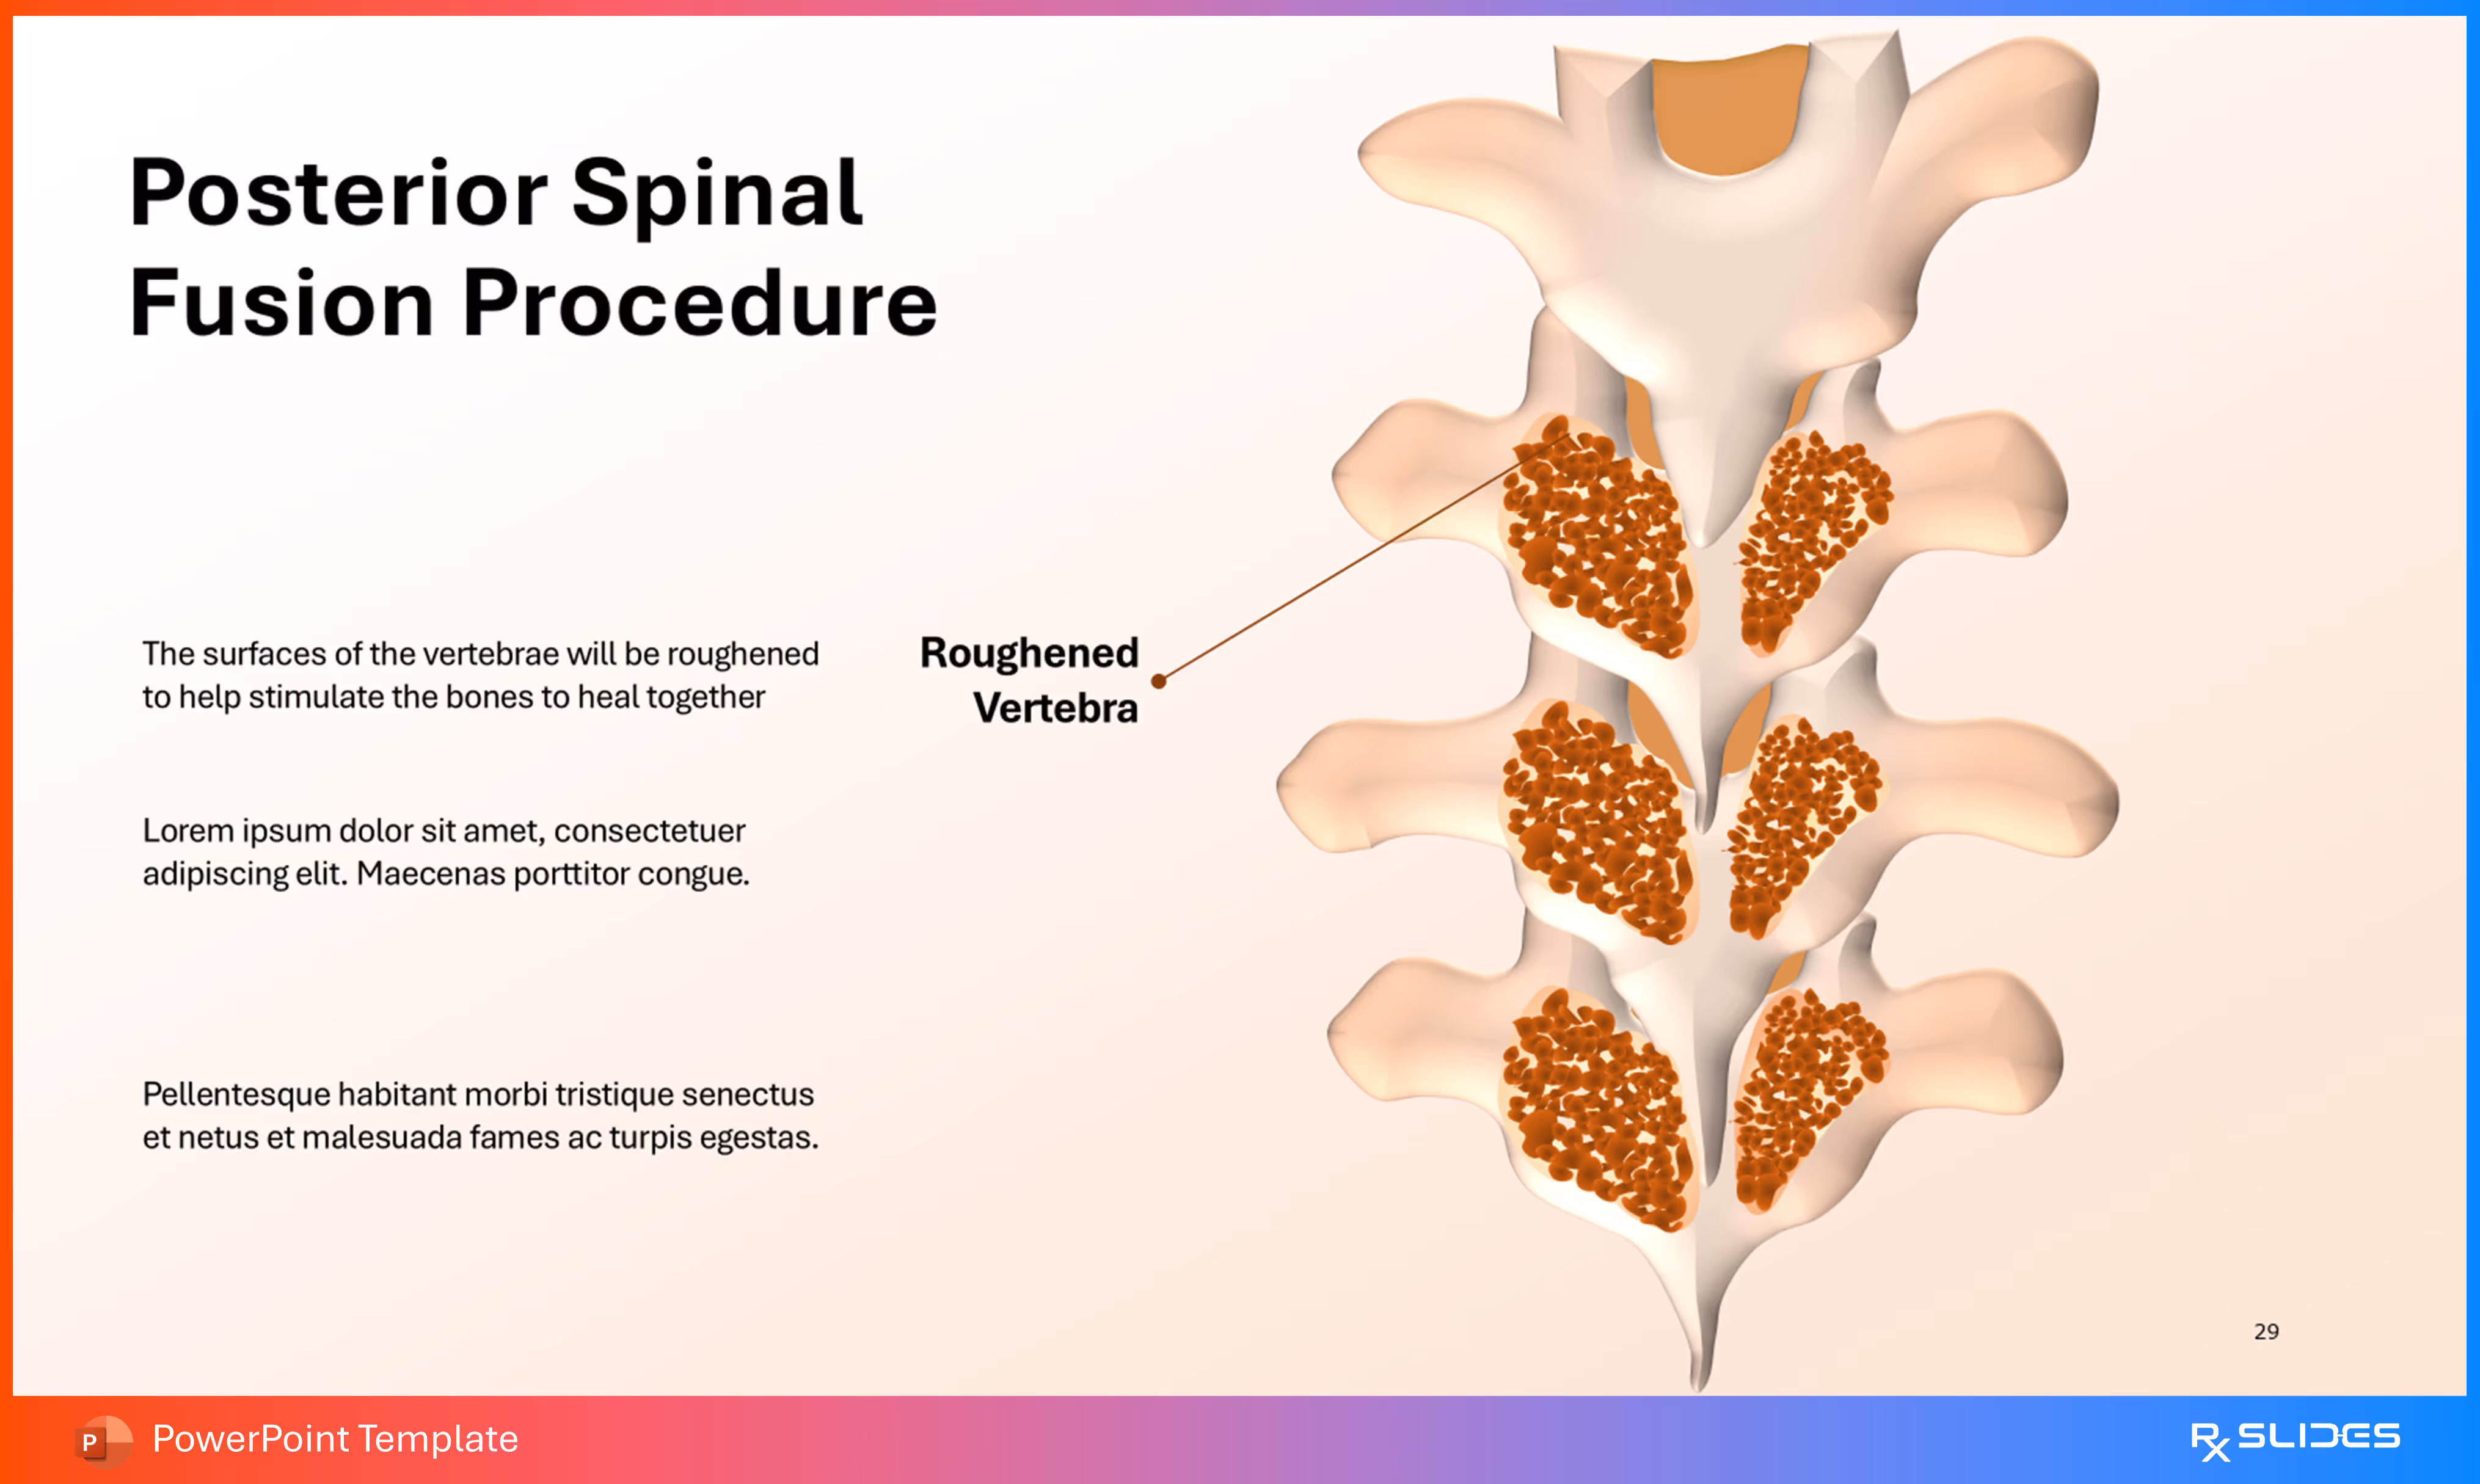
This slide offers details on the steps involved in a Posterior Spinal Fusion, illustrating the surgical approach for correcting severe scoliosis.
- The right side of the slide is dominated by a large diagram of a torso and spine. A close-up view shows the spine with scoliosis inside an oval cutout. An illustration of a scalpel is included, indicating the start of the surgical process.
- Content:
- One key step is described: "The surfaces of the vertebrae will be roughened to help stimulate the bones to heal together".
- There is a label pointing to the scoliotic spine: "Roughened Vertebra".
- Additional text placeholders allow for a more detailed description of the procedure.
Slide 30 - Posterior Spinal Fusion Procedure (Instrumentation)
.avif)
This slide illustrates the key step of the spinal fusion procedure: the placement of the surgical hardware (instrumentation) used to correct and stabilize the spine.
- The dominant graphic on the right shows a 3D model of the vertebrae, now roughened (as seen on Slide 29), with surgical instruments being applied.
- Screws (or hooks) are depicted in green, indicating fixation points into the vertebrae.
- Wires (or blue rods) run vertically along the spine, providing the corrective force and stability.
- The text explains the function of the hardware: "The surgeon will place screws, hooks, or wires into the vertebrae".
Slide 31 - Posterior Spinal Fusion Procedure (Final Step)
.avif)
This slide illustrates the final stage of the spinal fusion procedure, where the instrumentation is fully secured and the curve is corrected.
- The right side features a highly detailed, 3D diagram of the spine. The image shows the rods (light blue vertical lines) fully placed alongside the vertebrae. These rods are secured to the screws/hooks in the bone, providing correction and stability for the scoliotic curve.
- The text explains the action: "Rods will be placed alongside the vertebrae and attached to the screws, hooks, or wires in order to straighten the spine".
Slide 33 - Posterior Spinal Fusion Procedure (Graft Source)
.avif)
This slide focuses on the source of the bone graft material used during the fusion procedure.
- The right side shows a diagram of the pelvis and lower spine, highlighting the hip (iliac crest) as a common donor site. A magnified inset shows a piece of bone labeled "Bone Graft," and a small spoon-like tool is shown, symbolizing the removal of the graft material.
- Content: The text explains the source of the grafting material: "The surgeon may remove small pieces of bone from the ribs or hip bone to use as grafts".
Slide 34 - Posterior Spinal Fusion Procedure (Donor Bone)
.avif)
This slide details an alternative source for the bone graft material used in spinal fusion surgery: a bone bank.
- The right side features a diagram of a spine with instrumentation (rods and screws) already in place, but with the bone segments roughened for fusion. A separate, magnified image shows a piece of "Donor Bone" that has a porous, cancellous structure.
- Content:
- The first point notes the alternative source: "Other times, the surgeon may choose to use donor bone from a bone bank for grafting".
- The function of the graft is stated: "The surgeon will place the bone grafts along the spine to allow the bone to grow together and keep the spine stable".
Slide 35 - Scoliosis Complications (Section Divider)
.avif)
This slide acts as the final section divider for the Scoliosis presentation, shifting the focus from treatment to the potential long-term issues associated with the condition.
- The dominant graphic is an orange icon of a human torso with a visibly curved (scoliotic) spine inside a large white circle. This visual strongly reinforces the topic.
- The slide maintains the professional orange and white color scheme of the Scoliosis template.
Slide 36 - Complications of Scoliosis
.avif)
This slide details five common complications associated with advanced scoliosis.
- The slide uses five horizontal content sections, each featuring a specific icon and a descriptive complication title.
- Content Sections (Complications):
- Heart problems (Icon: Person with chest pain/lightning bolts).
- Problems with posture (Icon: Person from behind, showing the spine).
- Back pain (Icon: Person with hand on lower back).
- Breathing problems (Icon: Person struggling to breathe/gasping).
- Digestion problems (Icon: Person with hand on abdomen).
Slide 36 - Complications of Scoliosis (Alternative Layout)
.avif)
This slide presents an alternative, vertically-stacked layout to detail the five complications of scoliosis.
- The slide uses a two-column design: the left column has the section title, and the right column features five stacked icon-and-text cards.
Slide 37 - Thank you

- Title: "Thank you".
- The slide features a large, stylized silhouette of a full human skeleton positioned inside a white circle. This provides a strong, on-topic final image.
- It maintains the template's orange and white color scheme with abstract background shapes in the corners.
Features of the Template
- 100% editable PowerPoint template.
- Editable colors, you can change according to your presentation style and company branding guidelines.