Wound Management PowerPoint Template
No items found.
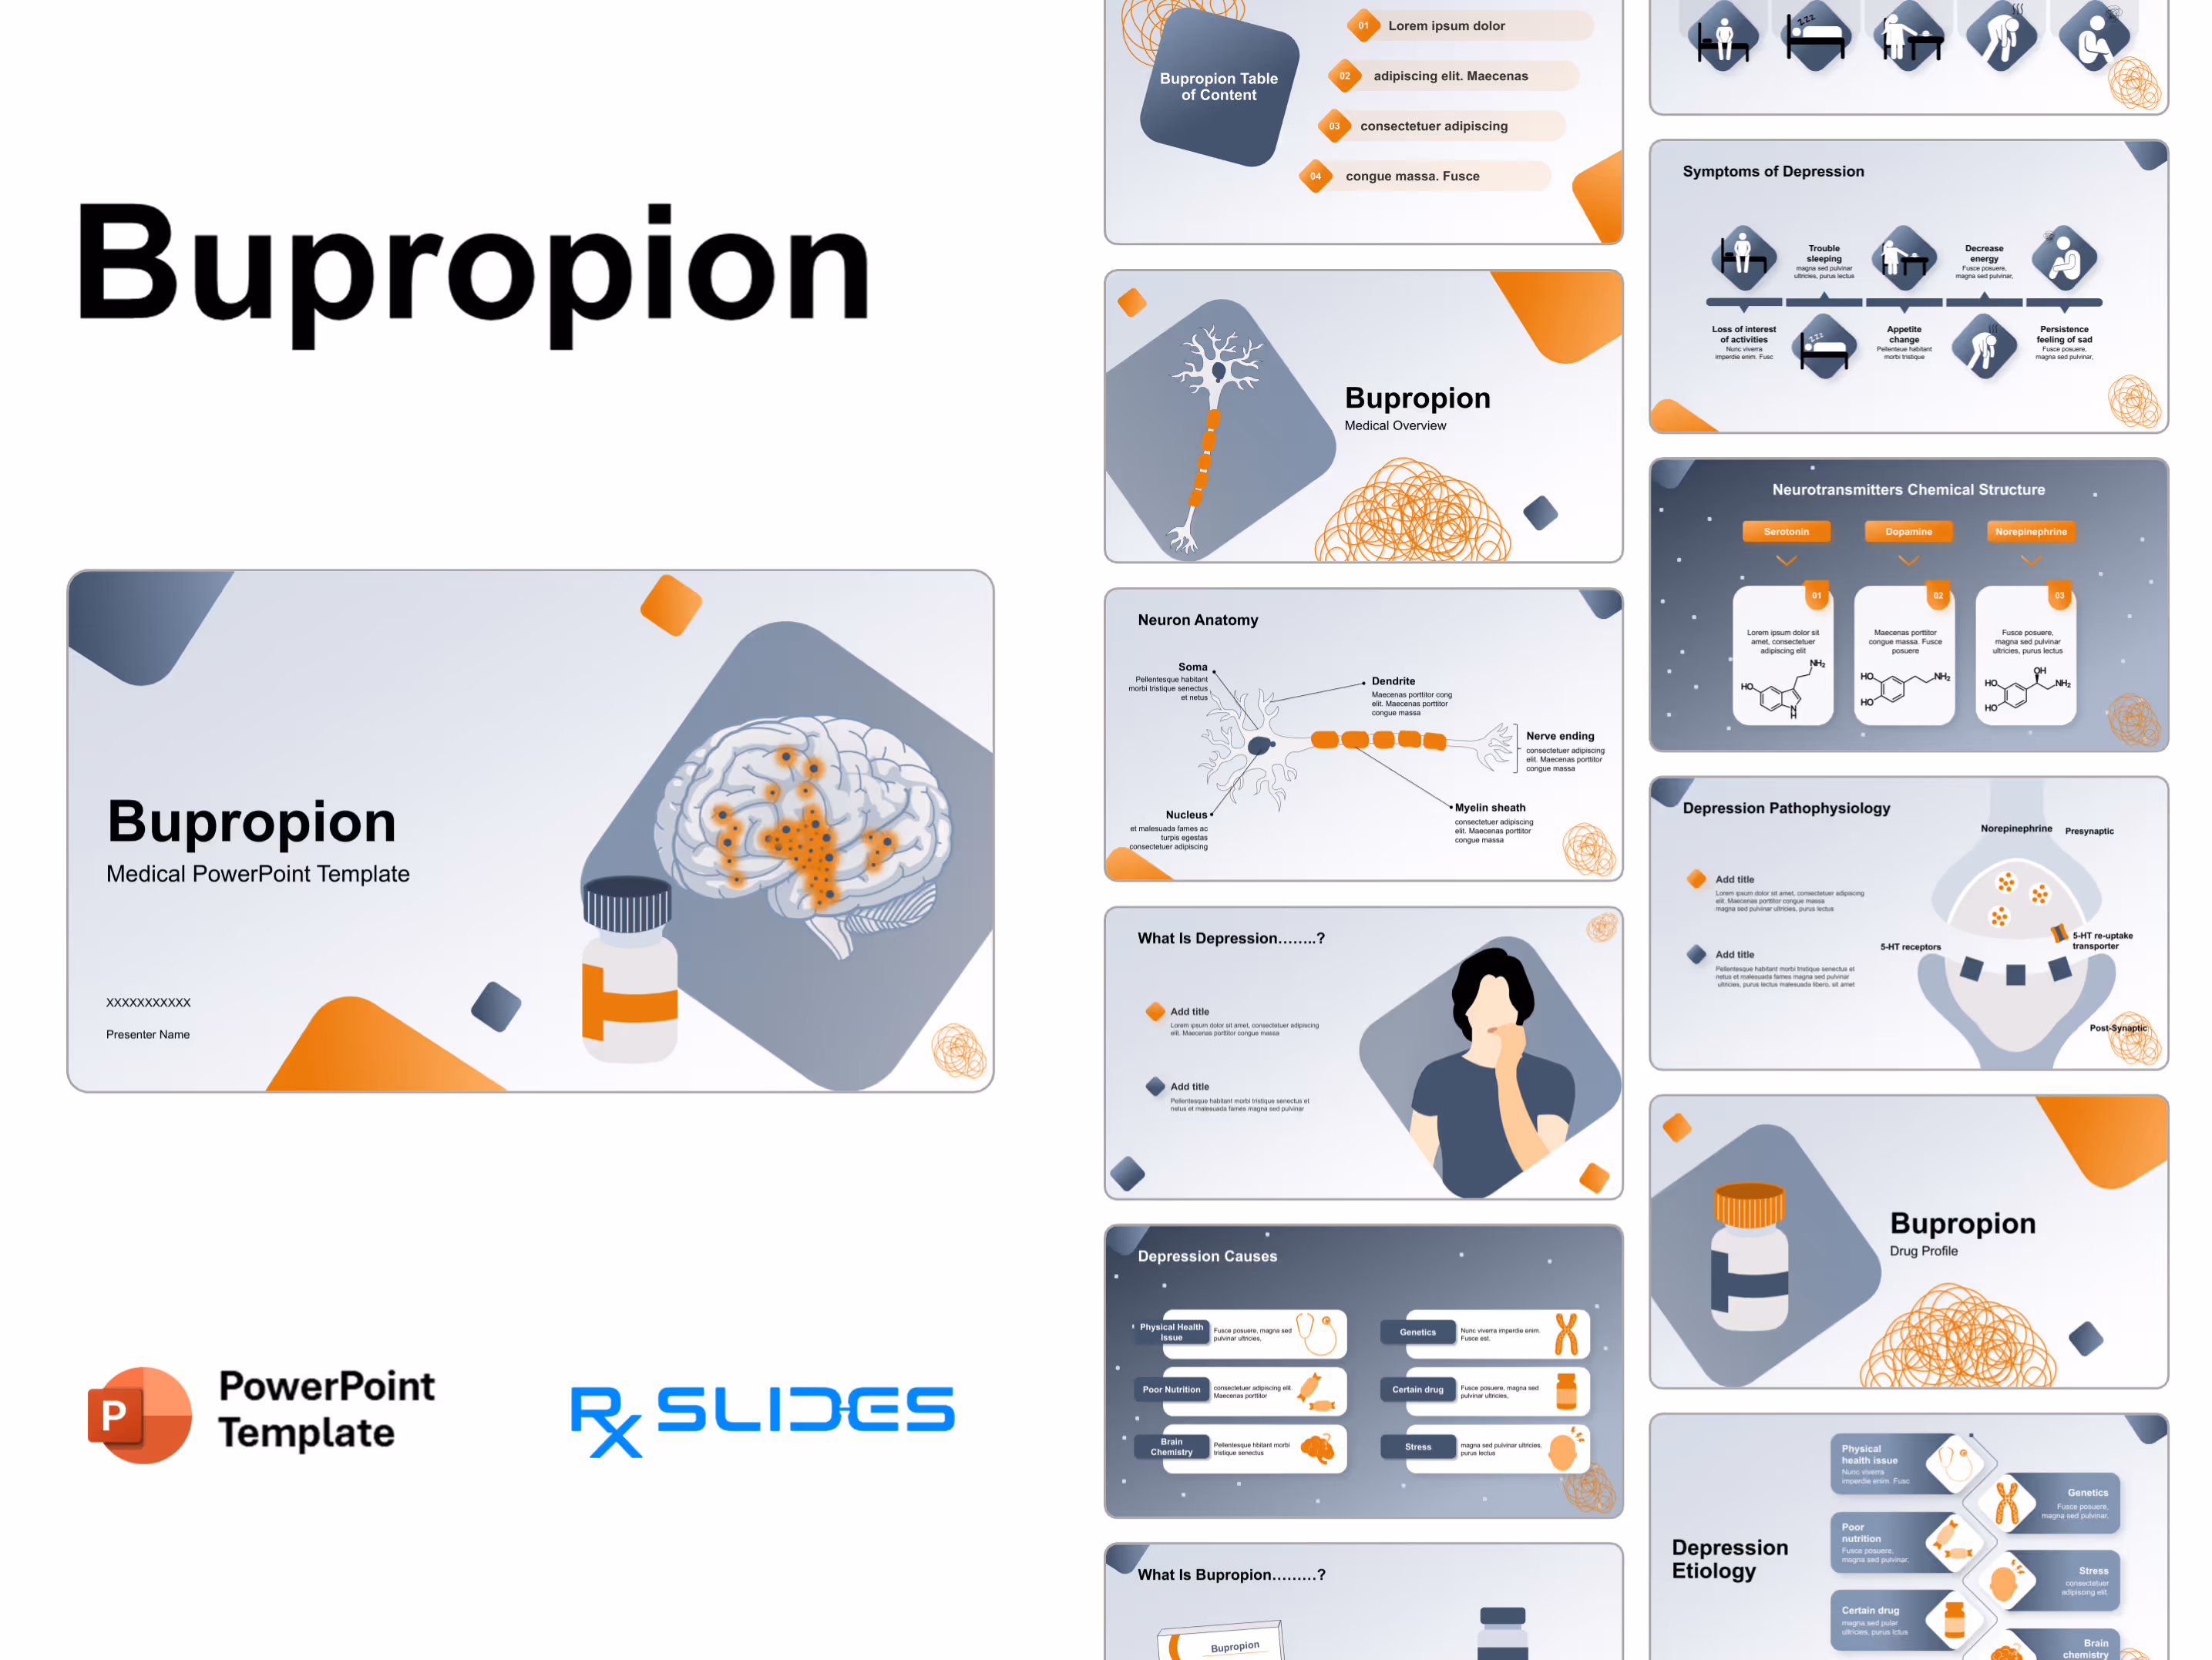
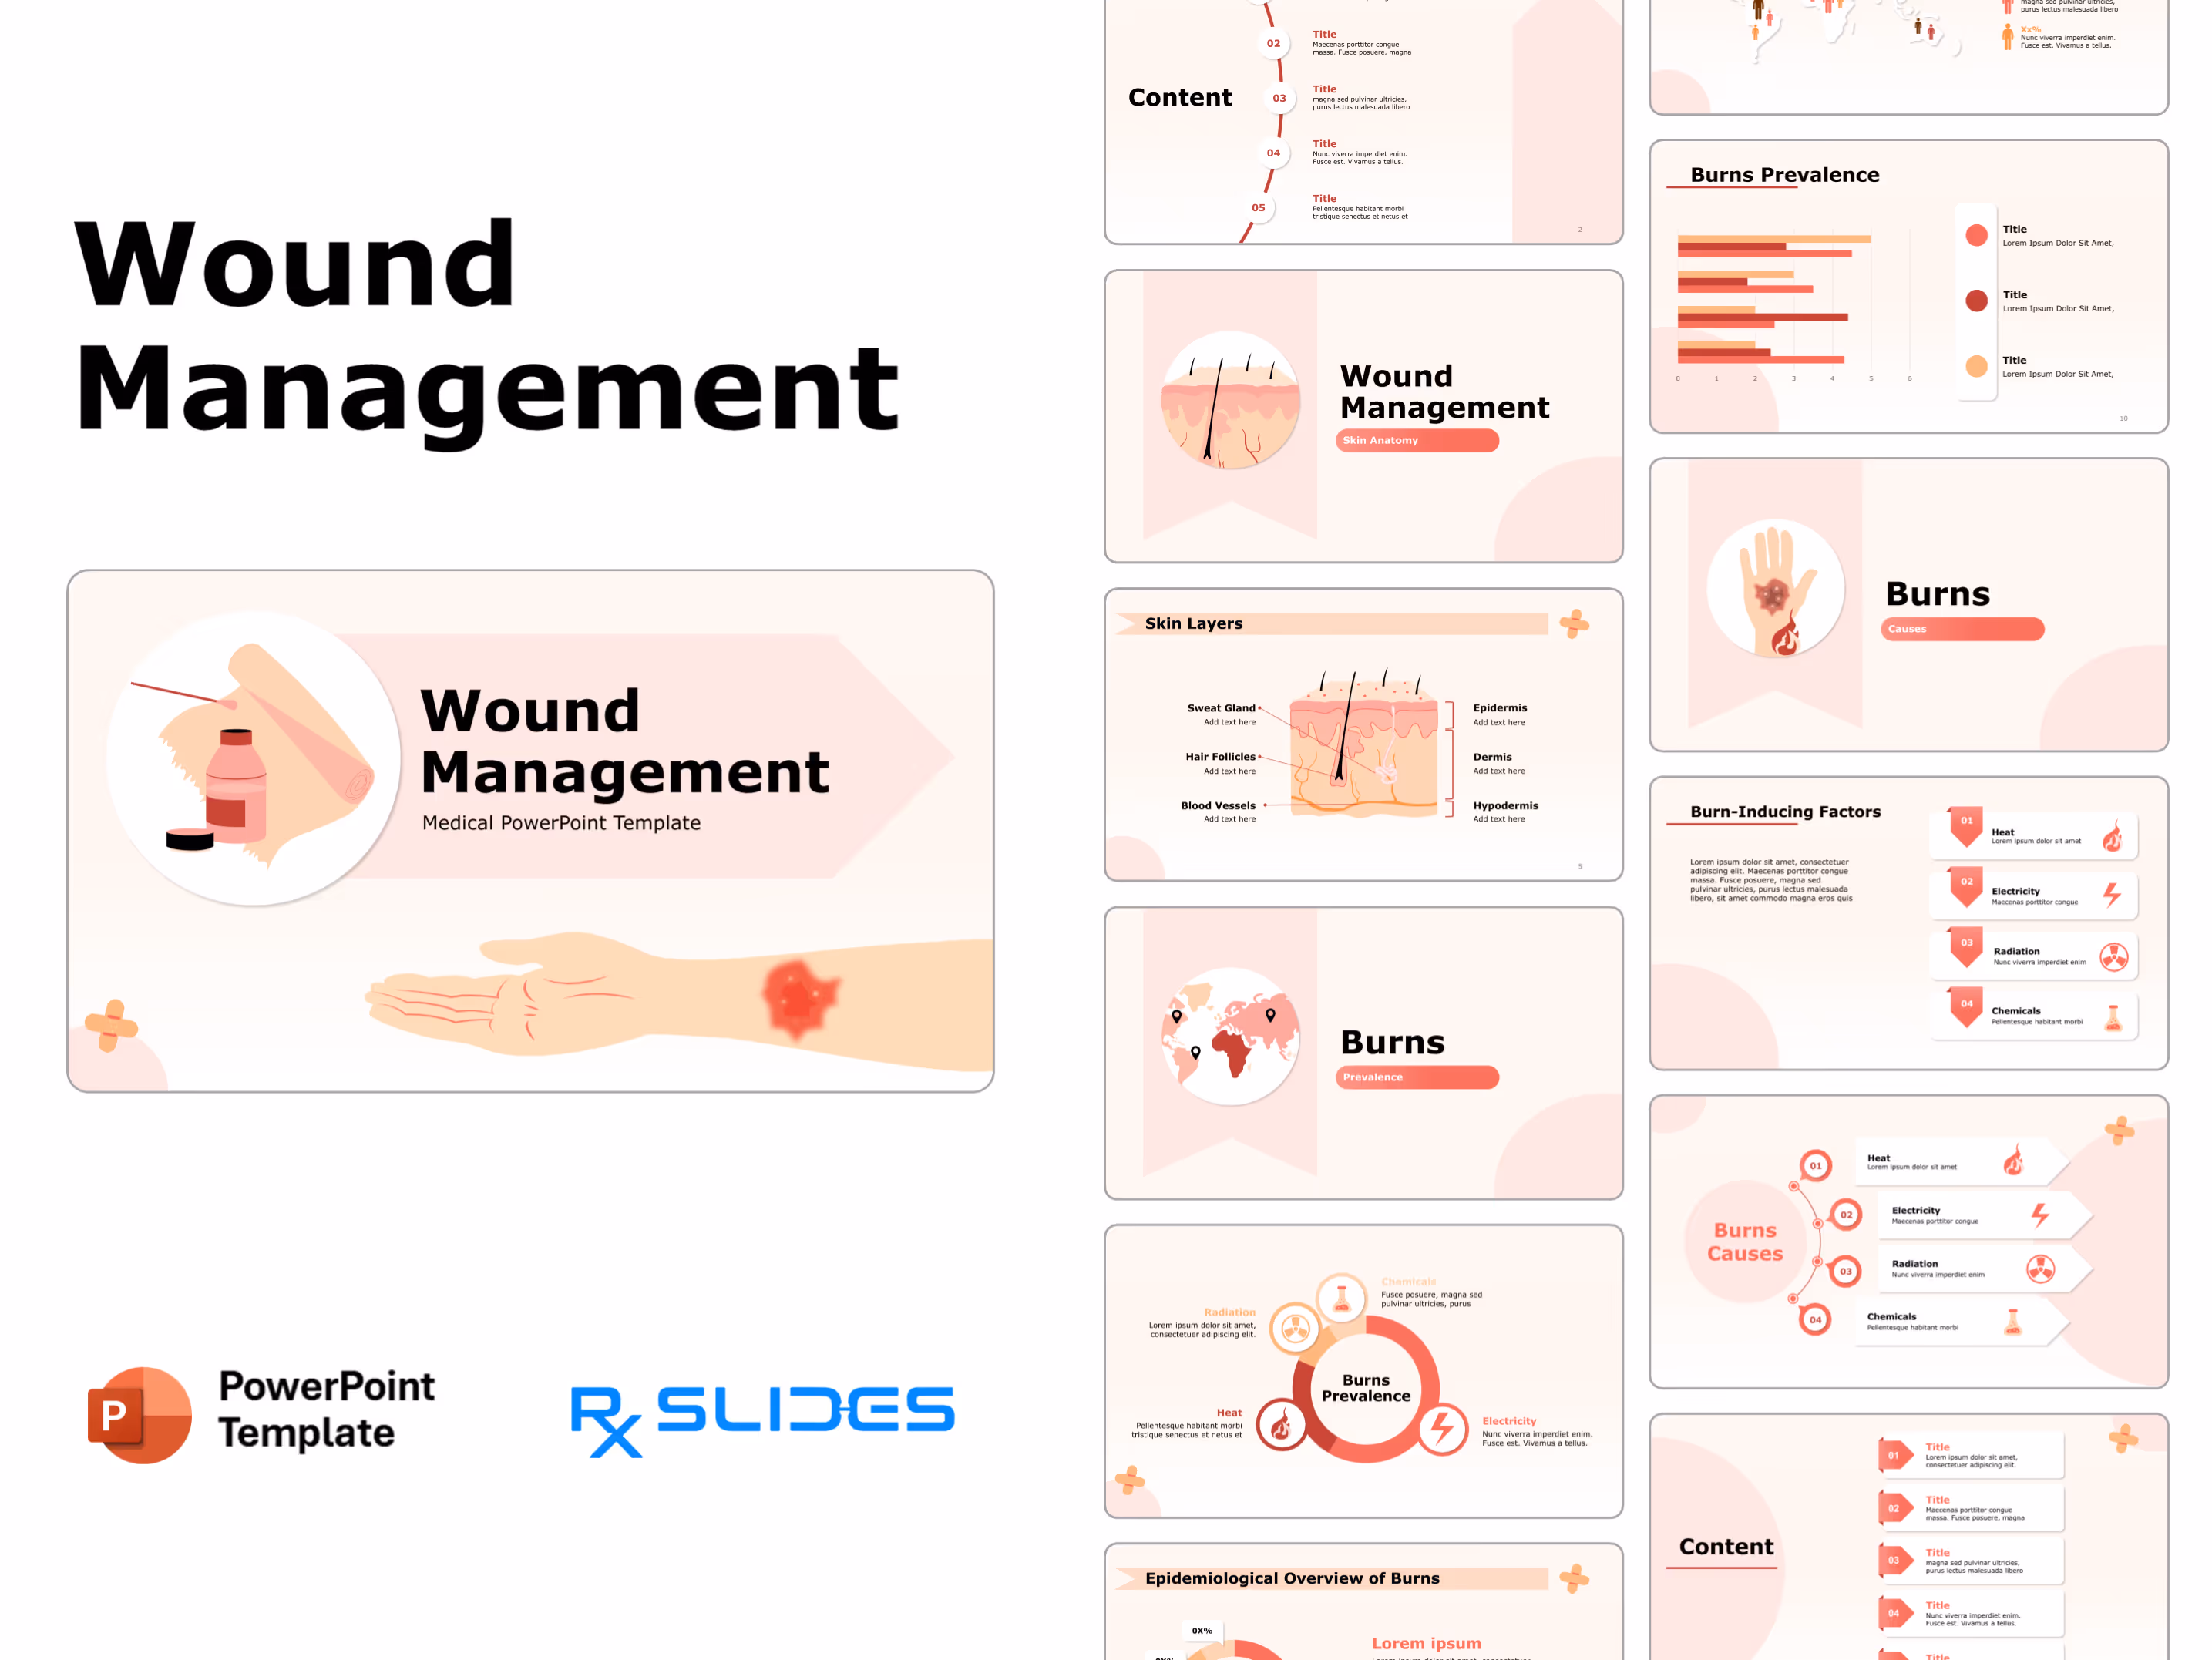
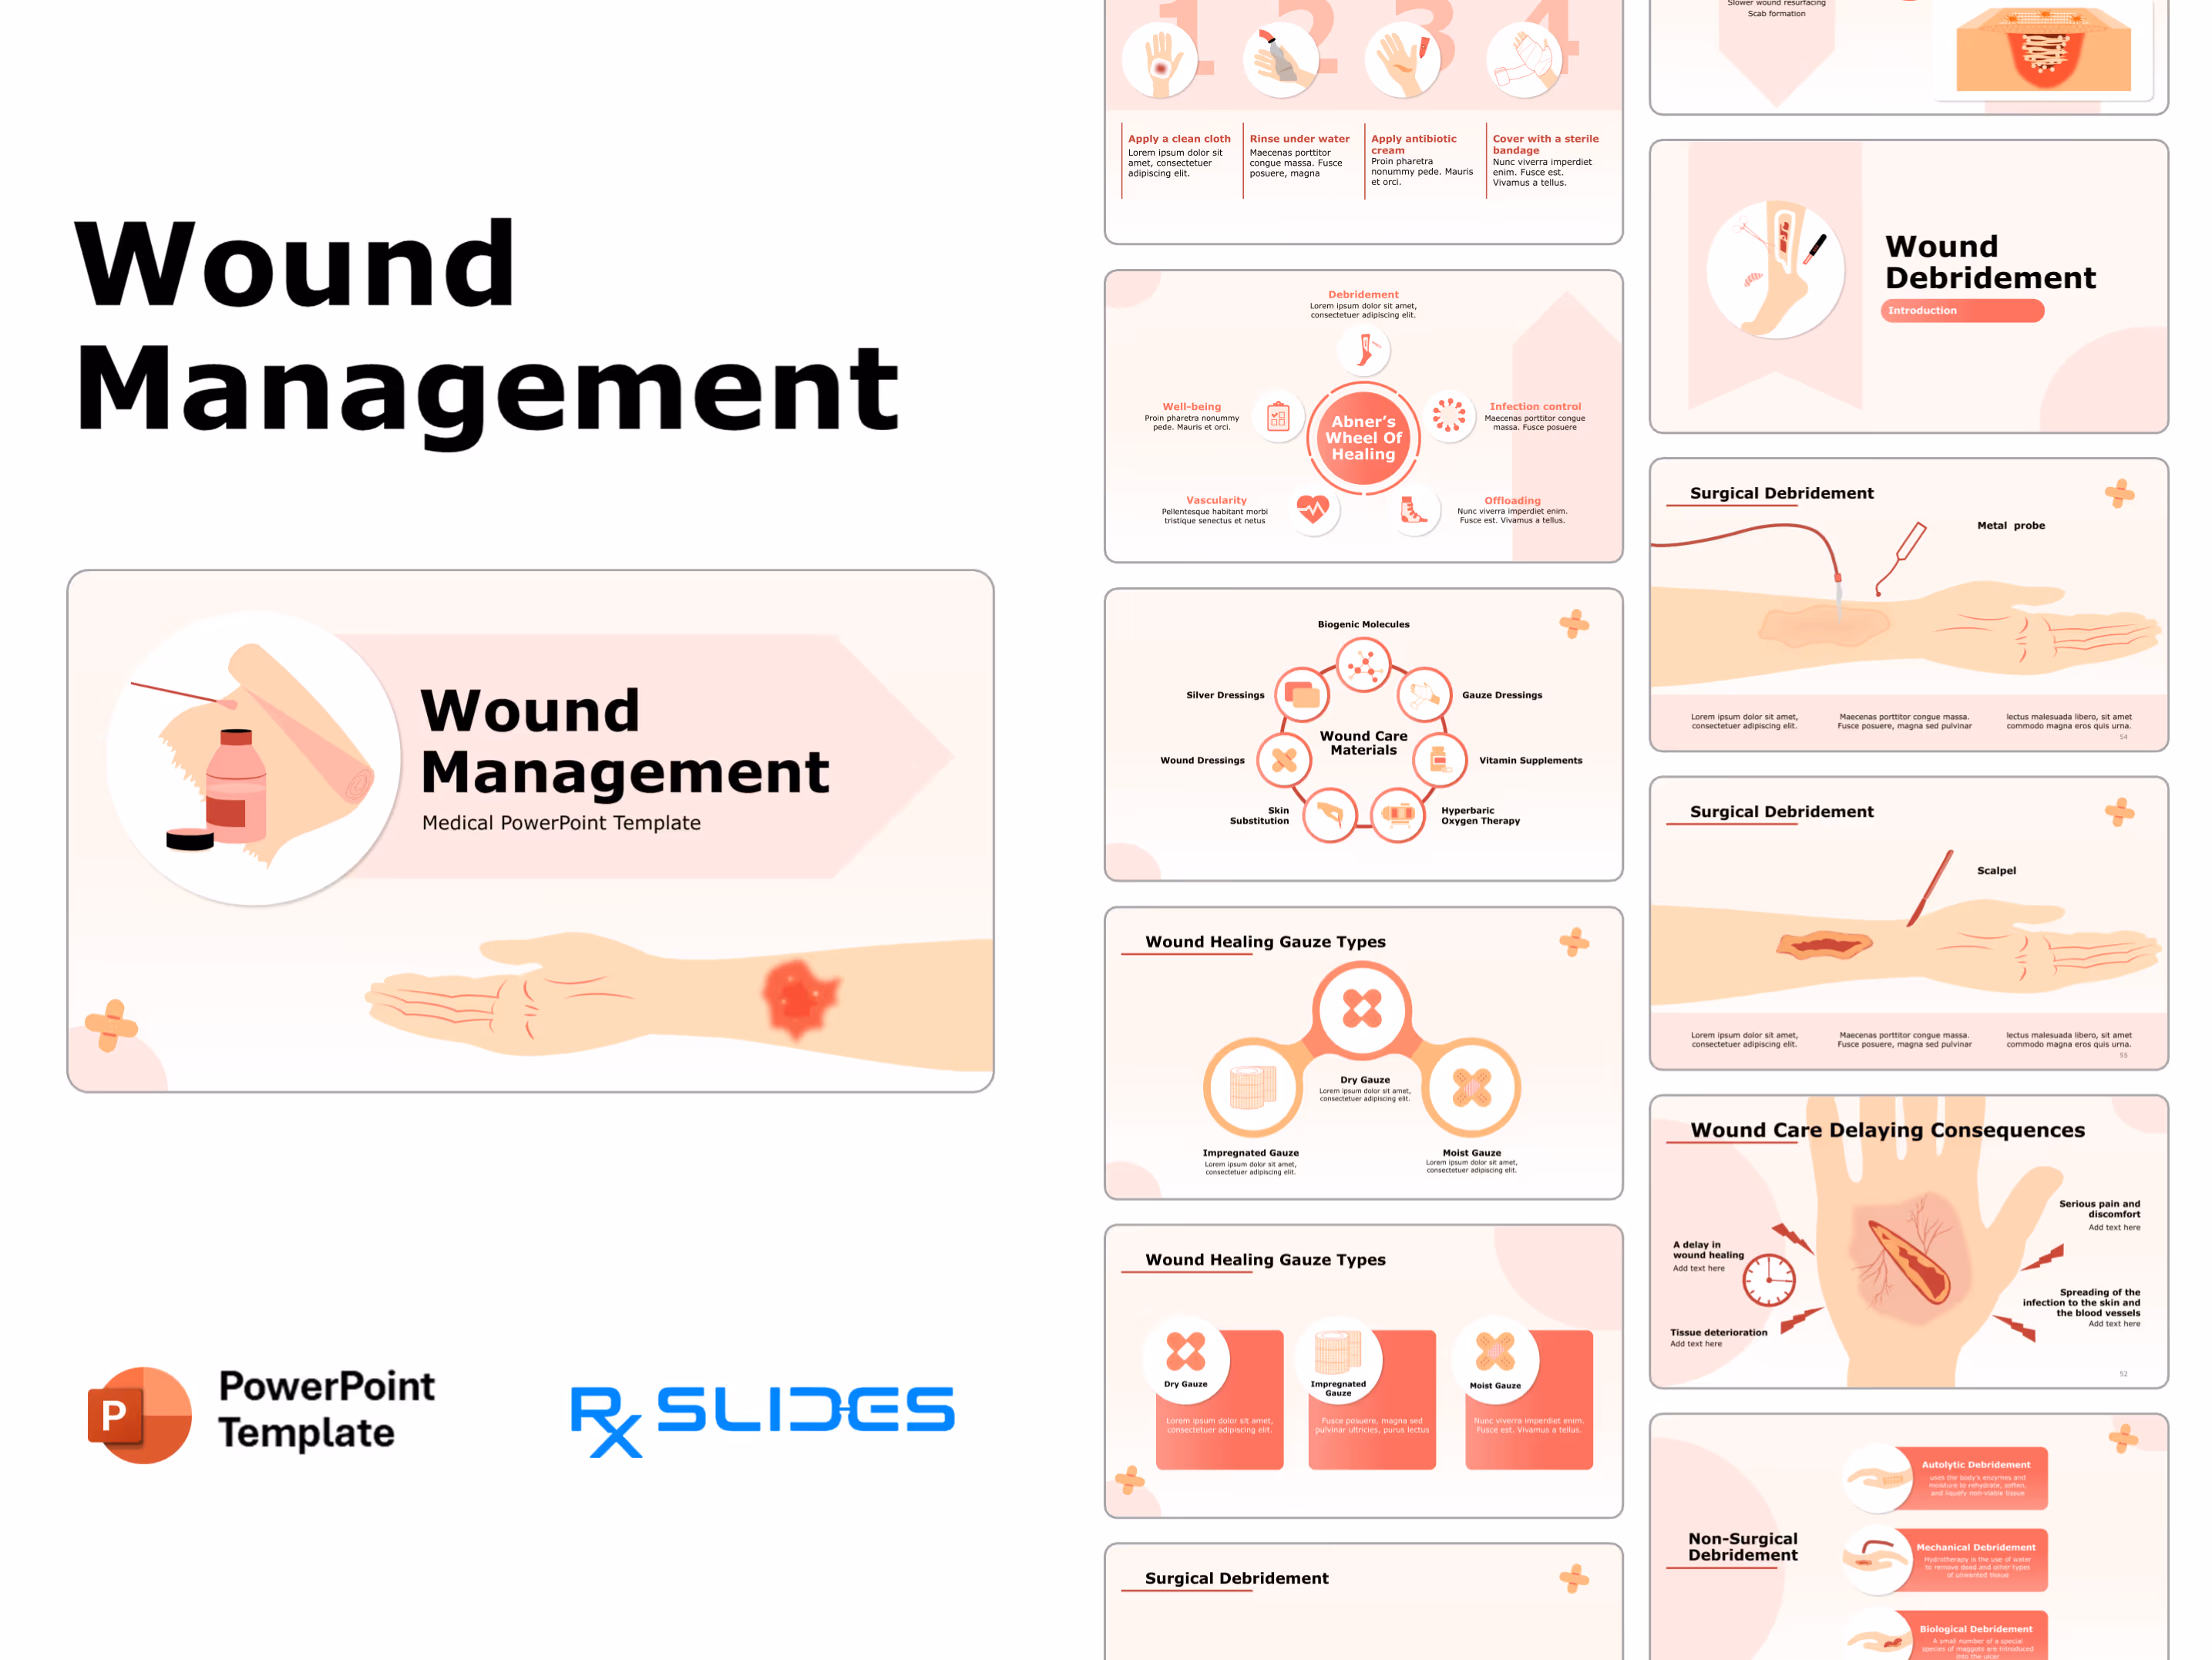
Wound Management Presentation: Medical PowerPoint Template
- The Wound Management PPT template is an animated medical PowerPoint template that will help you realize the full potential of your presentation.
- The RxSlides animated template includes medical animations and infographics that will attract your audience.
- You can use our demonstrated infographics to give your audience a dynamic and appealing wound management presentation.
- You can explore more related presentations such as scar management, melanoma, acne and cellulitis
- Our skin diseases PowerPoint Templates offer a wealth of visual aids to illustrate different skin conditions effectively.
Wound Management PowerPoint Template Preview
Wound Management PowerPoint Template Content
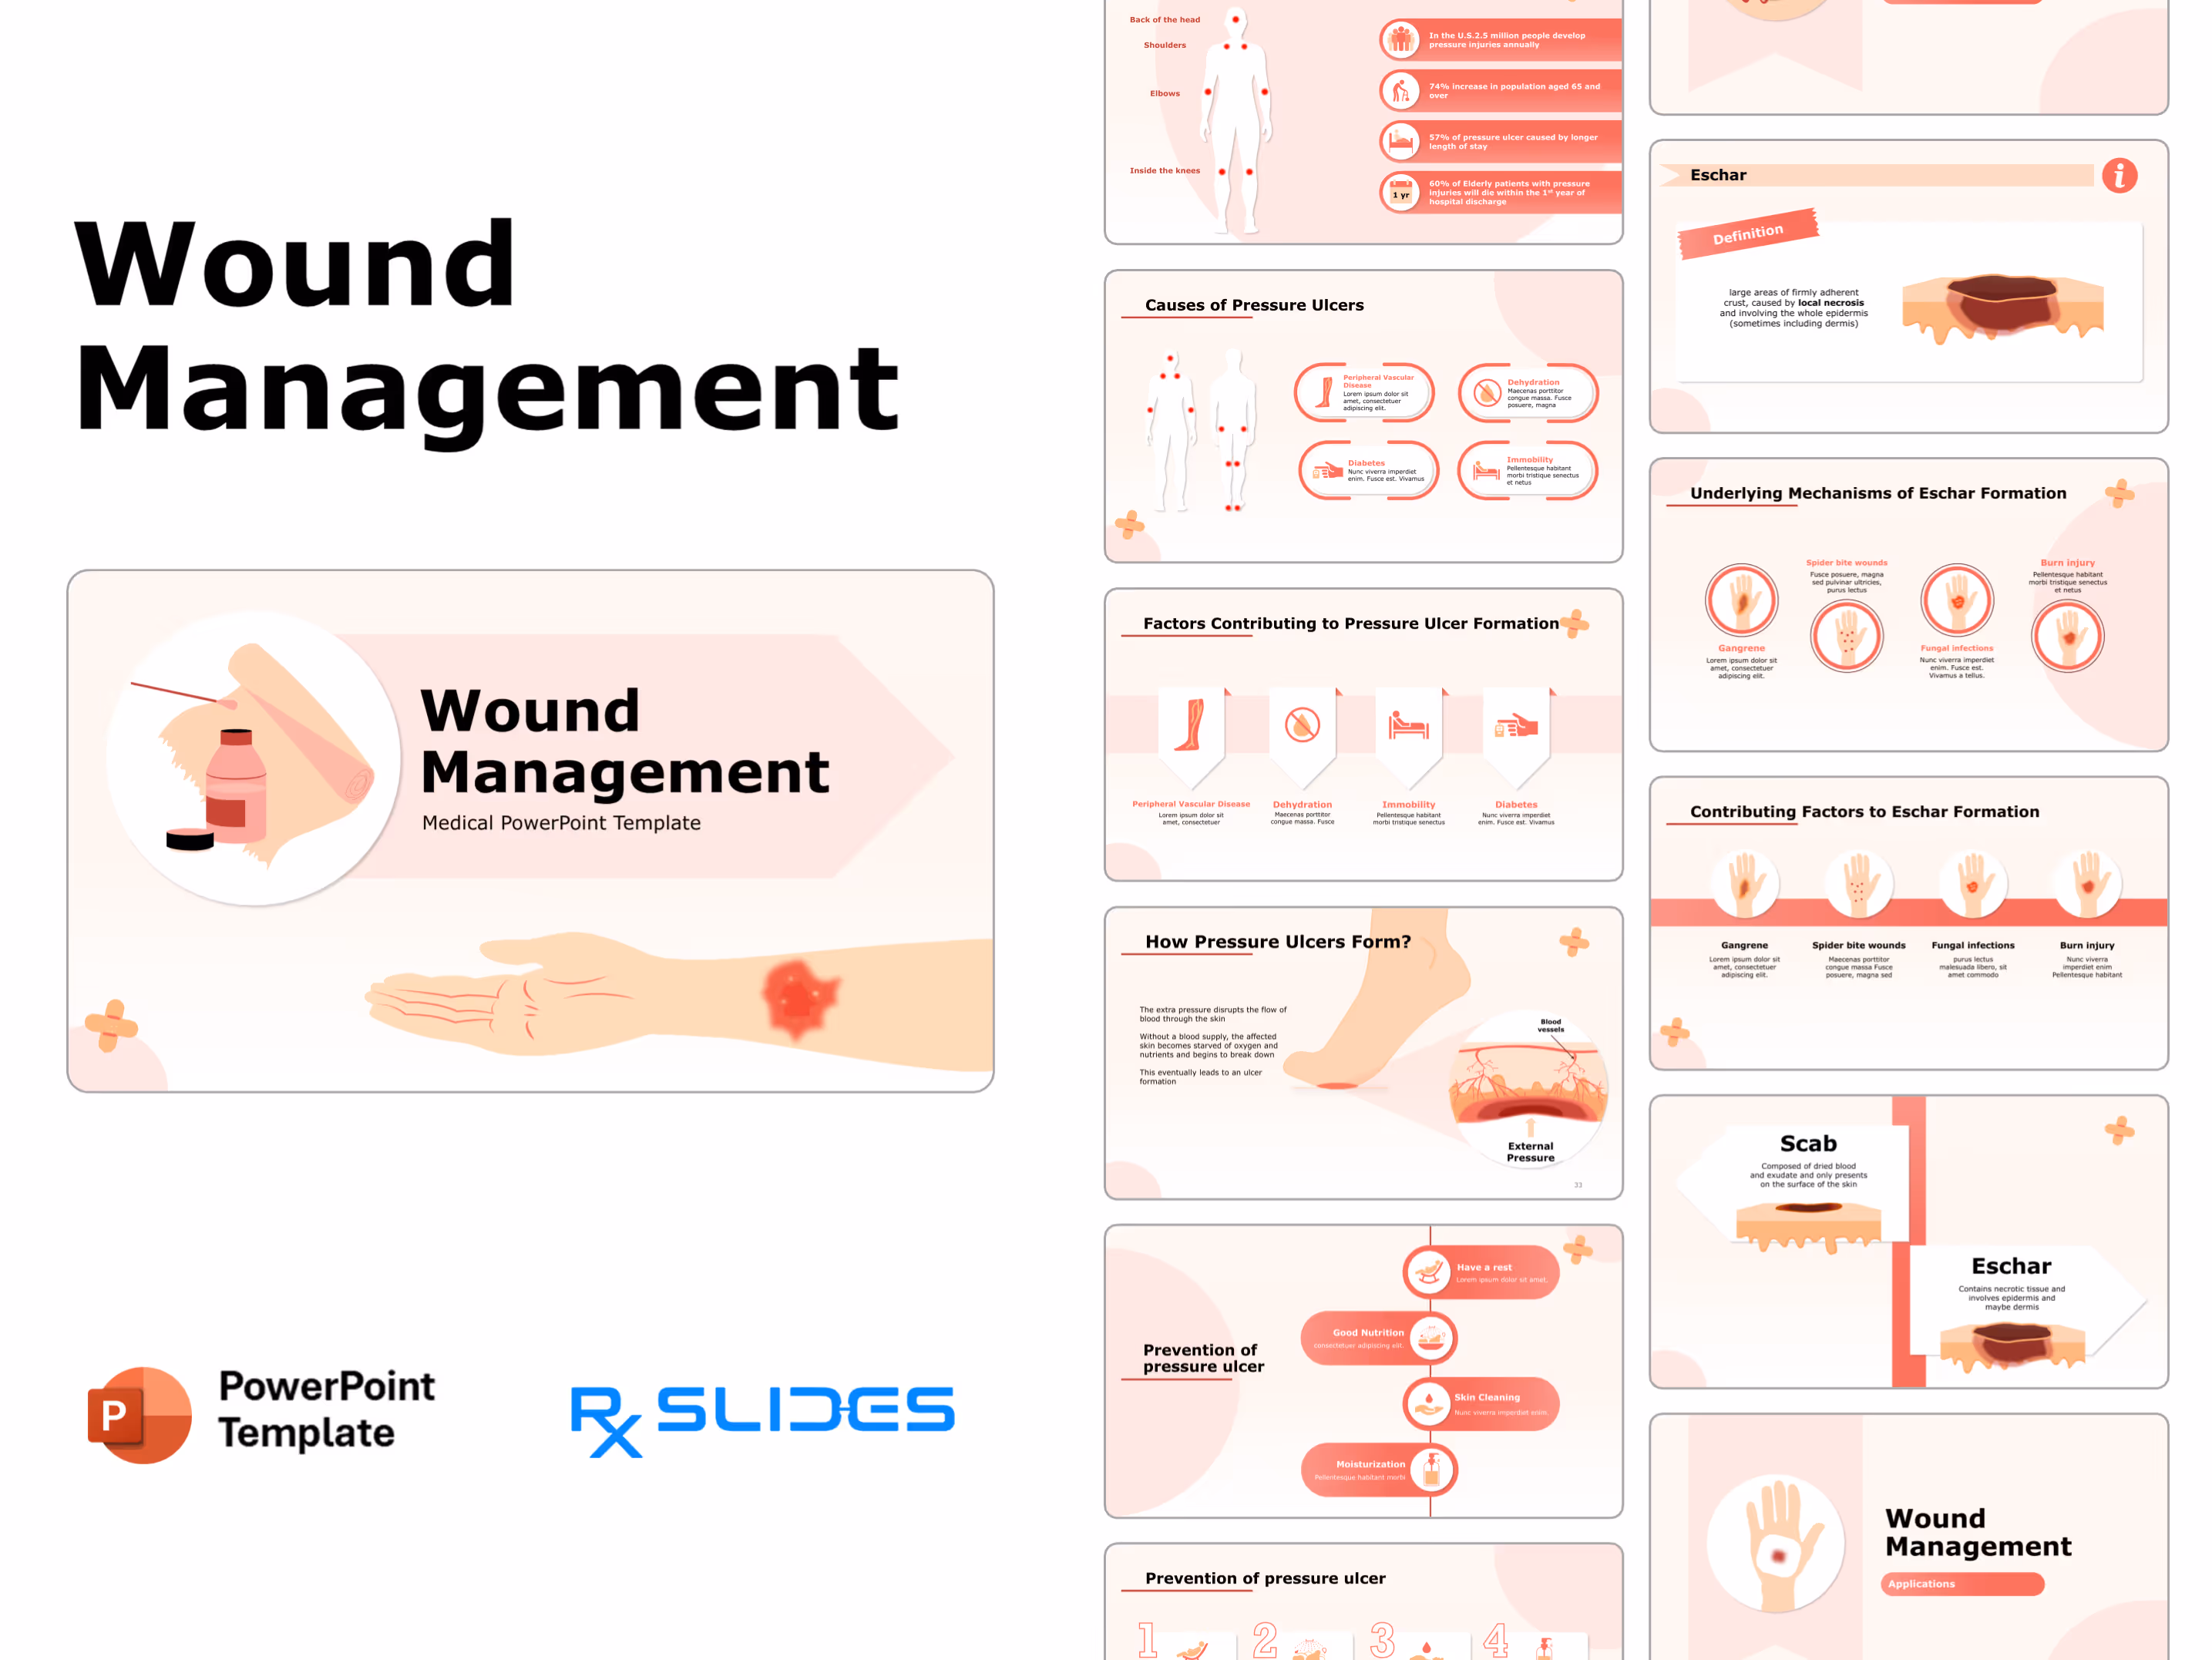
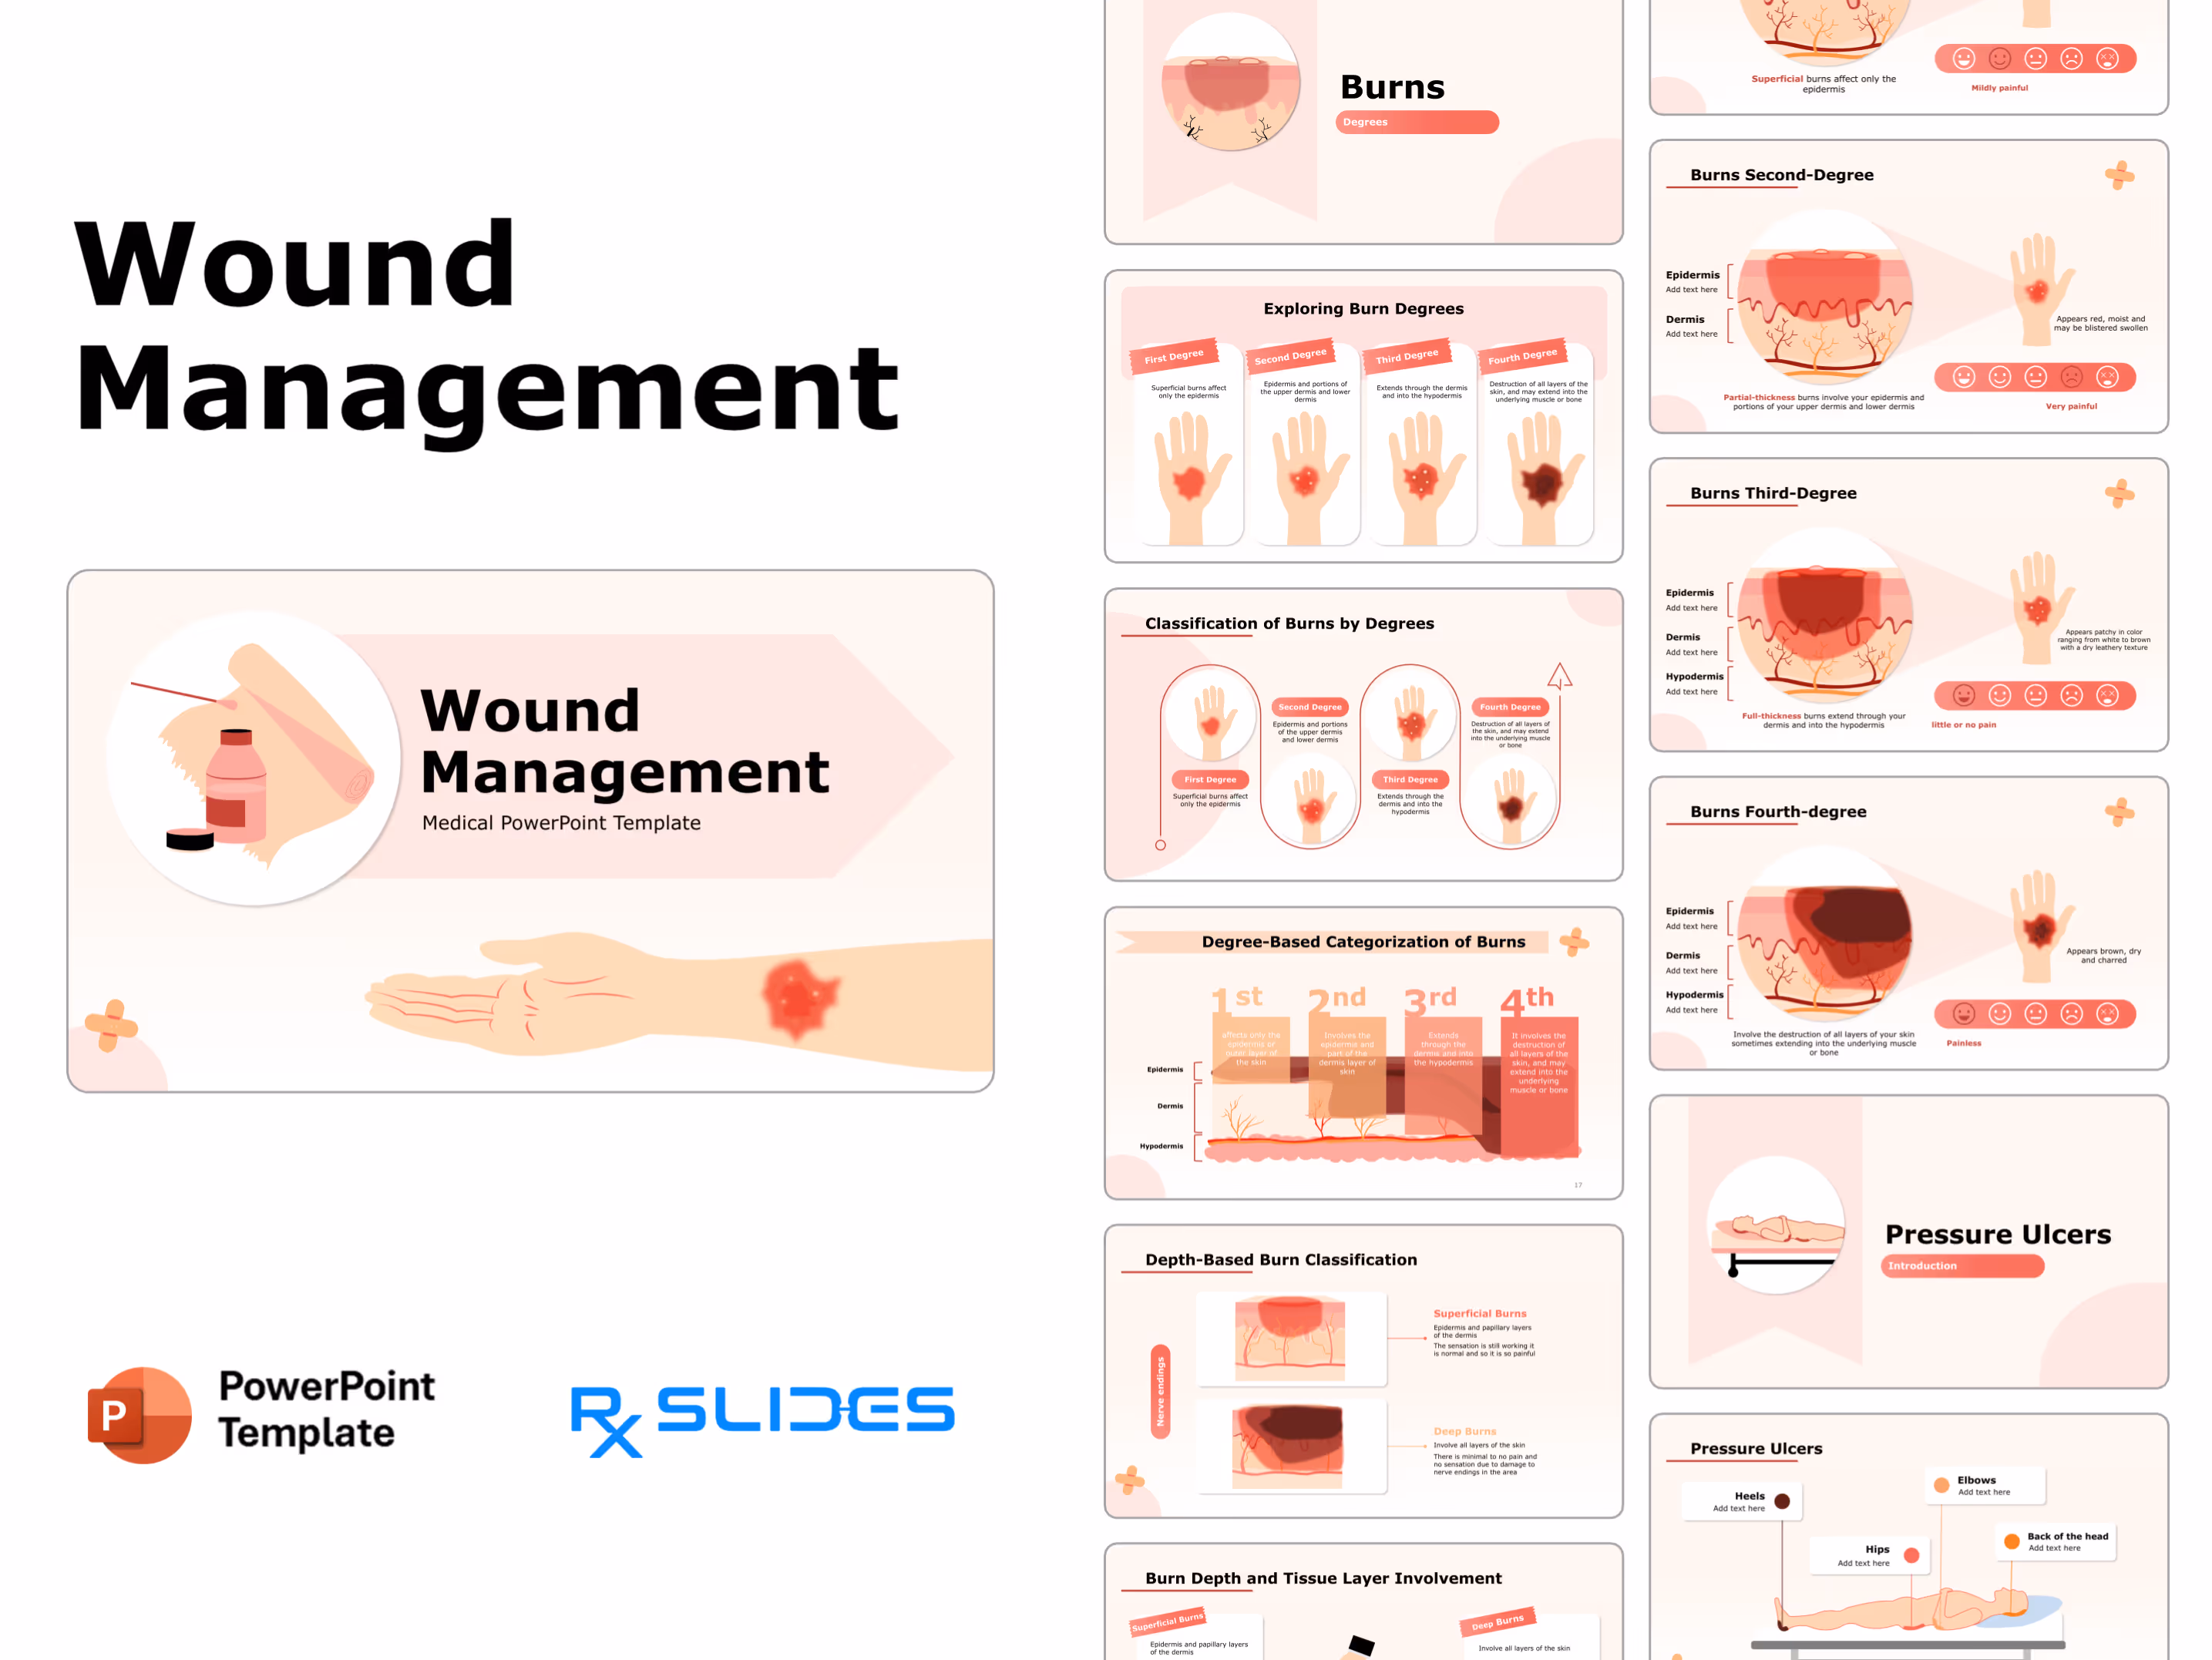
Slide 1 - Wound Management Introduction (Title Slide)
.avif)
- introduces your presentation on Wound Management.
- The slide features clear, engaging graphics of a bandaged arm, medical supplies, and a bandage icon.
Slide 2 - Content Agenda (Timeline Navigation)
.avif)
- Provides a clear, easy-to-follow roadmap of the presentation's five main content sections.
- The engaging timeline design uses sequential, numbered markers (01 to 05) connected by a striking red line.
Slide 3 - Content Blocks (Agenda List)
.avif)
- lists and introduces the five main points of your presentation in a clean, block-style format.
- Each content item is clearly separated within a white block and features a bold, numbered (01-05) red corner marker.
Slide 4 - Topic Introduction (Skin Anatomy)
.avif)
- smoothly transition for discussing Skin Anatomy within Wound Management.
- The slide features a large, clear illustration of a skin cross-section.
Slide 5 - Detailed Skin Layers (Anatomy Diagram)
.avif)
- Educate your audience on the structure of the skin, identifying the Epidermis, Dermis, and Hypodermis layers.
- The large, central illustration is fully labeled, allowing you to easily point out and describe key components like blood vessels and hair follicles.
Slide 6 - Topic Introduction (Burns Prevalence)
.avif)
- smoothly transition to the new topic of Burns.
- The slide features a prominent world map graphic with location pins.
Slide 7 - Burn Causes (Diagram)
.avif)
- categorizes and present the four main causes of burns, including Heat, Chemicals, Electricity, and Radiation.
- Each cause is clearly separated and marked with an intuitive icon (flame, beaker, lightning bolt, radiation symbol).
Slide 8 - Epidemiological Overview (Data Chart)
.avif)
- presents the Epidemiological Overview of Burns.
- The central chart, featuring a stylized pie graph with human figures, visually communicates percentages and population segments.
Slide 9 - Global Distribution (World Map Data)
.avif)
- visualizes the global distribution and frequency of burns.
- The central world map features figures of varying colors and sizes.
Slide 10 - Burns Prevalence (Bar Chart)
.avif)
- illustrates specific statistics and comparisons regarding Burns Prevalence using a large bar chart.
- The chart utilizes different shades of red and orange to organize multiple data sets.
Slide 11 - Topic Introduction (Burns Causes)
.avif)
- smoothly transition the presentation to the Causes of Burns.
- The slide features a striking visual of an injured hand with a flame icon.
Slide 12 - Burn-Inducing Factors (Numbered List)
.avif)
- outlines the four main Burn-Inducing Factors in an easily digestible, numbered format.
- Each factor is presented in a separate, clean block with a corresponding icon (flame, lightning, radiation, beaker).
Slide 13 - Burns Causes (Flow Diagram)
.avif)
- breaks down and present the four main Causes of Burns in a highly visual and structured way.
- The design connects the numbered causes (Heat, Electricity, Radiation, and Chemicals).
Slide 14 - Topic Introduction (Burns Degrees)
.avif)
- transmit the presentation to the Degrees of Burns section.
- The slide features a clear, stylized illustration of a severe skin injury and blistering.
Slide 15 - Exploring Burn Degrees (Visual Comparison)
.avif)
- educates your audience on the four Burn Degrees, from superficial to severe.
- The slide features four sequential hand illustrations showing the progressive depth of injury.
Slide 16 - Classification of Burns by Degrees (Flowchart)
.avif)
- Shows a flowchart to clearly present the Classification of Burns by Degrees in a structured and easy-to-follow sequence.
- The design pairs each degree (First, Second, Third, and Fourth) with a corresponding visual of an injured hand.
Slide 17 - Degree-Based Categorization (Depth Diagram)
.avif)
- Explains the Degree-Based Categorization of Burns.
- The visual clearly correlates the 1st, 2nd, 3rd, and 4th-degree burns with the Epidermis, Dermis, and Hypodermis.
Slide 18 - Depth-Based Burn Classification (Comparison)
.avif)
- demonstrates the difference between Superficial Burns and Deep Burns based on the depth of tissue damage.
- clearly illustrates how deep burns damage nerve endings.
Slide 19 - Burn Depth and Tissue Layer Involvement (Detail)
.avif)
- compares the key clinical differences between Superficial Burns and Deep Burns, including their pain levels and blanching response.
- The detailed anatomical cross-section below the text perfectly illustrates the extent of tissue damage, showing how deep burns affect underlying nerve endings and blood vessels.
Slide 20 - Burns First-Degree (Detailed View)
.avif)
- describes the characteristics of First-Degree Burns, emphasizing that the injury is superficial and affects only the Epidermis layer of the skin.
- The slide features a cross-section diagram showing minimal damage depth, complemented by a pain scale and clinical description ("Mildly painful," "red and dry").
Slide 21 - Burns First-Degree (Visual Detail)
.avif)
- details the key clinical characteristics of a First-Degree Burn, showing that damage is superficial and limited only to the Epidermis.
- The slide features a large anatomical zoom of the skin layer and a hand illustration.
Slide 22 - Burns Second-Degree (Detailed View)
.avif)
- clearly describes the characteristics of Second-Degree Burns, emphasizing that the injury is partial-thickness and involves the Epidermis and portions of the Dermis.
- The large cross-section diagram clearly illustrates the deeper tissue damage and blistering, setting the stage for discussing the clinical signs ("moist and may be blistered, swollen").
Slide 23 - Burns Second-Degree (Visual Detail)
.avif)
- explains Second-Degree Burns, emphasizing their partial-thickness nature that affects the Epidermis and Dermis layers.
- The large anatomical zoom clearly illustrates the depth of tissue damage and blistering, alongside a hand graphic that shows the external appearance ("red, moist, and may be blistered").
Slide 24 - Burns Third-Degree (Detailed View)
.avif)
- describes the serious characteristics of Third-Degree Burns, highlighting that the injury is full-thickness and extends through the Dermis into the Hypodermis.
- The large cross-section diagram visually emphasizes the severe depth of the damage, which correlates with the clinical description ("dry leathery texture," patchy color) and the counterintuitive "little or no pain" due to nerve damage.
Slide 25 - Burns Third-Degree (Visual Detail)
.avif)
- effectively explains Third-Degree Burns, highlighting their full-thickness damage that extends deep into the Hypodermis layer of the skin.
- The large anatomical zoom and hand graphic clearly illustrate the severe tissue destruction, correlating it with the key clinical features ("dry leathery texture") and the resulting "little or no pain" due to nerve damage.
Slide 26 - Burns Fourth-Degree (Detailed View)
.avif)
- describes the most severe classification, Fourth-Degree Burns, emphasizing the total destruction of all skin layers, often reaching bone or muscle.
- The large cross-section diagram visually depicts the deep, charring damage, correlating directly with the clinical description ("brown, dry and charred") and the "Painless" nature due to complete nerve destruction.
Slide 27 - Burns Fourth-Degree (Visual Detail)
.avif)
- explains the most severe Fourth-Degree Burns, highlighting the total destruction of skin layers, often reaching muscle or bone.
- The large anatomical zoom and hand graphic clearly illustrate the deep, charring damage, correlating it with the clinical features ("brown, dry and charred") and the counterintuitive "Painless" nature due to nerve destruction.
Slide 28 - Topic Introduction (Pressure Ulcers)
.avif)
- smoothly transition the presentation to the section discussing Pressure Ulcers (bedsores).
- The slide features a prominent graphic of a patient lying in bed.
Slide 29 - Pressure Ulcers Locations (Diagram)
.avif)
- shows the most common anatomical sites for Pressure Ulcers to develop on the body, such as the Heels, Hips, and Back of the head.
- The central figure of the patient lying down is clearly linked via lines to call-out boxes.
Slide 30 - Pressure Ulcer Epidemiological Data (Statistics)
.avif)
- presents critical Pressure Ulcer Epidemiological Data, highlighting severity statistics, population impacts, and risk locations like the Shoulders and Elbows.
- The design features a figure showing high-risk areas alongside four key statistics boxes.
Slide 31 - Causes of Pressure Ulcers (Key Factors)
.avif)
- outlines the main Causes of Pressure Ulcers, presenting four crucial contributing factors like Dehydration, Immobility, and specific diseases.
- The slide features a figure highlighting high-risk body areas alongside four icon boxes, which instantly communicates both the anatomical location and the systemic risk factors.
Slide 32 - Pressure Ulcer Factors (Icon List)
.avif)
- Outlines the four critical Factors Contributing to Pressure Ulcer Formation, including Immobility, Dehydration, and related chronic diseases.
- The content uses a powerful horizontal flow, with four distinct icon graphics (leg, water drop, bed, glucose meter).
Slide 33 - How Pressure Ulcers Form? (Mechanism)
.avif)
- explains the underlying mechanism of Pressure Ulcer Formation, focusing on how external pressure starves the skin of blood and nutrients.
- The slide features a prominent diagram of a foot with a magnified cross-section.
Slide 34 - Prevention of Pressure Ulcers (Key Steps)
.avif)
- outlines the four main steps for the Prevention of Pressure Ulcers, including proper Skin Cleaning, Good Nutrition, and the importance of rest.
- The content uses a structured list with distinct icon graphics (rocking chair, food, water drop, lotion bottle).
Slide 35 - Prevention of Pressure Ulcer (Actionable Steps)
.avif)
- delivers the four crucial Prevention of Pressure Ulcer steps.
- The design utilizes large numbers (1-4) with clear icons and brief descriptions, ensuring immediate comprehension of key actions like rest, nutrition, skin cleaning, and moisturization.
Slide 36 - Eschar (Pathophysiology Introduction)
.avif)
- introduces the critical concept of Eschar formation, setting the stage for discussing the complex pathophysiology of severe wounds.
- The slide features a clear, magnified anatomical cross-section showing a deep area of tissue death (Eschar), communicating the advanced state of injury.
Slide 37 - Eschar Definition (Detail)
.avif)
- Provides a clear, concise Definition of Eschar, emphasizing that it is a firmly adherent crust caused by local tissue death (necrosis).
- The slide features a prominent cross-section diagram showing the dark, necrotized tissue layer, visually correlating the definition with the anatomical damage.
Slide 38 - Underlying Mechanisms of Eschar Formation

- explains the four major Underlying Mechanisms of Eschar Formation, including fungal infections, gangrene, and burn injuries.
- The content uses a visual grid of hand illustrations, each depicting a different cause (e.g., spider bite, gangrene).
Slide 39 - Contributing Factors to Eschar Formation (Detailed List)
.avif)
- Breaks down the four key factors that Contribute to Eschar Formation, providing concise descriptions for conditions like Gangrene and specific infections.
- The content uses a detailed list with distinct illustrations (hands showing various injuries).
Slide 40 - Scab vs. Eschar (Comparison)
.avif)
- comparison slide to clearly distinguish between a common Scab and the more severe injury known as Eschar.
- The side-by-side anatomical diagrams clearly show that a Scab is superficial (dried blood on the surface) while Eschar involves deep, necrotic tissue extending into the skin layers.
Slide 41 - Wound Management (Applications Introduction)
.avif)
- introductory slide to smoothly transition the presentation to the critical section discussing the practical Applications of Wound Management.
- The slide features a clear, simple illustration of an injured hand.
Slide 42 - Wound Assessment (Call a Doctor)
.avif)
- defines four key signs that require urgent medical attention for a wound, such as Intense pain and Severe bleeding.
- The slide features four sequential hand illustrations, each showing a different warning sign (e.g., numbness, signs of infection), which clarifies when professional help is necessary.
Slide 43 - Critical Wound Signs (Summary of Action)
.avif)
- shows the four key wound signs—Intense pain, Severe bleeding, Numbness, and Infection—that instantly require seeking professional medical help.
- The clean, four-block layout with clear hand icons serves as an essential checklist.
Slide 44 - First Aid for Wound (Step-by-Step Guide)
.avif)
- presents the four key steps for First Aid for a Wound.
- The design uses four sequential, numbered blocks with clear hand illustrations to demonstrate the process: Apply a clean cloth, Rinse, Apply cream, and Cover with a sterile bandage.
Slide 45 - First Steps in Wound Care (Action Guide)
.avif)
- delivers the four crucial First Steps in Wound Care as a final, memorable action plan.
- The design uses four sequential, numbered steps with clear hand icons, ensuring instant comprehension of the necessary actions: cleaning, rinsing, applying cream, and covering the wound.
Slide 46 - Primary Wound Care Steps (Final Summary)
.avif)
- delivers a final, memorable summary of the four Primary Wound Care Steps learned, reinforcing the key practical takeaways for your audience.
- The design utilizes four distinct, visual action blocks (applying a cloth, rinsing, applying cream, covering).
Slide 47 - Abner's Wheel of Healing (Holistic Treatment)
.avif)
- Introduces Abner's Wheel of Healing, presenting a holistic and comprehensive model for effective wound management and recovery.
- The circular diagram clearly breaks down the five critical factors required for healing: Debridement, Infection control, Offloading, Vascularity, and Well-being, simplifying a complex treatment approach.
Slide 48 - Wound Care Materials (Treatment Overview)
.avif)
- categorizes and present seven different Wound Care Materials and treatments used in clinical practice.
- The circular design visually connects key modalities like Silver Dressings, Skin Substitution, and Hyperbaric Oxygen Therapy in a cohesive and memorable manner.
Slide 49 - Wound Healing Gauze Types (Detailed Breakdown)
.avif)
- clearly differentiates and presents the three main types of wound healing gauze: Dry Gauze, Moist Gauze, and Impregnated Gauze.
- The unique circular flow diagram uses simple icons for each type.
Slide 50 - Gauze Types in Wound Healing (Block Summary)
.avif)
- outlines the three essential Gauze Types utilized in wound healing: Dry Gauze, Impregnated Gauze, and Moist Gauze.
- The organized three-column layout, featuring distinct icon graphics for each type.
Slide 51 - Dry vs. Moist Wound Healing (Comparison)
.avif)
- contrasts the benefits and risks of Dry Wound Healing versus Moist Wound Healing.
- The side-by-side anatomical diagrams visually show the difference: Dry healing involves scab formation and has a high risk of infection, while Moist healing maintains moisture for faster resurfacing and has a low risk of infection.
Slide 52 - Wound Care Delaying Consequences (Risk Summary)
.avif)
- illustrates the four severe risks associated with delaying proper wound care, such as Tissue deterioration and the Spreading of the infection.
- The central hand graphic showing an infected, open wound, combined with the clock icon emphasizing A delay in wound healing.
Slide 53 - Wound Debridement (Introduction)
.avif)
- Transmit the presentation to Wound Debridement.
- The slide features a prominent circular illustration of a foot receiving various debridement treatments (scissors, scalpel, maggot therapy), instantly and clearly communicating the subject matter.
Slide 54 - Surgical Debridement (Technique Detail)
.avif)
- Details the process of Surgical Debridement, illustrating the tools and techniques used to remove dead tissue from severe wounds.
- The prominent hand graphic shows the use of a metal probe and other instruments, giving your audience a clear.
Slide 55 - Surgical Debridement (Scalpel Detail)
.avif)
- details the use of the Scalpel in Surgical Debridement, illustrating the tool used to precisely remove necrotic or non-viable tissue.
- The prominent hand graphic shows a clean incision on the forearm and features the scalpel.
Slide 56 - Surgical Debridement (Post-Procedure Care)
.avif)
- Depicts the outcome and immediate next step following Surgical Debridement, which is the application of a dressing.
- The prominent hand graphic shows a clean wound covered with a simple mesh bandage.
Slide 57 - Non-Surgical Debridement (Methods Overview)
.avif)
- Explains the three main types of Non-Surgical Debridement: Autolytic, Mechanical, and Biological Debridement.
- The organized vertical block design uses clear icons to illustrate each method, such as maggot therapy for Biological Debridement and water for Mechanical Debridement.
Slide 58 - Autolytic Debridement (Mechanism Detail)
.avif)
- explains the process of Autolytic Debridement, focusing on how it uses the body's natural enzymes and moisture to soften and liquefy non-viable tissue.
- The text emphasizes that this method is selective, targeting only necrotic tissue for liquefaction
Slide 59 - Mechanical Debridement (Irrigation Technique)
.avif)
- explains the process of Mechanical Debridement, specifically focusing on the technique of Therapeutic Irrigation (Hydrotherapy).
- The diagram clearly illustrates the use of a syringe and catheter tube for wound irrigation to wash away dead tissue and other unwanted debris.
Slide 60 - Biological Debridement (Maggot Therapy Detail)
.avif)
- explains the process of Biological Debridement, specifically focusing on the use of therapeutic maggots.
- The content clearly states that a small number of special species of maggots are introduced into the ulcer.
- The text also highlights the key clinical benefit: these maggots eat only the dead skin and produce chemicals that promote healing.
- The illustration features the maggots and surgical forceps, visually representing this advanced, selective method of wound cleaning.
Slide 61 - Benefits of Wound Debridement (Summary)
.avif)
- outlines the three main Benefits of Wound Debridement for chronic wounds, focusing on stimulating healing and preventing serious complications.
- The key benefits include eliminating conditions for bacterial overgrowth to prevent pain, sepsis, and amputation, and removing dead tissue to allow healthy tissue to heal.
Slide 62 - Wound Healing (Topic Introduction)
.avif)
- smoothly transition the presentation to the final major topic: the process of Wound Healing.
- The slide features a prominent illustration of a wound with visible granulation tissue and cellular activity (red dots).
Slide 63 - Acute Wound Healing Phases (Stages Overview)
.avif)
- presents the three stages of Acute Wound Healing: the Inflammatory Phase, the Proliferative Phase, and the Remodeling Phase.
- The horizontal flow uses three distinct visuals of a wound on an arm, showing its progression from a raw, red injury to a smaller, healed scab, making the timeline easy to grasp.
Slide 64 - Wound Pathophysiology (Initial Trauma)
.avif)
- Details the initial events in the Inflammatory Phase of wound healing, focusing on the pathophysiology immediately following an injury.
- The diagram clearly illustrates how a harmful substance penetrates the skin, causing a wound, and shows bacteria entering the deeper layers of the Epidermis and Dermis.
Slide 65 - Inflammatory Phase (Hemostasis Detail)
.avif)
- details the first critical step of the Inflammatory Phase: Hemostasis (stopping blood loss).
- The diagram clearly illustrates how platelets and fibrin form a loose blood clot to prevent further blood loss.
- The cross-section visual shows the components rushing to the site of the injured blood vessel, simplifying the complex clotting cascade for your audience.
Slide 66 - Inflammatory Phase (Inflammation Detail)
.avif)
- Details the second critical step of the Inflammatory Phase: Inflammation.
- The process begins when damaged tissue causes the release of histamine which triggers vasodilation.
- Vasodilation increases the permeability of the blood vessels to remove microbes and foreign particles via phagocytosis (performed by Macrophages).
Slide 67 - Proliferative Phase (Initial Stage)
.avif)
- Introduces the Proliferative Phase of wound healing, which typically begins 2-3 days later than the inflammatory phase.
- In the initial portion of this phase, the clot exterior dries, forming a scab.
- Fibroblasts infiltrate the wound and secrete collagen to strengthen the clot, marking the start of tissue repair.
Slide 68 - Proliferative Phase (Granulation Tissue)
.avif)
- details the critical process of Granulation Tissue formation during the Proliferative Phase of wound healing.
- Fibroblasts trigger endothelial cells surrounding the wound and injured blood vessels to start regrowing.
- These new cells and vessels form a delicate mesh known as granulation tissue, which is essential for filling the wound bed.
Slide 69 - Maturation and Remodeling Phase (Final Healing)
.avif)
- details the final stage of wound healing: the Maturation and Remodeling Phase, which can last from 3 weeks to 6 months.
- During this stage, collagen fibers become more organized and fewer fibroblasts are present.
- Key events include the restoration of blood vessels to normal and the final formation of scar tissue through a process called fibrosis.
Slide 70 - Wound Healing (Treatments Introduction)
.avif)
- smoothly transition the presentation to the final major topic: the various Treatments applied to support and enhance Wound Healing.
- The slide features a prominent illustration of a medical ointment tube.
Slide 71 - Burns: First Degree Treatment (Protocol)
.avif)
- details the three-step treatment protocol for First-Degree Burns.
- The first step is soaking the burn in cool water for a few minutes.
- Next, an antibiotic ointment is applied and covered with a clean dry bandage to soothe and protect the tissue.
Slide 72 - Burns Treatment: Collagenase (Enzymatic Debridement)
.avif)
- introduces the advanced treatment of Collagenase, a biologic debridement agent used for burns.
- The diagram illustrates the enzyme tube and shows the mechanism of action on the Necrotic Tissue, creating Byproducts that can be easily removed.
Slide 73 - Burns Treatment: Collagenase (Cellular Response)
.avif)
- explains the cellular response induced by Collagenase, which is associated with the proliferative phase of wound healing.
- The byproducts of the enzymatic debridement induce a cellular response that stimulates fibroblasts, keratinocytes, and endothelial cells.
- These stimulated cells migrate to the wound bed for Tissue Proliferation.
Slide 74 - Burns Treatment: B-sitosterol Formulation (Herbal Option)
.avif)
- introduces the use of the B-sitosterol Formulation as a specific, herbal burn treatment option.
- This formulation is a herbal formulation patented in the USA in 1995.
- It possesses many active ingredients in a base of beeswax and sesame oil.
Slide 75 - B-sitosterol Formulation (Mechanism of Action)
.avif)
- explains the Mechanism of Action for the B-sitosterol Formulation, showing how it supports the healing process.
- The formulation offers the advantages of optimum moisture for wound healing.
- It promotes keratinocyte migration and involves an interaction with growth factors to enhance repair.
Slide 76 - Burns Treatment: Antibiotics (Microbial Focus)
.avif)
- details the importance of Antibiotic Treatment for Burns and the specific bacterial/fungal agents they target.
- The antibiotics featured are described as disrupting bacteria by damaging the cell membrane and the cell wall, and by inhibiting folic acid synthesis.
- The circular chart prominently displays seven common microbes of concern in burn care, including Pseudomonas, Candida Albicans, Proteus, Enterobacter, Klebsiella, E. Coli, and Beta Haemolytic Streptococci.
Slide 77 - Microbes Targeted by Silver Sulfadiazine (Specific Treatment)
.avif)
- details the broad-spectrum action of the antibiotic Silver Sulfadiazine in burn wound management.
- The central illustration of the ointment tube clearly represents the application of the specific antibiotic.
- The circular chart confirms that Silver Sulfadiazine targets many of the major microbial threats in burn wounds, including Pseudomonas, Candida Albicans, Proteus, Enterobacter, Klebsiella, E. Coli, Serratia Marcescens, and Beta Haemolytic Streptococci.
Slide 78 - Silver Sulfadiazine (Mechanism of Action)
.avif)
- details the Mechanism of Action for Silver Sulfadiazine, a crucial antibiotic in burn care.
- The key feature is the central illustration of the ointment tube surrounded by the various microbes it targets, including Pseudomonas, Candida Albicans, Proteus, Enterobacter, Klebsiella, E. Coli, Serratia Marcescens, and Beta Haemolytic Streptococci.
Slide 79 - Indications of Hyaluronic Acid Sodium Salt (Applications)
.avif)
- introduces Hyaluronic Acid Sodium Salt as a specific treatment and detail the four common applications for its use in wound care.
- The four applications covered are: Skin Irritations, Grazes, Superficial Wounds, and Abrasions.
Slide 80 - Hyaluronic Acid Sodium Salt (Mechanism of Action)
.avif)
- Explains the Mechanism of Action of Hyaluronic Acid Sodium Salt in promoting wound healing.
- The mechanism involves two forms: Hyaluronic acid’s high molecular weight draws moisture to the surface of the skin.
- Hydrolyzed hyaluronic acid’s low molecular weight drives it deeper into the skin’s extracellular matrix.
- Both actions stimulate more HA production and stimulate fibroblastic action.
Slide 81 - Thank You (Conclusion)
.avif)
- Concludes presentation and thank your audience.
- The large, bold text "Thank you" ensures a clear and professional closing message.
- The slide features three circular illustrations summarizing key visual topics from the presentation, including debridement on a foot, skin cross-section, and a hand with a wound, serving as a brief visual recap.
Features of the Template
- 100% editable PowerPoint template.
- Editable colors, you can change according to your presentation style and company branding guidelines.

.avif)